Settings in Plumsail Forms web editor
Form Settings control how your form operates and connects to other systems. It lets you configure submissions, notifications, localization, access, integrations with SharePoint and Airtable, and more.
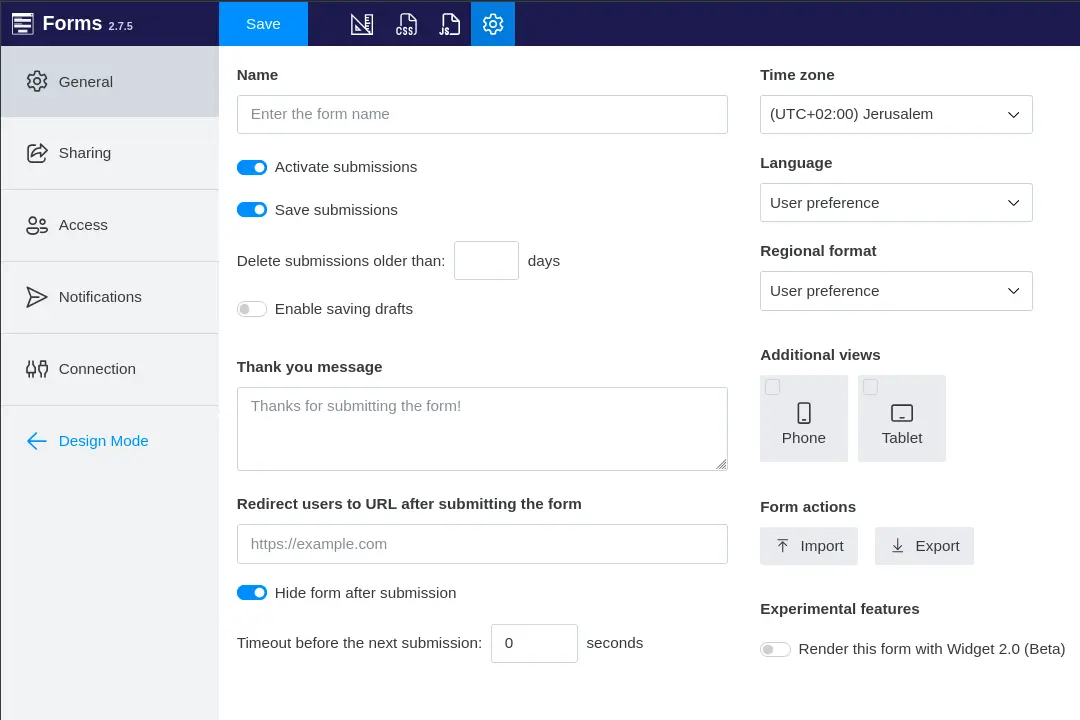
Click the gear icon in the designer toolbar to access the form Settings:

General
Configure submissions, localization, drafts, and additional views, and import or export your form layout.
Name
Set the form Name:
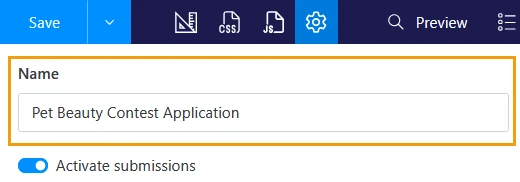
The name identifies the form in your Plumsail account.
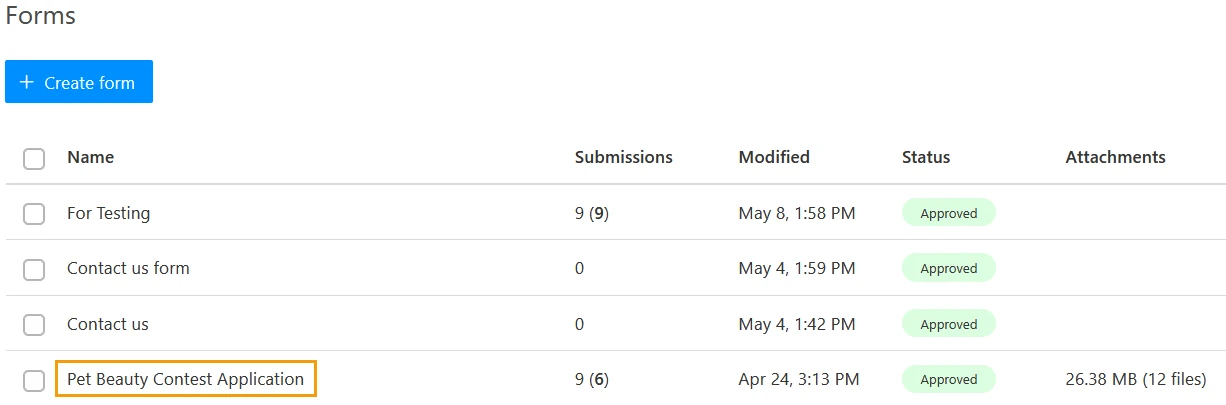
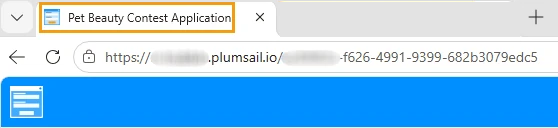
Shared form pages also use this name as the title:
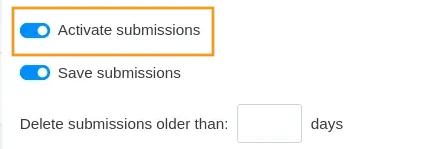
Activate submissions
Activate or deactivate the form. If this setting is disabled, form submissions are discarded, and won’t trigger connected processes.
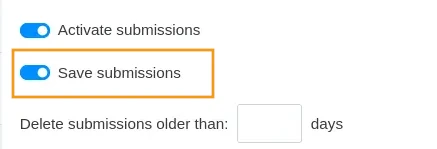
Save submissions
Enable or disable submission storage in your Plumsail account.
This setting is enabled by default. You can disable this setting if you use SharePoint or Airtable integrations, or use Power Automate, Zapier, or Make to save submissions to other locations, and don’t want to store them in your Plumsail account.
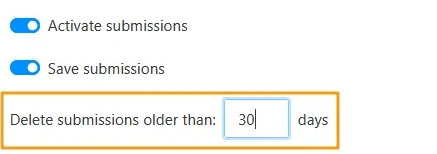
Delete submissions after
When Save submissions is enabled, set a deletion period for stored submissions to free up storage in your Plumsail account.
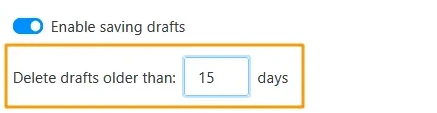
Enable saving drafts
Allow users to save their unfinished forms as drafts:
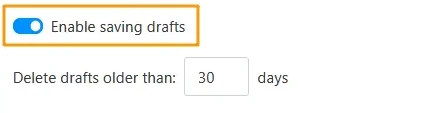
Delete drafts older than
Configure how long drafts are stored in your account:
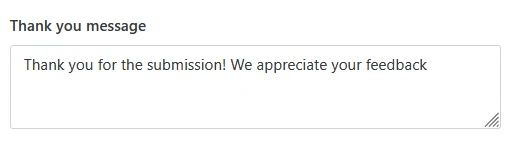
Thank you message
Specify the message that displays when the form is successfully submitted:
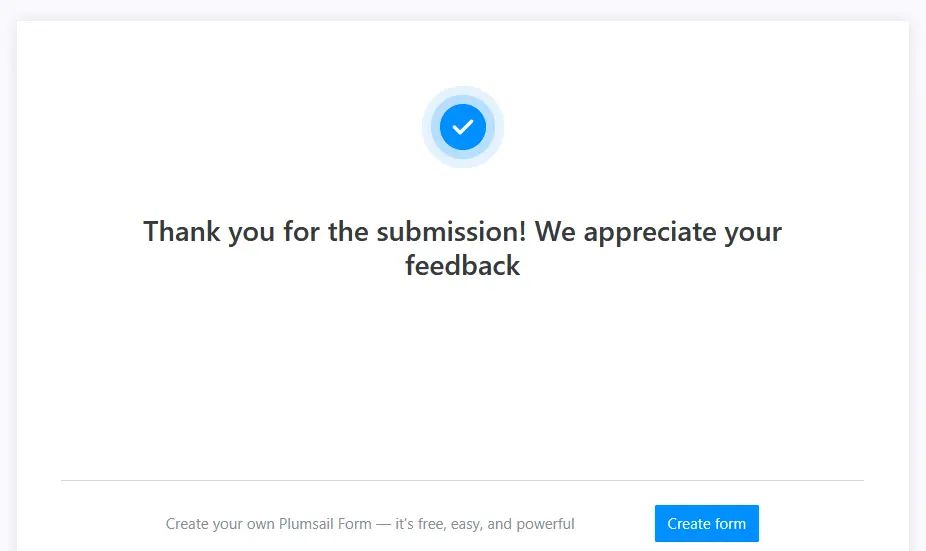
When you hide the form after submission, the message appears on a separate page:
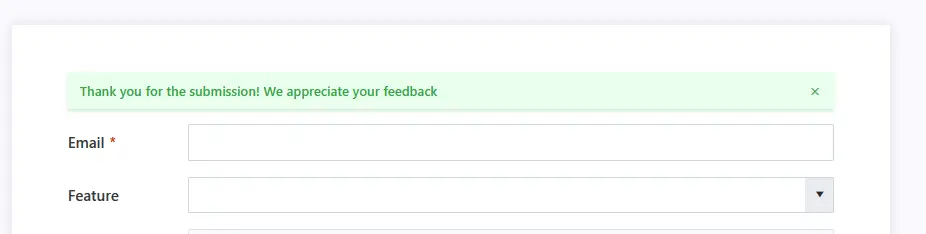
If the form stays visible, the message appears as a small toast notification:
Redirect after submission
Redirect users to any URL after form submission:

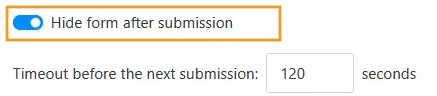
Hide form after submission
By default, the form hides after submission and displays a “Thank you” page.
Disable this setting to keep the form visible after submission.
Timeout before next submission
When Hide form after submission is enabled, you can set a timeout to prevent repeated submissions within a short period.
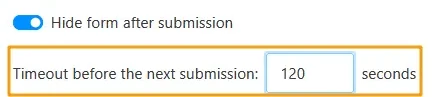
When defined, users can’t return to the form before the timer ends unless they clear the cache, use private mode, or open the form in a different browser. To prevent spam submissions, you can also add Captcha control to your form.
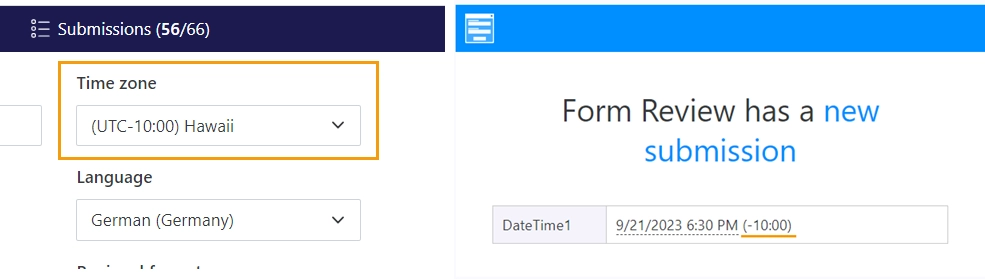
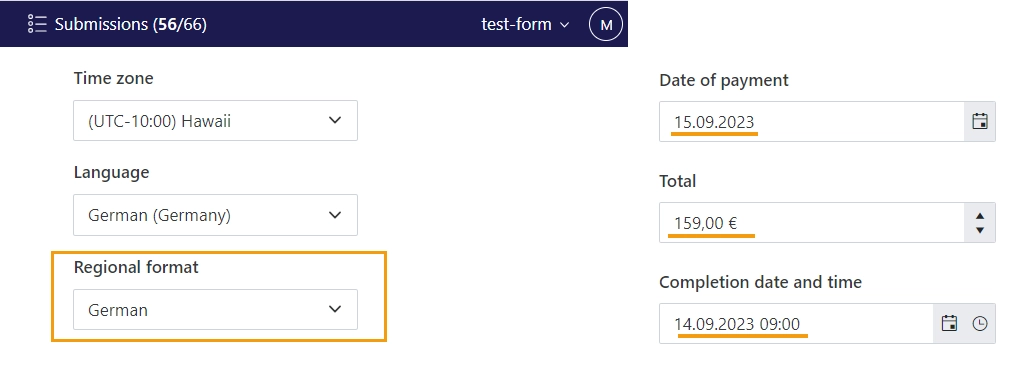
Time zone
Configure the form’s time zone. This affects the appearance of the submission date and time in your Plumsail account and in email notifications:
Language
Set a preferred language for the form. The language applies to standard form messages and control tooltips:
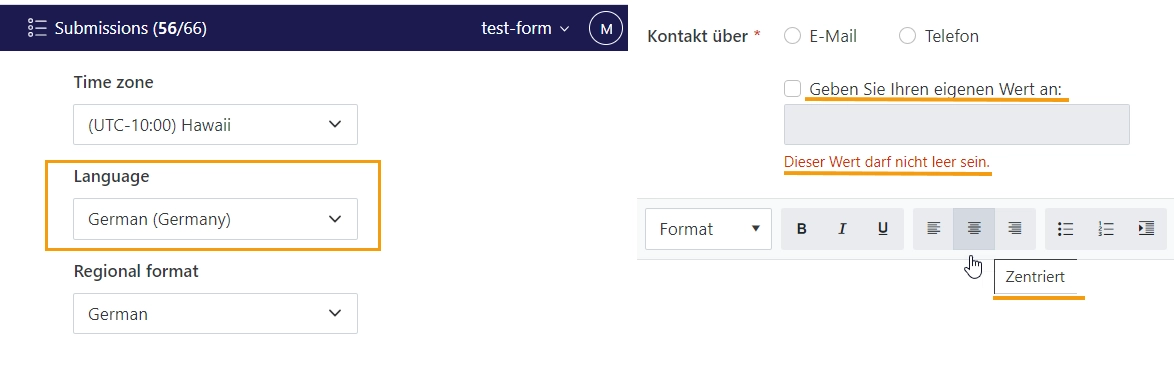
Regional format
Set the regional format used in the form to adjust date and number formatting:
Additional views
Design additional layouts of the form for mobile devices.
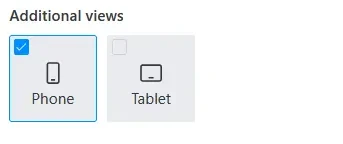
Learn more in Layouts - PC, Tablet or Phone.
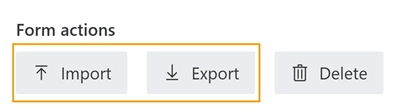
Form actions
Back up your form, restore it from a previously exported file, or remove it from your account.
Import/Export
Export the current form layout and save it to your computer. Use this file for backups or to move forms to a different account.
Click Import to restore a form layout, then select the file.
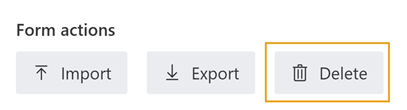
Delete
Delete your form and all of its submissions.
Note
This action is irreversible. Make sure to export your form layout and save necessary data before deleting the form.
Sharing
Share your form with users in different ways:
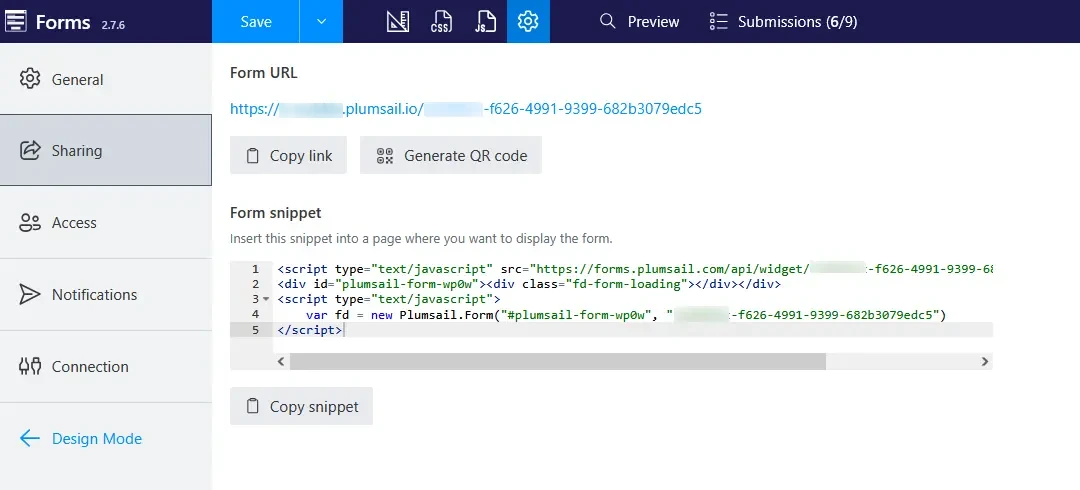
Share your public form through Form URL: copy the link or create a QR code. Create a custom sharing page to match your branding.
Note
New users must request a review of their form before sharing it. Once the form is approved, the Form URL becomes available.
Embed your form into any website using the generated Form snippet.
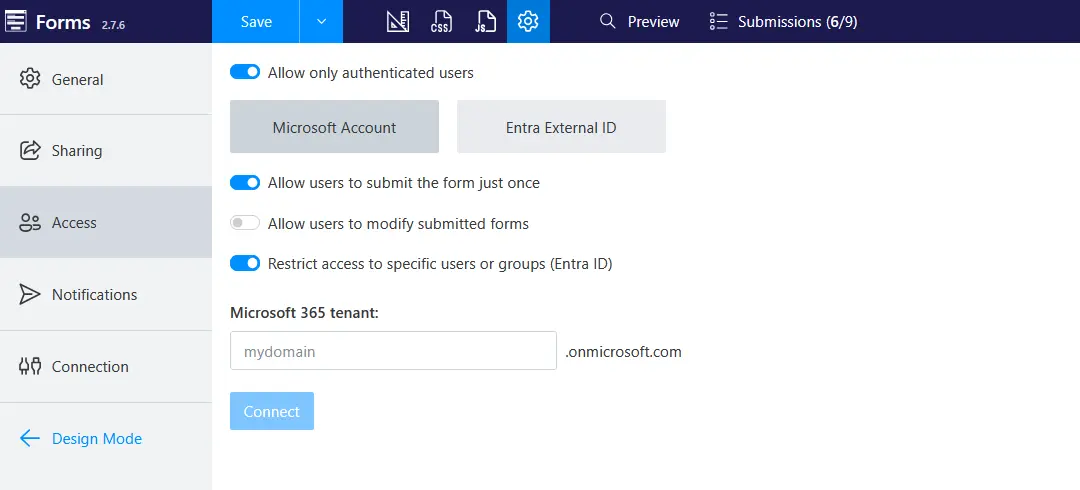
Access
By default, everyone who opens your form can use it. To restrict access, use Microsoft Account or Entra External ID for authorization.
Learn more in the Manage users in public web forms article.
Notifications
Configure email notifications for new submissions and add webhooks to send submission data to external services.
Email messages
Configure who should receive email notifications for new submissions.

None: Don’t send notifications to owner or team members.
Form owner: Send the Plumsail account owner.
Team: Send to all team members in your Plumsail account.
Custom email: Send to an additional email address.
Learn more in the Configure email notifications article.
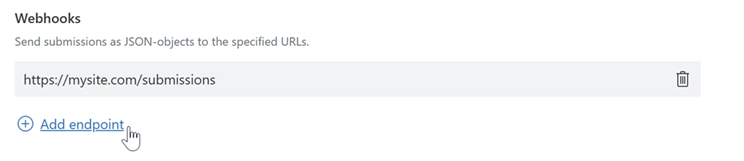
Webhooks
Set up a webhook that fires on new submissions, and send the submission data in JSON format.
Learn more in the Configure email notifications article.
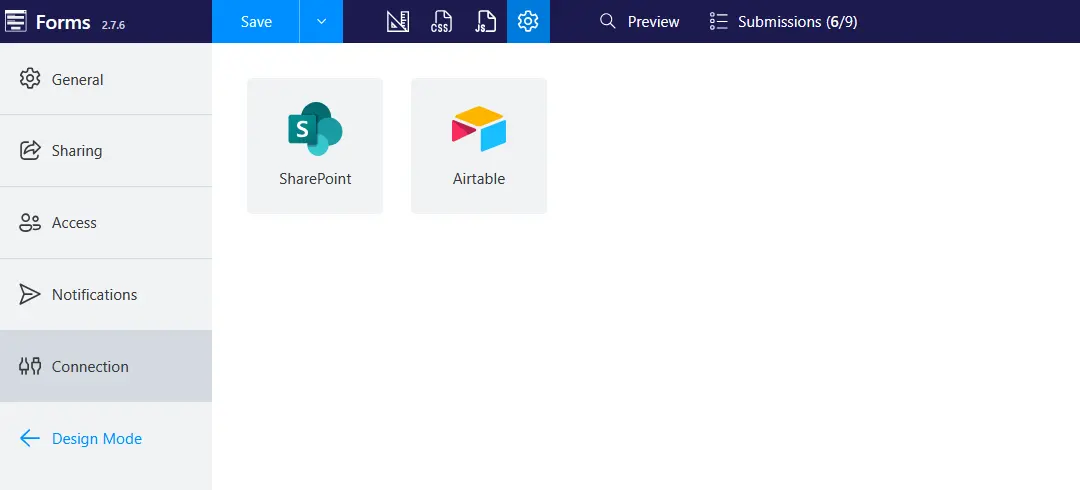
Connection
Connect your form to SharePoint or Airtable to save and edit records directly from the form.
Learn more: