WSP installation for SharePoint 2019
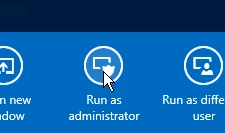
Download wsp-package and place it to one of the servers in your SharePoint 2019 farm. Run SharePoint Management Shell as administrator:
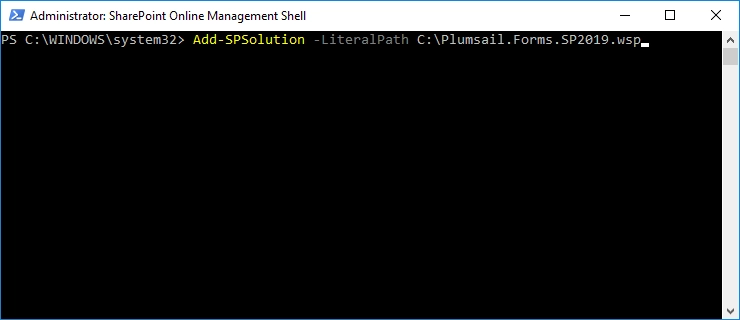
Print:
Add-SPSolution <path to wsp-package>
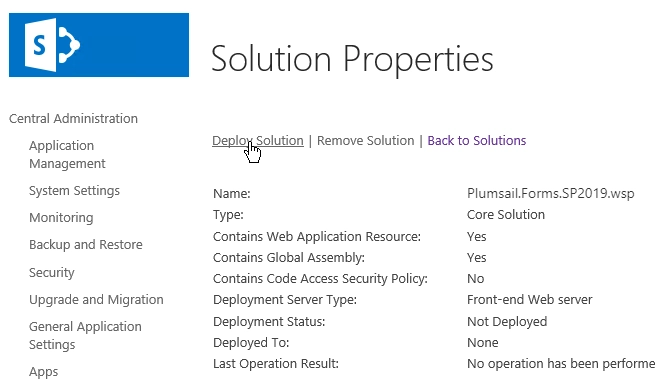
Open Central Administration as administrator → System Settings → Manage farm solutions. Select Plumsail.Forms.SP2019.wsp and press Deploy Solution link:
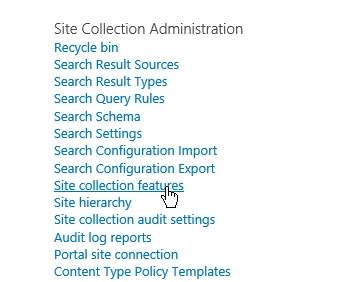
Go to your application. Select Site Settings item in the root of the site collection. Choose Site collection features in Site Collection Administration section:
Activate Plumsail Forms feature:

Then go to any of the lists on the Site Collection where you’ve activated Plumsail Forms feature, open List View in Modern UI and click Design Forms button:

To complete installation, follow the instruction steps described there, and Upload package to App Catalog.