Set up your SharePoint environment for provisioning Plumsail Forms
From this article, you’ll learn how to configure your SharePoint environment when you’re setting up Forms provisioning for the first time.
Register an application in Microsoft Entra
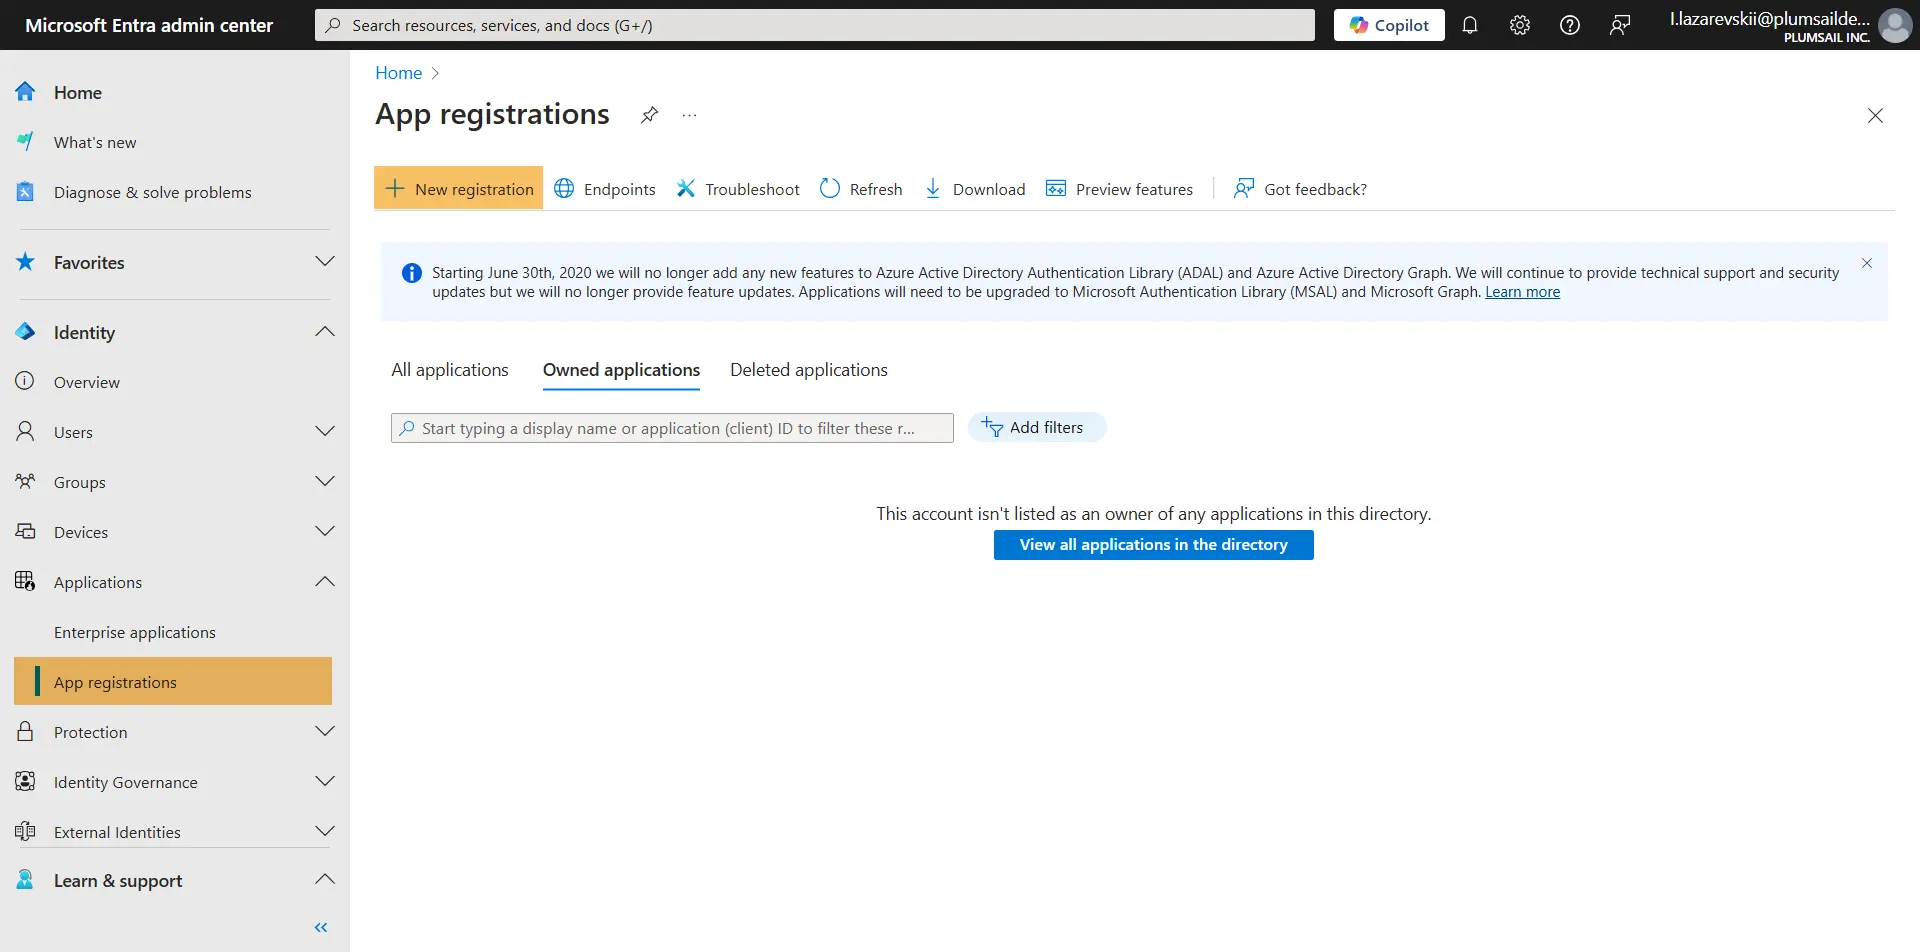
First, head to Microsoft Entra and log in with the account you use to access SharePoint. You need to have Application Developer access rights or higher. Once you’re in, go to App registrations and click New registration:
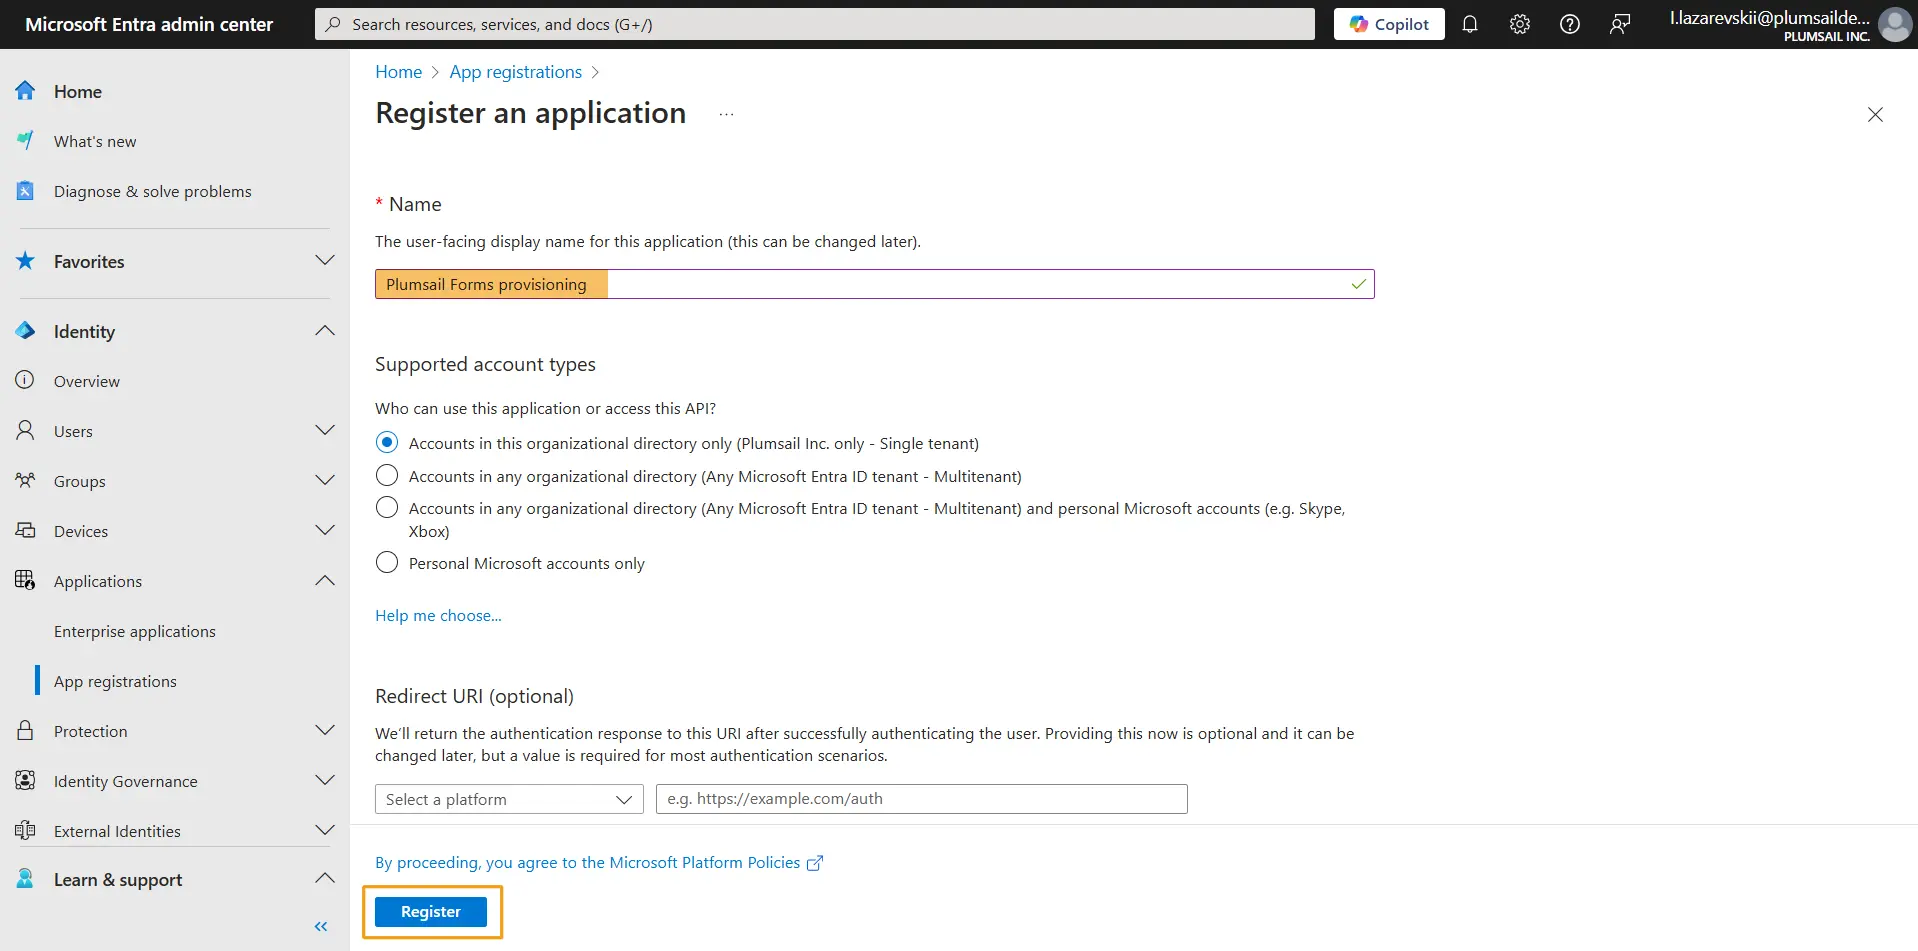
You can name the app however you’d like and leave the rest of the fields at their default values.
Feel free to check out this documentation article by Microsoft for a more detailed guide to registering an app in Microsoft Entra.
Provide the app with the necessary permissions
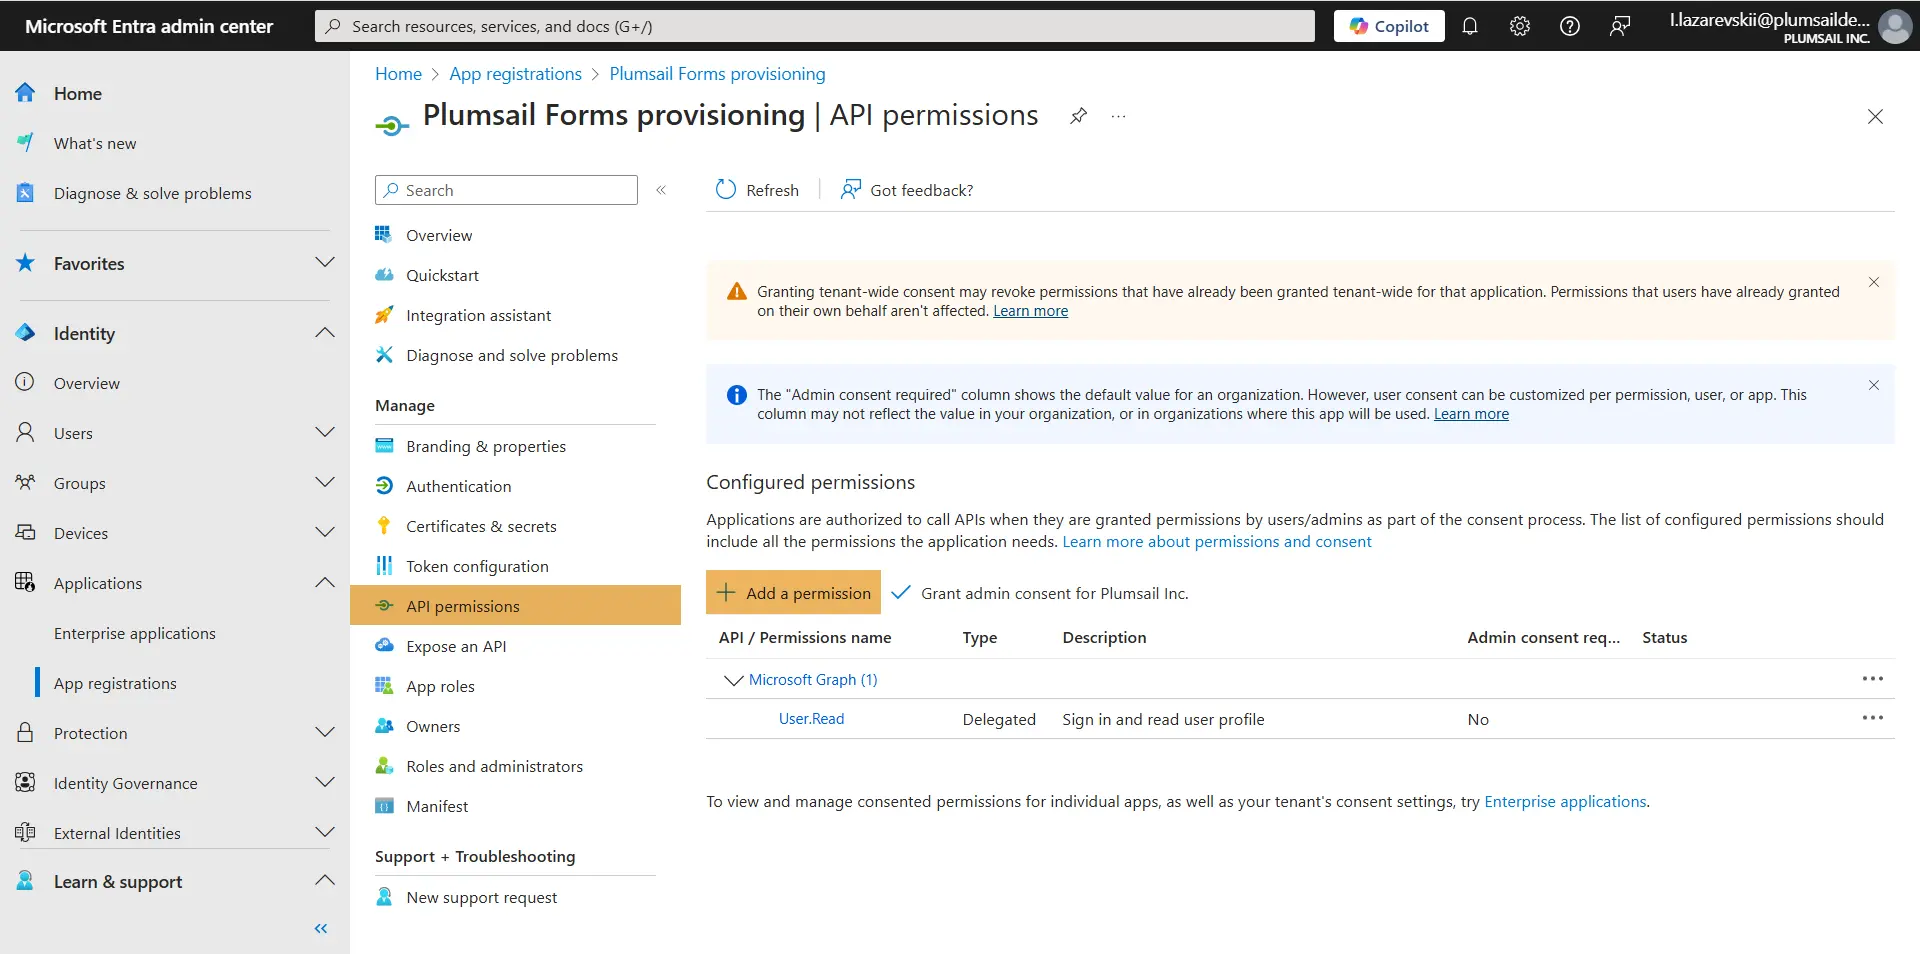
After the app is registered, you need to enable it to modify SharePoint pages. To do so, open the App permissions page and click Add a permission.
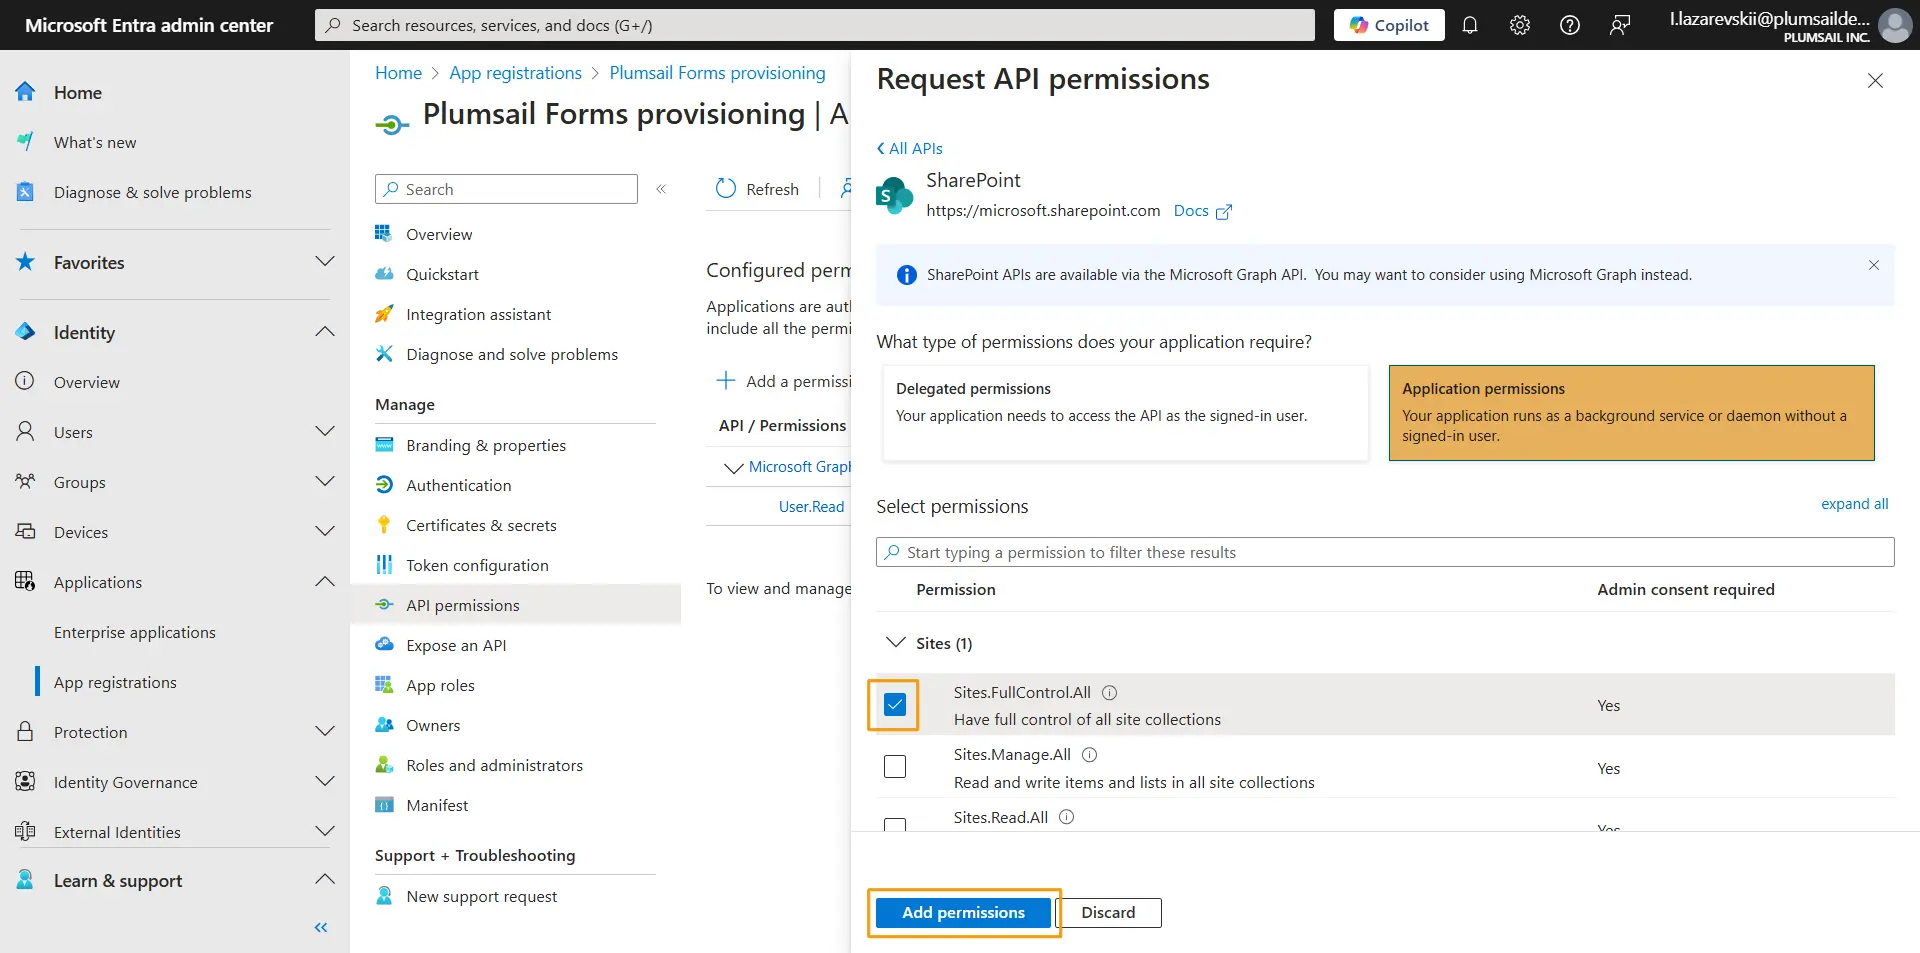
Find the SharePoint API in the list:
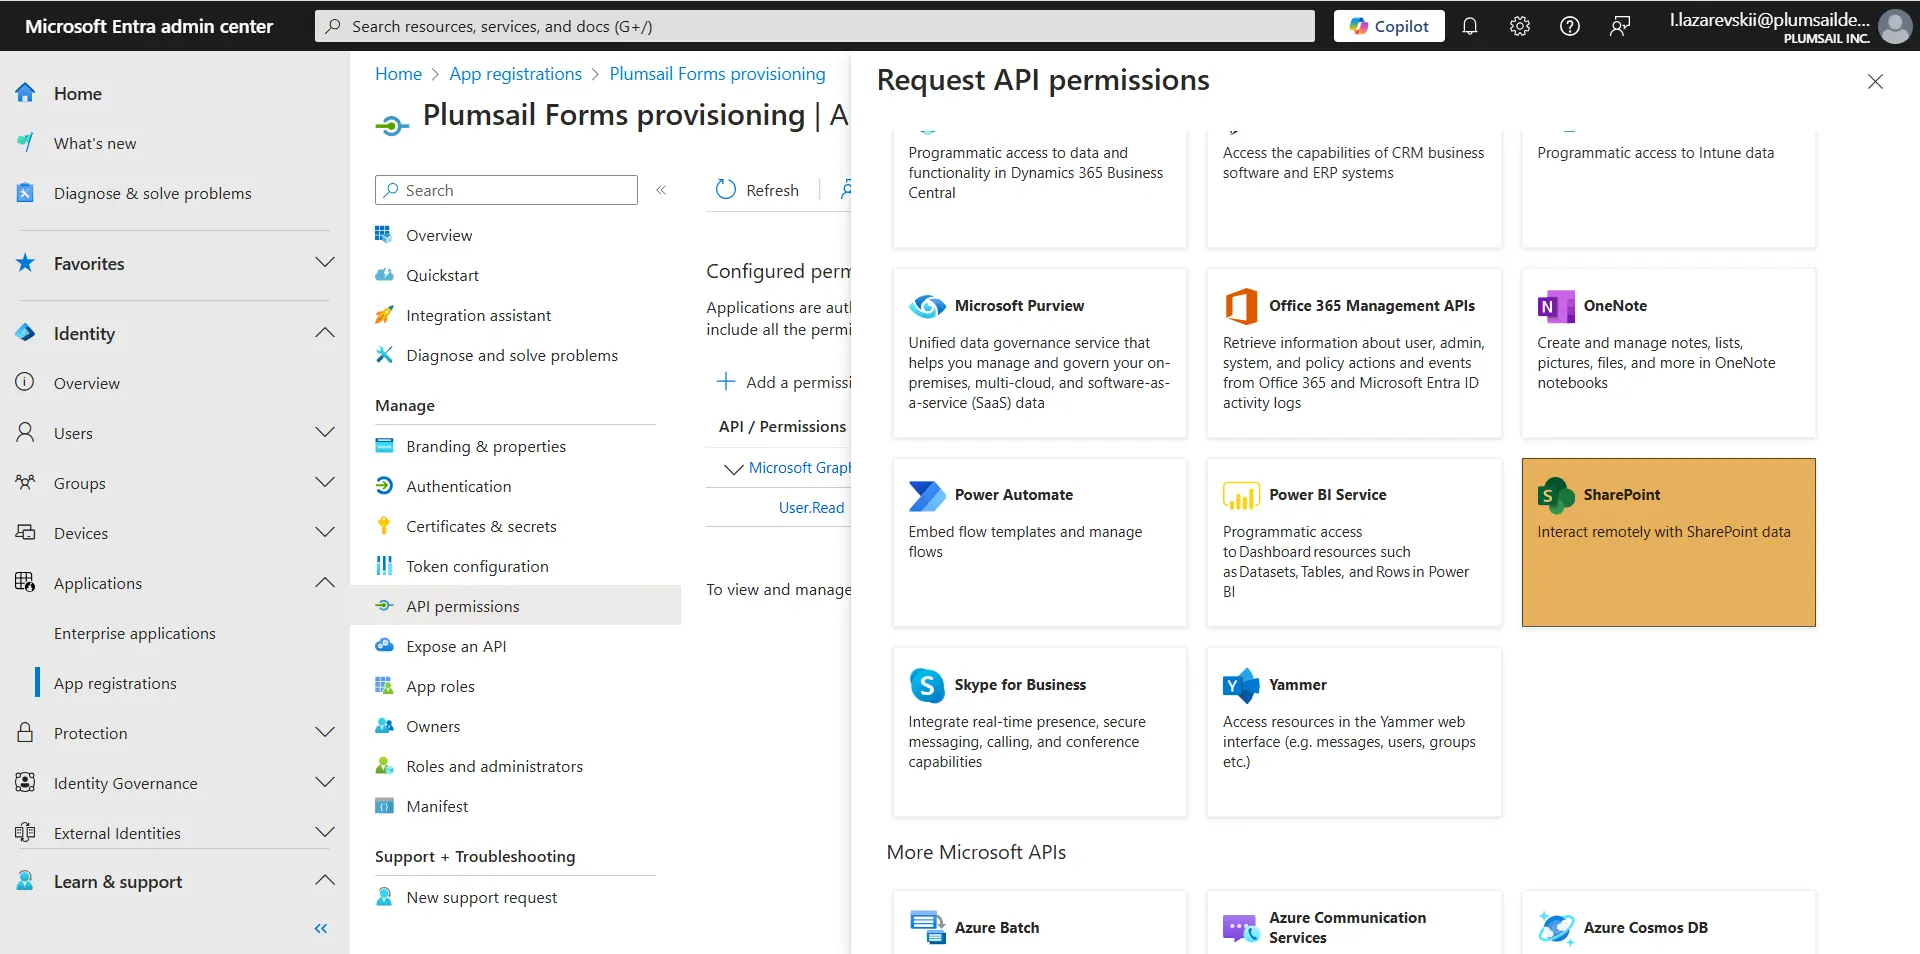
Make sure to pick Application permissions instead of Delegated permissions, then enable Sites.FullControl.All in the permission list to allow the app to edit site pages.
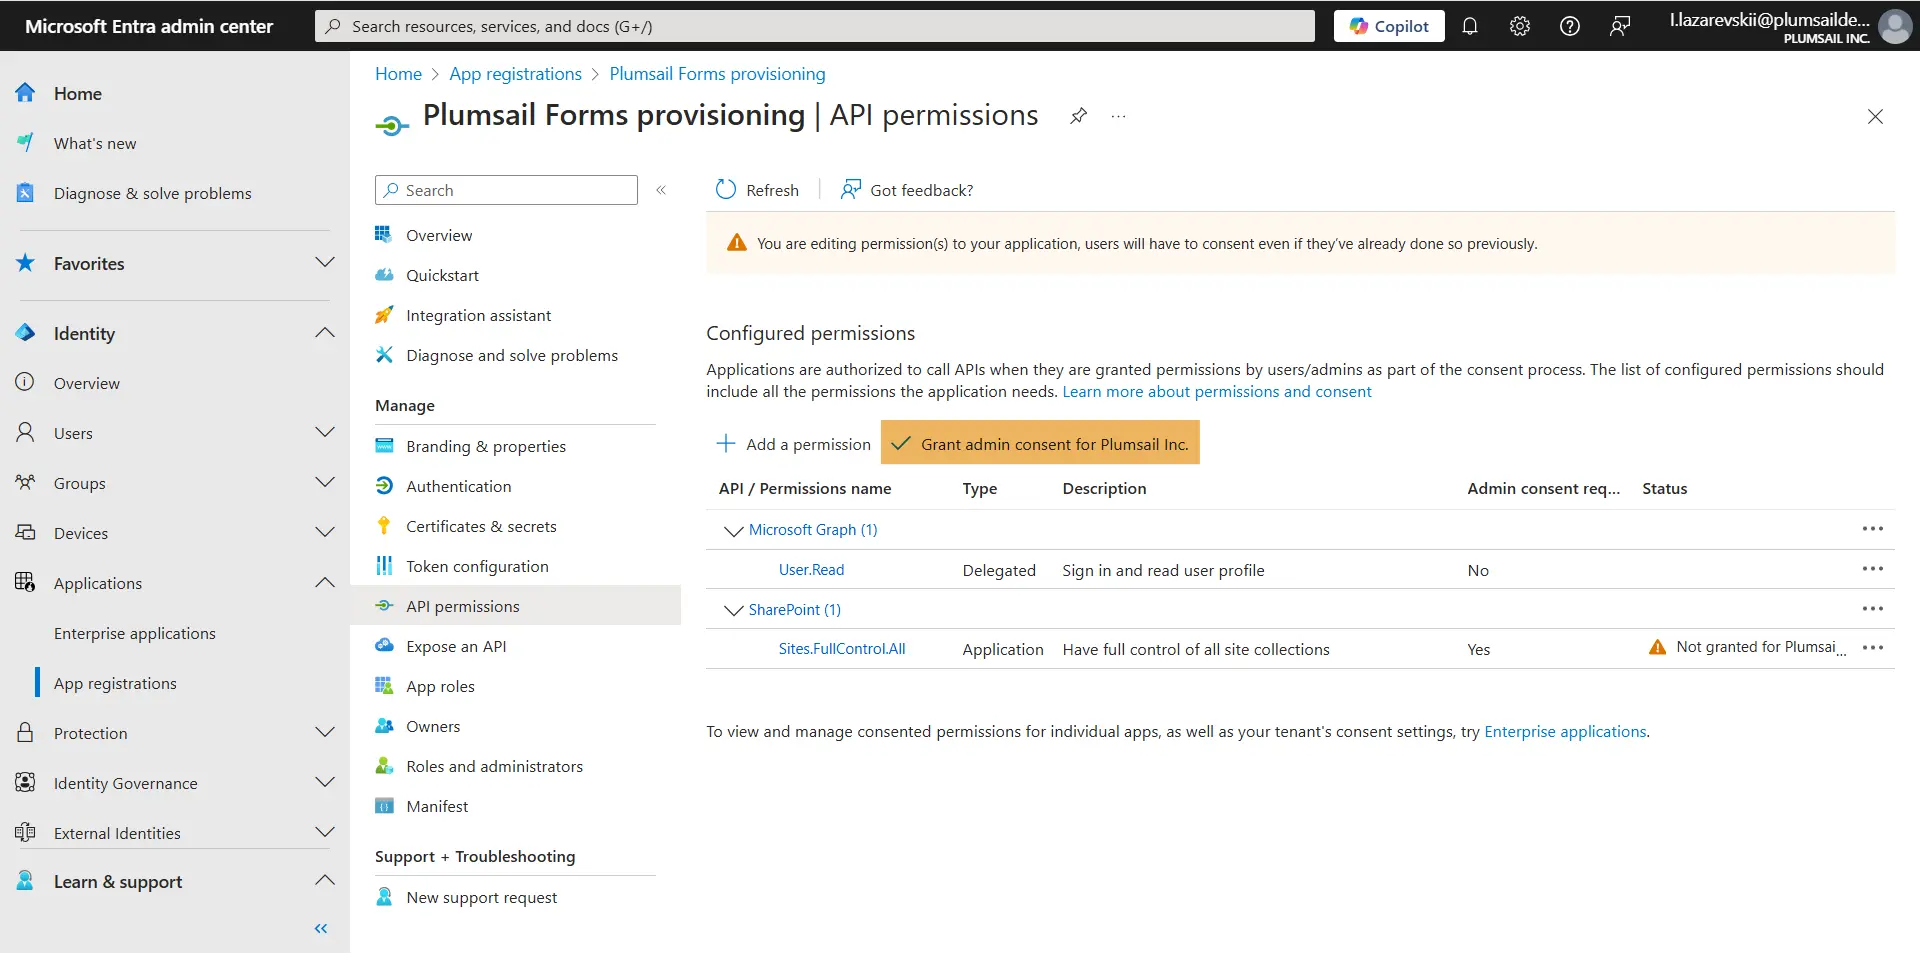
The permission you just configured requires admin consent, so you need to click Grant admin consent for it to take effect:
Create and upload the certificate
Since the app won’t be accessible to end users, a self-signed certificate is enough for authentication. We will only describe the necessary steps without much explanation here, but you can find a full guide with more information in this article on how to use a self-signed certificate for authentication.
Open Windows PowerShell, and paste the following commands, pressing Enter after each one to execute them.
Important
You should change the name and password of your certificate (plumsail-forms-provisioning-certificate and plumsail-forms-provisioning-certificate-password in our example) to something more unique. It’s up to you if you want to change C:\Users\admin\Desktop\ to a more convenient folder.
$certname = "plumsail-forms-provisioning-certificate"

$cert = New-SelfSignedCertificate -Subject "CN=$certname" -CertStoreLocation "Cert:\CurrentUser\My" -KeyExportPolicy Exportable -KeySpec Signature -KeyLength 2048 -KeyAlgorithm RSA -HashAlgorithm SHA256

Export-Certificate -Cert $cert -FilePath "C:\Users\admin\Desktop\$certname.cer"

$mypwd = ConvertTo-SecureString -String "plumsail-forms-provisioning-certificate-password" -Force -AsPlainText

Export-PfxCertificate -Cert $cert -FilePath "C:\Users\admin\Desktop\$certname.pfx" -Password $mypwd
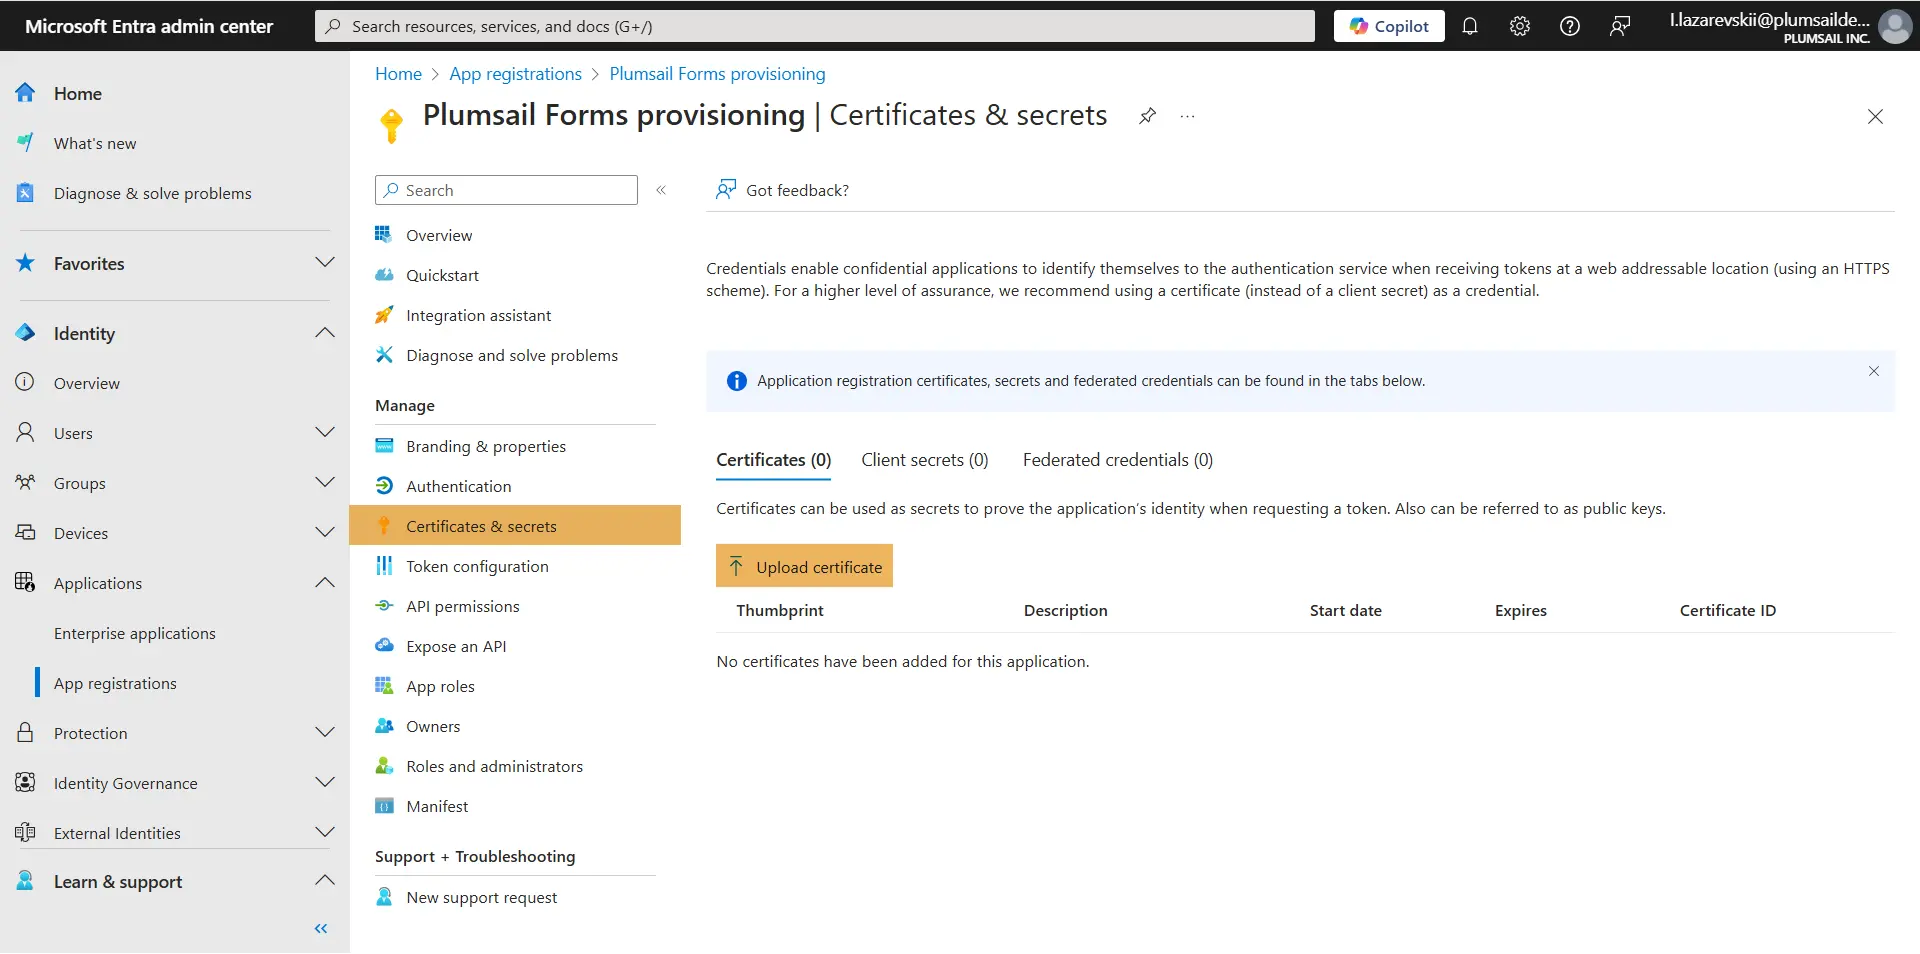
After you’re done, two files will appear in the C:\Users\admin\Desktop\ folder: a .cer and .pfx versions of your certificate. Keep the .pfx file for later, you will need it to send requests to your app. The .cer file stores the certificate public key, upload it to the Microsoft Entra portal:
Congratulations, you’re all set to provision your SharePoint forms with Plumsail. Now you can follow this guide to build an example provisioning app.