Individual SharePoint forms for user groups or certain conditions
Form sets allow you to design additional forms for SharePoint—for example, forms for a specific user or group.
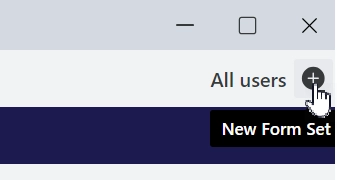
Add a new form set by clicking the + sign in the upper right corner of the designer:
After creating a form set, do not forget to save every form you plan to use, such as New, Edit, or Display form, or it might be missing.
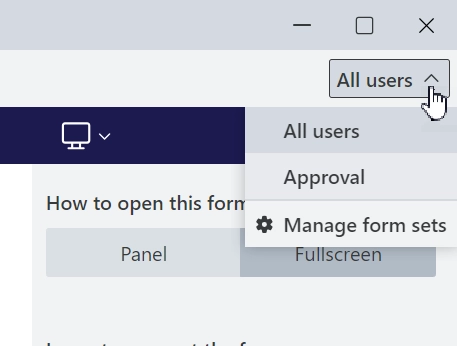
You can select a form set from the drop-down. ‘All users’ form set is the default form that all users see unless they are redirected to a custom one.
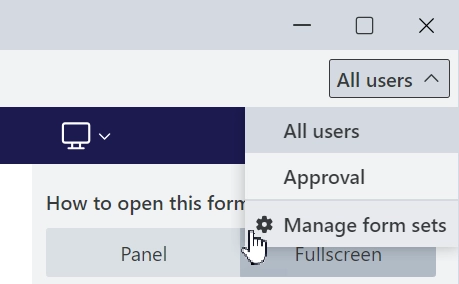
Click ‘Manage form sets’ to set up routing, add, delete, or organize form sets.
Automatic routing based on Microsoft 365 groups users or groups
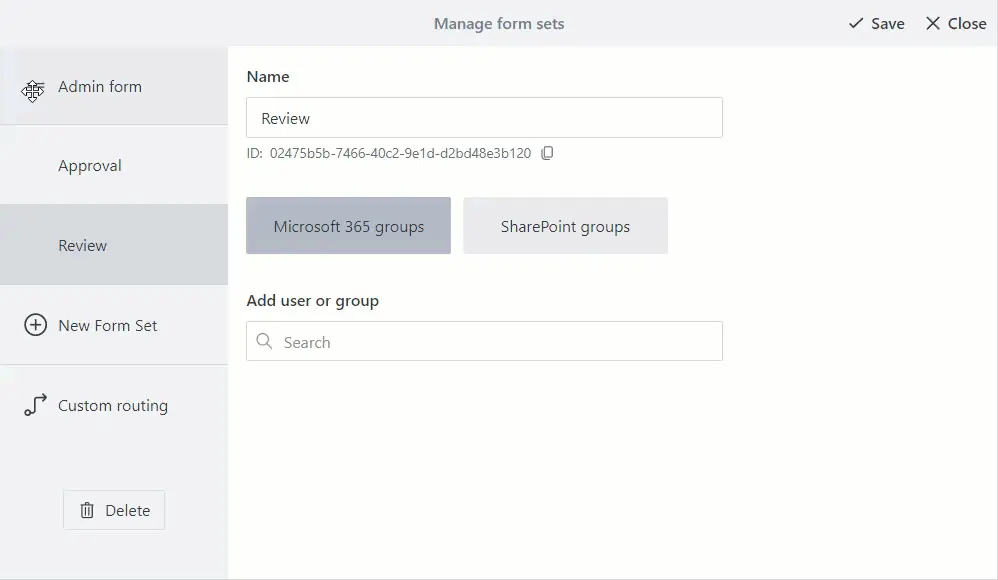
When you create a form set, you can configure automatic routing for specific Microsoft 365 group users or groups straight away:
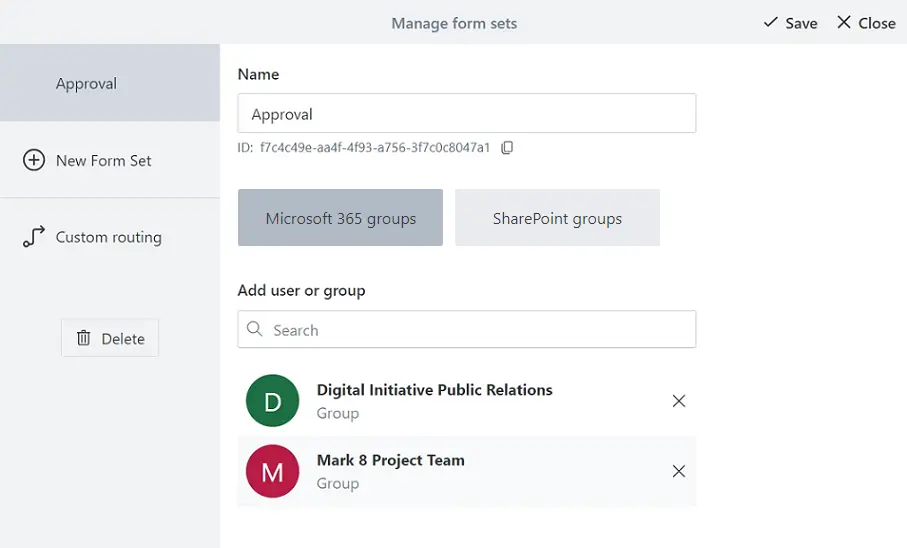
Name — the name of the Form Set can be anything you want. Choose a name that makes it easier to find the form set among all the others.
Add users or groups — select specific users or any Microsoft 365 groups, such as Team site groups, to redirect to the form set.
Automatic routing based on SharePoint group membership
You can switch to the SharePoint groups tab and configure access based on SharePoint groups instead:
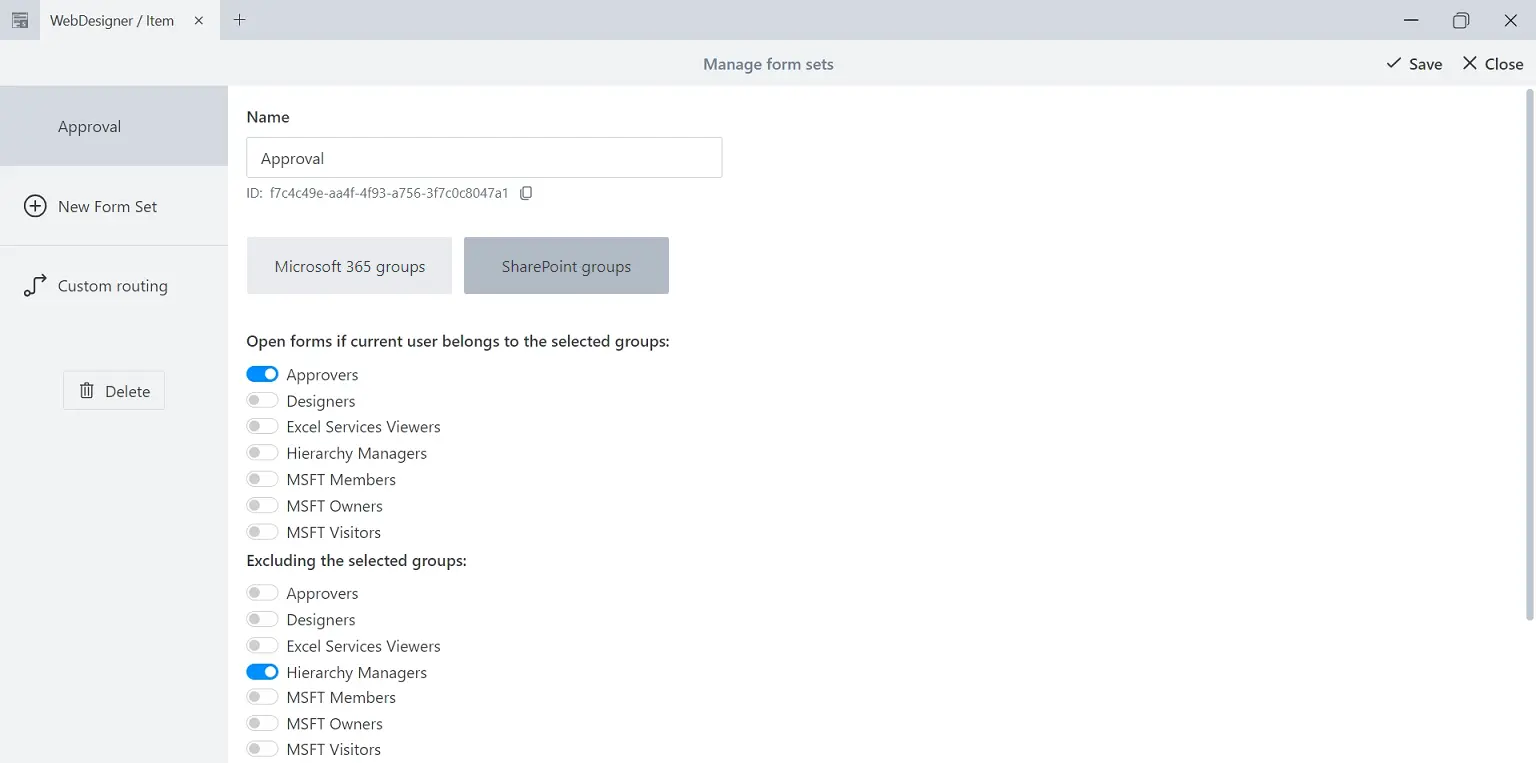
Name — the name of the Form Set can be anything you want. Choose a name that makes it easier to find the form set among all the others.
Open forms if a current user belongs to the selected groups — select all groups a user must belong to in order to be redirected.
Excluding the selected groups — completely prevent redirection for these groups, even if users also belong to the groups previously selected.
Change the position of the form set in the list to determine its priority for opening when conditions are met. Form sets higher in the list have higher priority:
Custom routing
With custom routing, you can add complex conditions. For instance, you can check the current item’s field values, a user’s properties, such as title or department, or other information from SharePoint. Also, you can redirect users not only to form sets but also to specific URLs.
Custom routing always has priority over automatic routing. It is configured for all Forms and Form sets of the current Content Type. You need to configure custom routing for each Content Type.
Find practical example of custom routing in the Create forms in multiple languages article.
To add custom routing conditions, got to Custom routing:
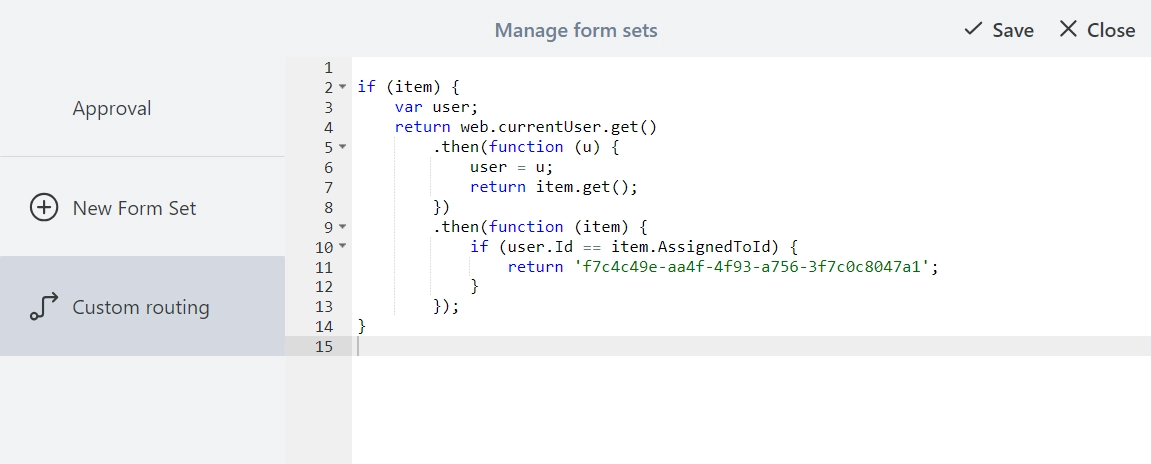
Custom routing is based on JavaScript with PnPjs library and several predefined variables describing the current context. PnPjs library contains a fluent API for working with the SharePoint REST API, allowing you to get any information from SharePoint.
The following predefined variables can be utilized in the code:
webUrl — URL of the current site
listId — ID of the current list
itemId — ID of the current item
formType — form type: New, Edit, or Display
host — form host: 0 - full page, 1 - panel, 2 - user web part
spfxContext — current SharePoint context
The following functions are available:
setFormType(string type) — set the type of the form that opens, using ‘New’, ‘Edit’ or ‘Display’ as options
The PnPjs library variables:
pnp — PnPjs library instance
sp — sp object from PnPjs:
web — current web from PnPjs
list — current list from PnPjs
item — current Item from PnPjs or null for new forms
graph — graph object from PnPjs
Site — Site function from PnPjs
Web — Web function from PnPjs
The code in custom routing must return an ID of a Form Set, or a Promise that is resolved with Form Set ID. The ID will be used to render a specific Form Set.
The Form Set ID can be found under the name of the form set and can be copied with a single click of a button:
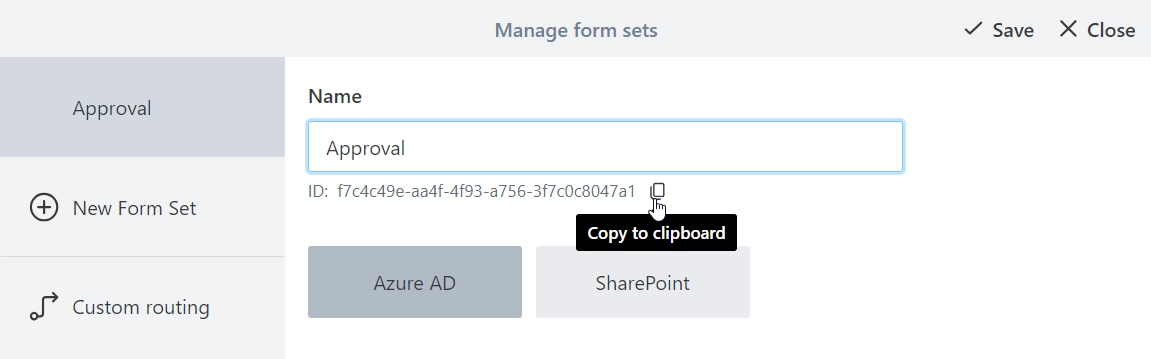
If the code returns nothing or throws an error, the default routing is applied.
You can find examples of custom routing code further below.
Check item’s field
Redirect to a certain Form Set depending on the value of a Text/Single Choice field:
// check if the item exists; returns true for Edit and Display Forms
if (item) {
    // get 'Status' field value
    const { Status } = await item.get();
    if (Status === 'Solved') {
        // return ID of a Form Set
        return '31fb1f41-63f3-48ff-a1c2-18b4e7f7c3e7';
    }
}
Check item’s Lookup field
Redirect to a certain Form Set depending on the value of a Lookup field:
// check if the item exists; returns true for Edit and Display Forms
if (item) {
    // get ID of selected option in 'Company' field
    // add Id to the internal name of the Lookup field
    const { CompanyId } = await item.get();
    if (CompanyId === 3) {
        // return ID of a Form Set
        return '31fb1f41-63f3-48ff-a1c2-18b4e7f7c3e7';
    }
}
Check item’s Person field
Redirect to a certain Form Set if Person field equals the current user:
// check if the item exists; returns true for Edit and Display Forms
if (item) {
    // get the current user
    const user = await web.currentUser.get();
    // get ID of the user in the 'AssignedTo' field
    // add Id to the internal name of the Person field
    const { AssignedToId } = await item.get();
    if (user.Id === AssignedToId) {
        // return ID of a Form Set
        return '31fb1f41-63f3-48ff-a1c2-18b4e7f7c3e7';
    }
}
Check item’s multiple selection Person field
Redirect to a certain Form Set if multiple selection Person field contains the current user:
// check if the item exists; returns true for Edit and Display Forms
if (item) {
    // get the current user
    const user = await web.currentUser.get();
    // get ID of the users in the 'AssignedTo' field
    // add Id to the internal name of the Person field
    const { AssignedToId } = await item.get();
    if (AssignedToId && AssignedToId.indexOf(user.Id) >= 0) {
        // return ID of a Form Set
        return '31fb1f41-63f3-48ff-a1c2-18b4e7f7c3e7';
    }
}
Check user’s property
Redirect to a certain Form Set if User’s Department is ‘Fire Safety’:
// get properties of the current user
const { UserProfileProperties }  = await pnp.sp.profiles.myProperties.get();
// if there is a property with Key: Department and Value: Fire Safety
if (UserProfileProperties.some(p => p.Key === 'Department' && p.Value === 'Fire Safety')) {
    // return ID of a Form Set
    return '8720f859-7cca-4c51-8548-7a28f271d6a8';
}
Check and change form type
It’s possible to check and change form type, for example, always open Edit Form instead of Display Form if the user has Edit permissions:
// check form type; it can be New, Edit, or Display
if (formType === 'Display') {
    // check user permissions for the item
    const hasEditPermissions = await list.items.getById(itemId).currentUserHasPermissions(2);
    if (hasEditPermissions) {
        setFormType('Edit');
    }
}
Check host
Redirect to a certain Form Set if form is opened in full page mode, in a panel, or in a webpart:
// regular form
if (host === 0)
    return '568be5c6-383e-4903-ab5b-aeef7f1e76ae';

// SharePoint panel
if (host === 1)
    return '87a5e162-3fe5-4459-8527-e1c04e14621f';

// Plumsail Forms Web Part
if (host === 2)
    return '719a0769-1c0a-4a6c-8dcf-57abc8a7d71a';