

Documents
Last updated: Apr 11, 2024
Airtable Page Designer Alternative
A side-by-side comparison between Plumsail Documents and Airtable Page Designer.

Perhaps you are searching for how to fill Adobe Acrobat PDF form practically. The Adobe PDF Services connector for Power Automate does not provide actions for filling PDF forms. But there is an alternative to Adobe PDF Services that populates fillable PDFs in Power Automate flows. This article shows a practical approach to filling out PDF forms without Adobe Acrobat using Plumsail Documents. Moreover, our method will allow you:
Watch the video to learn how to fill out PDF forms in Power Automate, and read the detailed description of this feature in the article below.
Content of the article
Plumsail Documents customers use the app to generate documents, send them by email, collect e-signatures, and save it in almost any app using Power Automate, Zapier, and native integrations. The app supplies the needs of the most demanding customers as it works equally well for basic and complex documents with repeating fields, tables, pictures, charts, math formulas, and more.
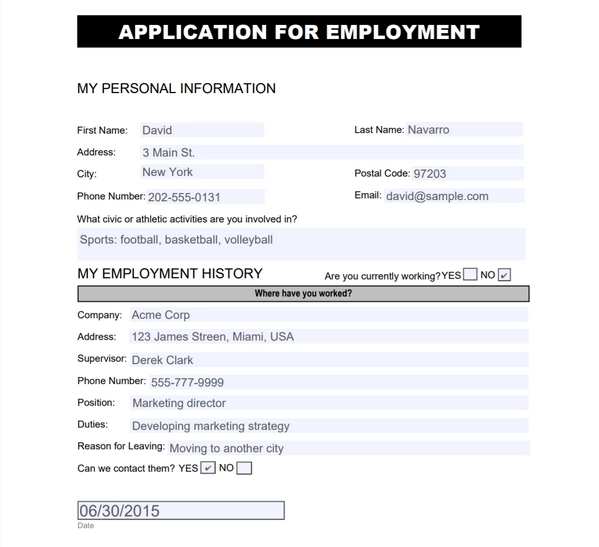
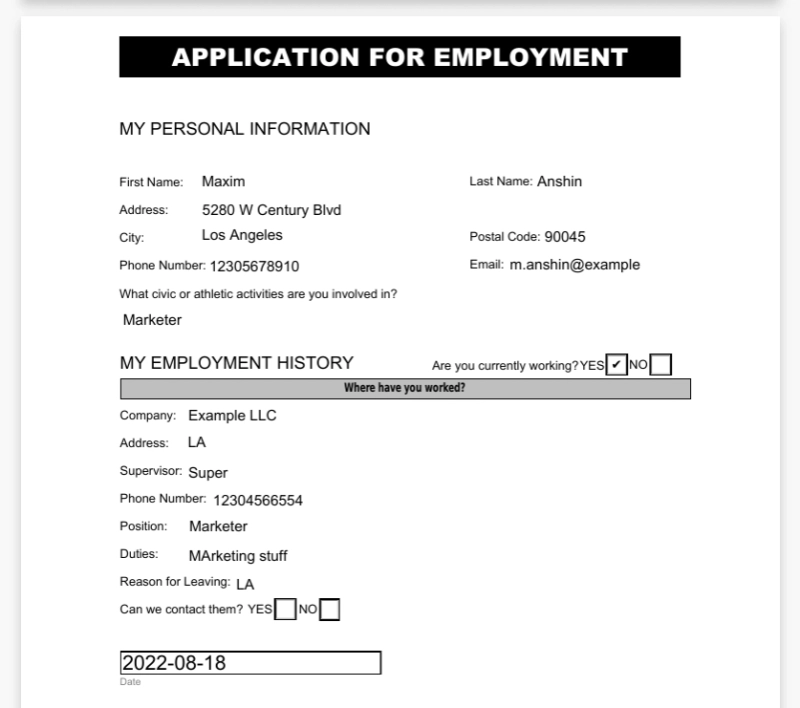
We hope you have a PDF form, and we have instructions to create a fillable PDF if you haven't one. Also, you can download the template file you can see on the screenshot below.
We will automatically fill the Application for Employment PDF form by pulling the data from a SharePoint list via Plumsail Documents connector and Power Automate. You can merge data from your favorite apps into your PDF.
You can automatically deliver and store filled PDF forms in any system via Power Automate (Microsoft Flow) connectors and Plumsail Documents deliveries.
There are two different ways to fill the PDF form with the Plumsail Documents connector and Power Automate:
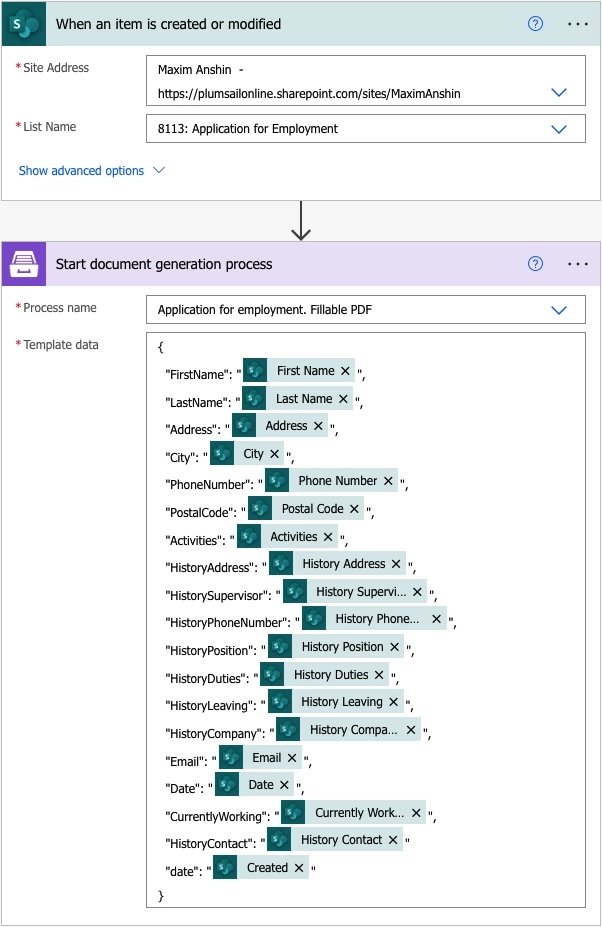
We use the “When an item is created or modified” trigger to get the newest or modified item from the SharePoint list. You can use any trigger related to your systems. We create the columns in the SharePoint list named as the fields in our fillable PDF file. Here is how our flow looks:
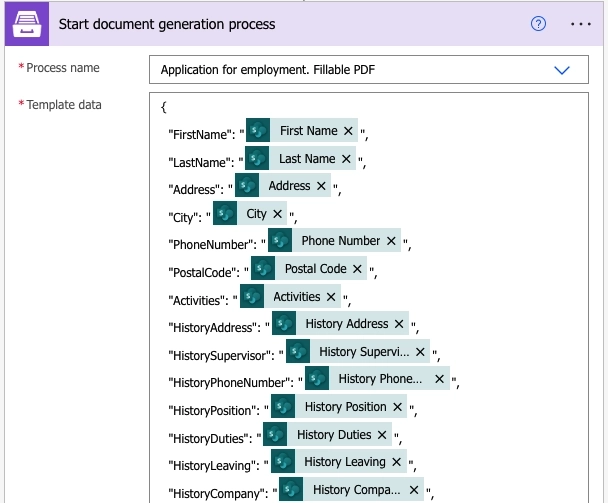
You can see on the screenshot above the "Start document generation process" action we use in the flow.
Before using this action, we need to create the process in Plumsail Documents. If you’re new to Plumsail Documents, register an account and follow the steps described in the article. Go to Processes in the Plumsail account and add a new process. Upload your PDF form, or use our template from this example.
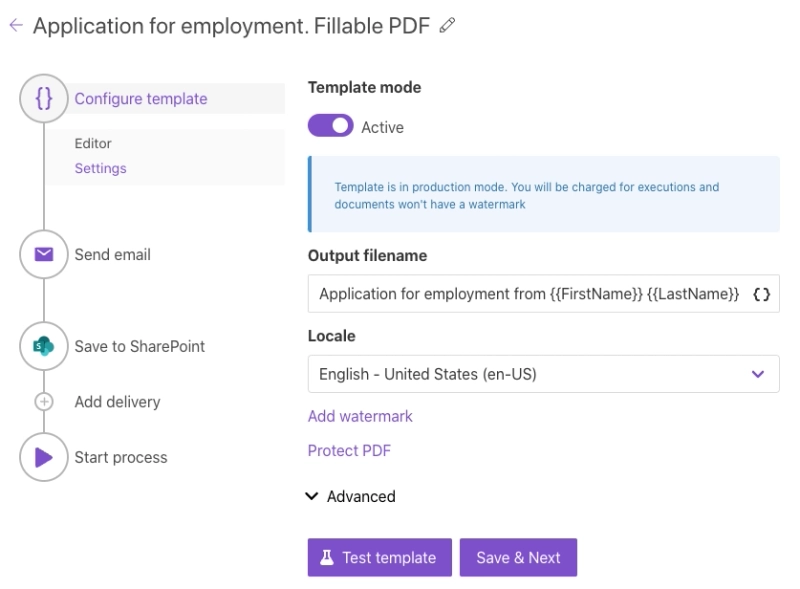
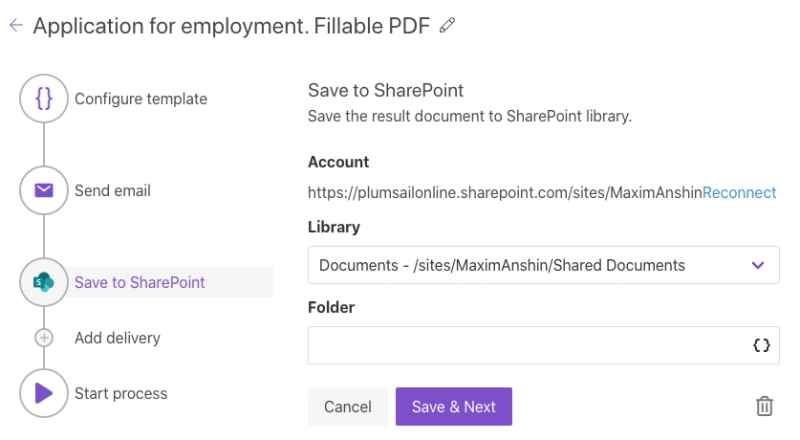
Next, set the output settings for the document. You can place data from fillable fields into a filename, add watermarks, and protect PDF. Our example:
With Plumsail Documents, you can deliver the document via email and store it in your favorite apps using native integration, Zapier, and Power Automate. We will store filled PDF documents in a SharePoint document library.
Then, go back to flow, find the “Plumsail Documents” connector, and set the action “Start document degeneration process.” Then, put a JSON object as source data to fill in your form. As you may see in the screenshot below, we use the field names assigned to the PDF form fields while preparing the template. We combine assigned names of PDF form fields with the data from the SharePoint list by using JSON format.
Read the article to learn more about this approach. There you can find the answers to questions you may encounter.
In this way, we use the same “When an item is created or modified” trigger and different actions:
Here is how our flow looks:
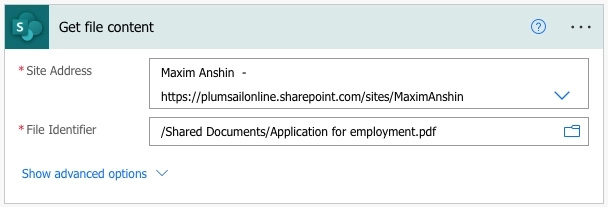
In our example, this action gets the file content of the fillable PDF from a SharePoint document library.
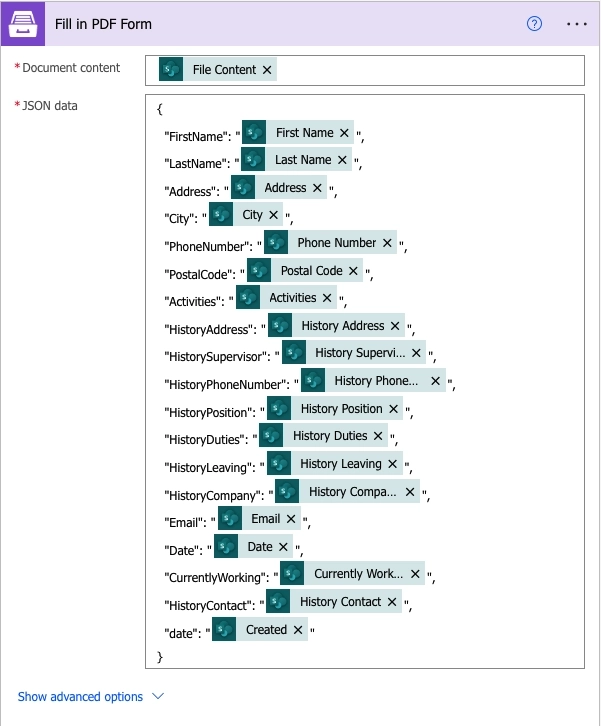
"Fill in PDF Form" is the action from the Plumsail Documents connector you can use to fill PDF forms.
There are three parameters:
In our case, we specified the output of the “Get file content” action as a source fillable PDF. In the first parameter, “Content of the PDF document,” you can put file content from other actions you need. In the second parameter, “JSON data,” you can put a JSON object as source data to fill in your form. Please make sure that, you specified the same property names as you used in your fillable PDF. Thus, the action will match properties to fields in PDF and fill them.
Activate the third parameter, “Lock form fields,” if you want to lock the fields after filling the PDF form.
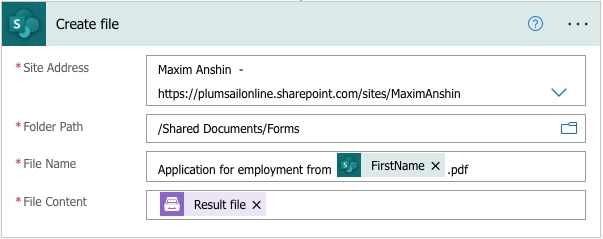
In our example, we save the filled PDF file in the SharePoint folder. We use dynamic content in the file name. Be aware of how we specified the PDF file. It is essential to specify the file name with the correct extension.
You can use any other connector to send or store documents in your system.
Read the article to learn more details about this approach.
Our flow is ready. Here is what we get as a result:
Now you know how to automatically fill out PDF forms with the help of Plumsail Documents in Power Automate (Flow).
Register an account to try out automatic PDF form filling and other workflow automation features. It's free to try for one month, no credit cards are required, and you can try all features without the risk of accidental payment.
If you have any questions, feel free to send a request to our support team or leave your question in our community portal.
A side-by-side comparison between Plumsail Documents and Airtable Page Designer.
A side-by-side comparison between PandaDoc and Plumsail Documents.
A detailed comparison between Formstack Documents (Webmerge) and Plumsail Documents.