In this blog post, we will explain the advantages of automating the student registration process for courses. Then we will dive into the main components involved, including Word DOCX template overview, form template overview and step by step instructions. This journey will take you from filling out a course registration Form to delivering the confirmation PDF document via email to the specified student’s email address, and everything in between. After you finish reading this blog, you will be able to understand and implement the process yourself. So, let’s automate student registration process for courses and waste no time.
In this article:
Benefits of Automating the Student Registration Process
When it comes to efficiency, many companies struggle to implement some solutions to boost productivity and eliminate repetitive tasks. Our focus in this article is to help educational institutions to automate the student registration process for course enrollment. Below, we will name a few benefits of automating the student enrollment process and why you should use it:
-
Time and Resource Savings: It eliminates the need for manual data entry which can be time-consuming and a waste of precious resources.
-
Improved Data Accuracy: It reduces the risk of data entry errors, which can lead to greater customer satisfaction.
-
Enhanced User Experience: It simplifies the registration process for students, making it more user friendly with fewer barriers.
We can see that this process of automation benefits the institution which is implementing it and students equally.
Student Registration Sheet Template Overview
The first step in our automation process is to prepare the document template we will be using in this process. Document templates play a crucial role in automating the student registration process. In our example, we will be using Student Registration Sheet Template from Plumsail Documents Template Library. This is how our template looks like:

As you can see this template is a pre-formatted Word document template and it contains static and dynamic data. Static data is just plain text, while dynamic data is inserted into double curly brackets, special placeholders which we call tokens. They are populated automatically.
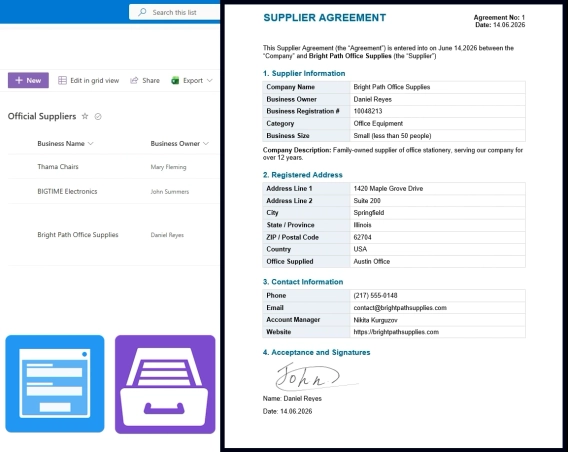
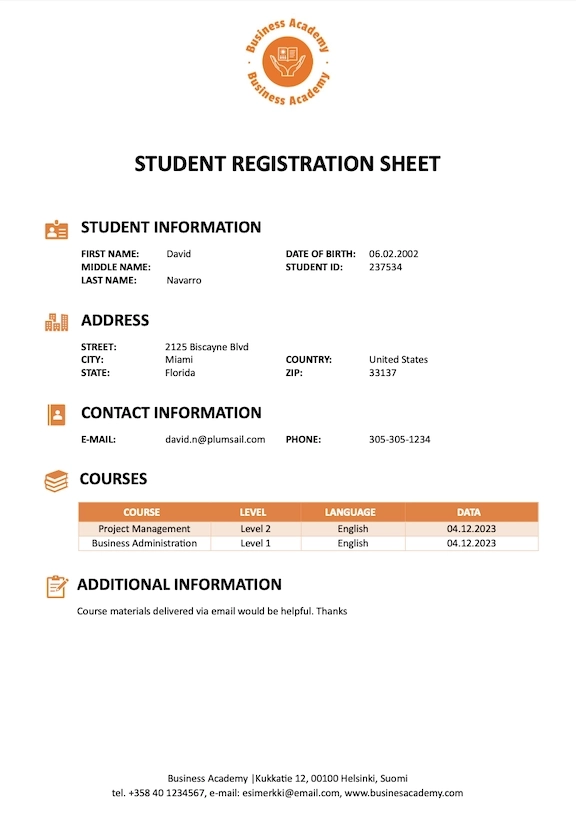
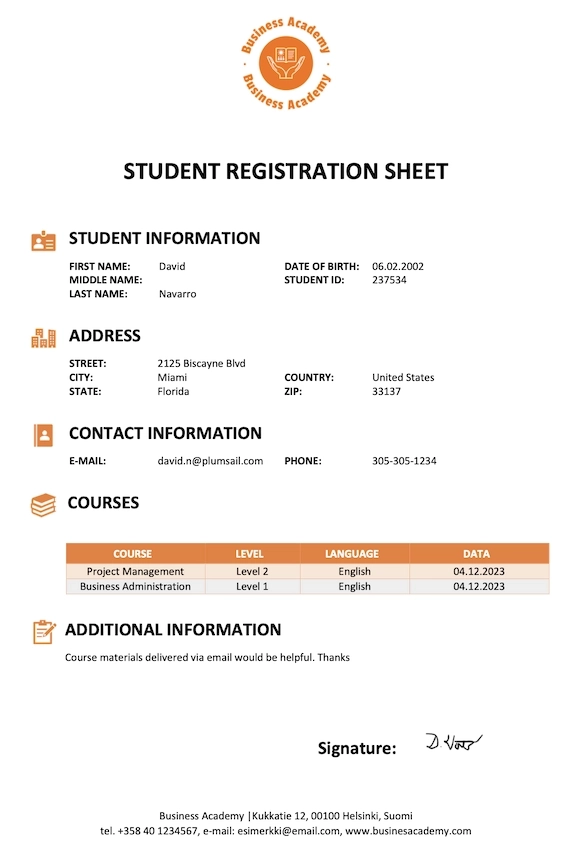
This is how our final document will look like:
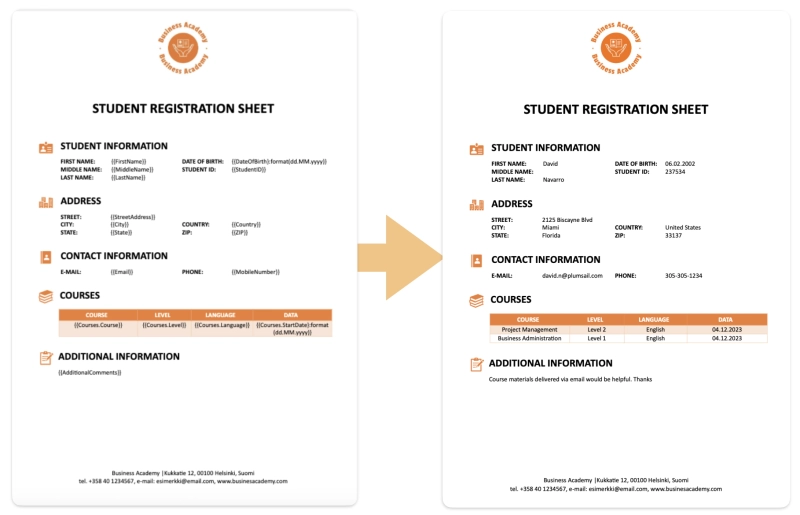
We have chosen the final document to be in PDF format. Special placeholders in double curly brackets, such as {{FirstName}}, {{MiddleName}}, {{LastName}}, {{DateOfBirth}:format(dd.MM.yyyy)} and {{StudentID}} in Student Information section are automatically populated using data from our public web form field names. And all other sections with tokens are automated as well.
In the Courses section, we used nested tokens with a dot operator inside the table to indicate that properties refer to the same collection of the object. Examples include {{Courses.Course}}, {{Courses.Level}}, {{Courses.Language}} and {{Courses.StartDate}:format(dd.MM.yyyy)}.
The templating engine is smart enough to understand what content needs to be duplicated. It will iterate through all objects in the array to render them and add rows automatically.
To learn more about DOCX templates, we recommended reading our documentation Word DOCX Templates.
Student Registration Form Template Overview
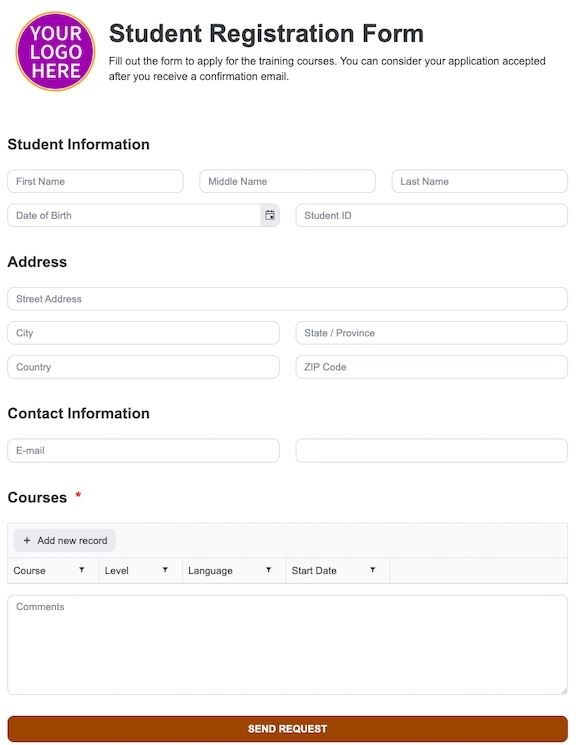
The second step is to create a Plumsail Public Web Form which we will be sharing with our students to be filled out. For this demonstration I will use Student Registration Form Template from Plumsail Forms Template Library.
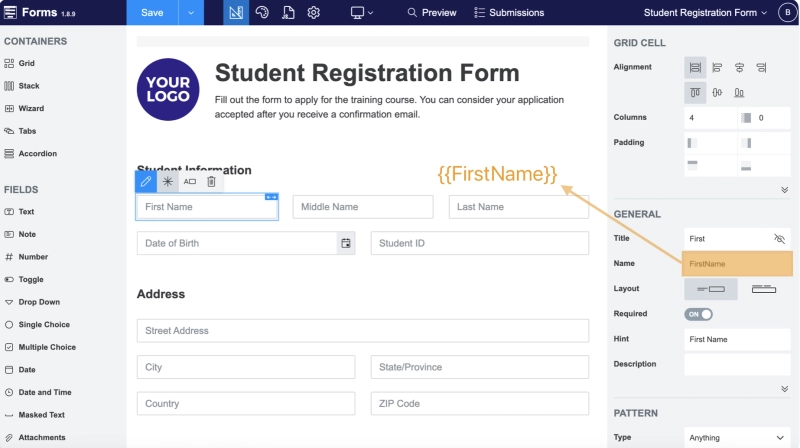
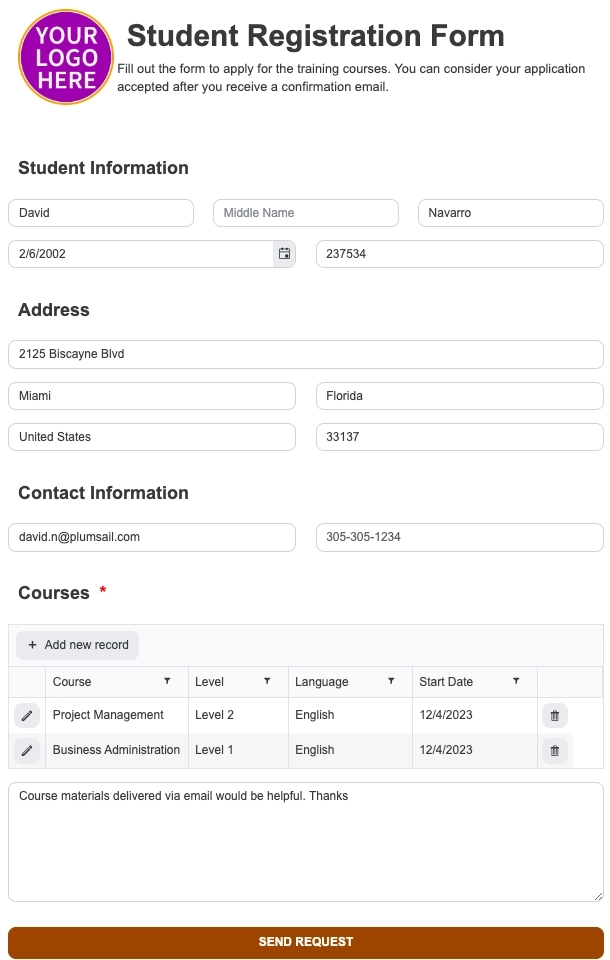
This is our Course Registration Form Sample which we will be using in this process:
Each Name field in the Form corresponds to a specific token in our Student Registration Sheet template in Word Document. In the example on the picture below, we can see that FirstName will populate token {{FirstName}} in the Word Document Template. That allows us to transfer the data from the Form to the template and automatically generate a ready-to-use document with filled data. This significantly helps with the automation of the course registration process.
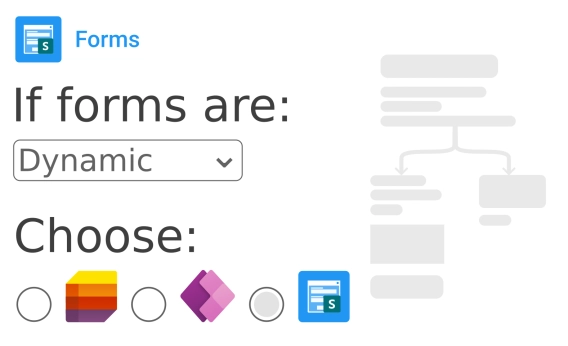
In case we need to build a form from scratch, using Plumsail Public Web Forms we can create custom Web Forms for different use cases with ease. Public Web Forms are highly customizable and easy to use. In Plumsail Public Web Form Designer we can build Forms with multiple steps, data tables, signature, and tabs for any device. Once we have designed the Form we need, we can share it with our users via link or embed it into our website.
You can watch a short YouTube Video explaining how to use Plumsail Public Web Forms.
Start Automation for the Student Registration Process with Plumsail Processes
Create document generation process
To start the process, click on the Add process and here are two different options available. You can start the process from dozens of Plumsail Documents Templates and edit them within the process using Google Docs to fit your needs, or you can Start from Blank. In this case we will Start from Template.
Next step is to give our process a name.
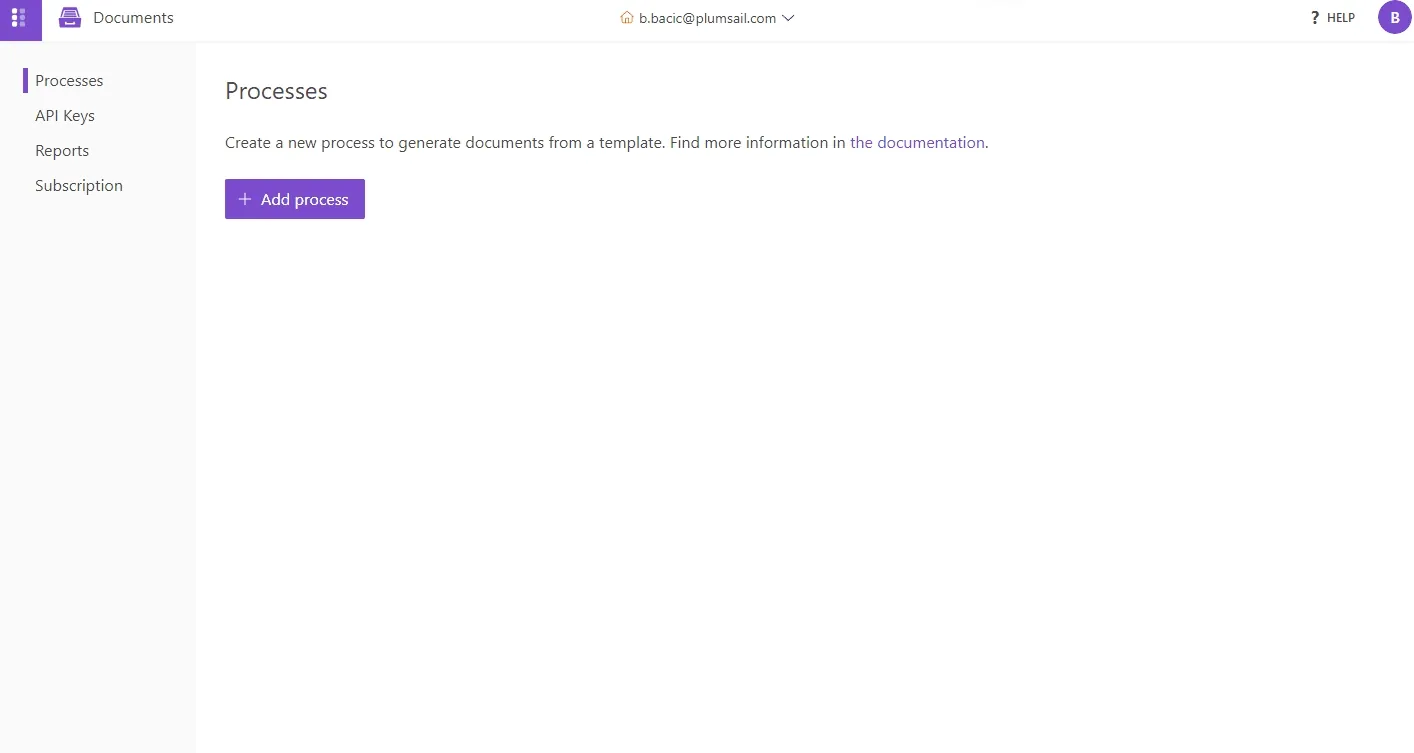
Processes are an easy way to automate the creation of documents from templates.
Configure output file settings
In the next step, which is Configure Template, we have two sub steps:
In the editor mode you can build a new template from scratch or upload a pre-made one.
In the settings mode we can choose the Template mode, which could be Testing and Production. Testing mode is a free process run with a Plumsail watermark inside documents.
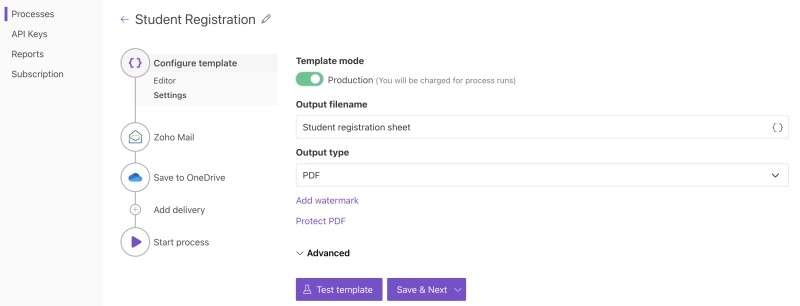
Next choose our Output file name. We can make it unique by using tokens. In this example we want our auto generated PDF to have a file name First Name Last name – Student ID, so we will inset tokens {{FirstName}} {{LastName}} - {{StudentID}} and as output type choose PDF.
Add delivery
In this step, we can add as many deliveries as we need. For our use case, one of the delivery options is to add Zoho email delivery and choose to be automatically delivered using an email token. This means that an automatically generated PDF document will be delivered to the email address filled in by the student via the Public Web Form. See the picture below:
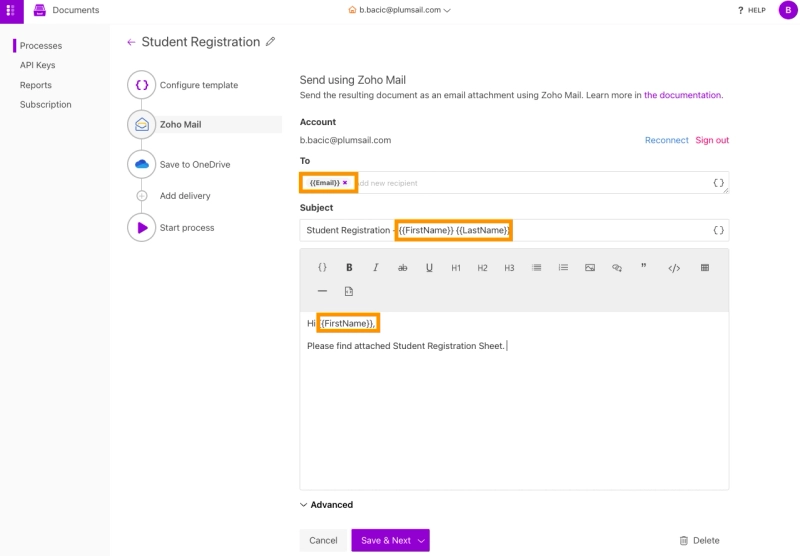
Additionally, we can personalize the Subject line and email body using tokens as highlighted in the picture above.
For the second delivery option we will choose to save Student registration sheet in OneDrive, so we have it on file. Once we connect our OneDrive account, we can choose our folder name to be dynamic. In here we will use tokens to create a separate folder for each student and save all their files in that folder.
Start Automated Student Registration Process
Now we can launch the process to dynamically populate the template and trigger our deliveries automatically. But before we do that we have to bind our Public Web Form to the Process we just created.

Fill out Student Registration Web Form Online and get started with Automation
We can see how our form looks like after filled out:
And the output PDF Document automatically sent to the student and saved to our OneDrive:
Add electronic signature to your Document
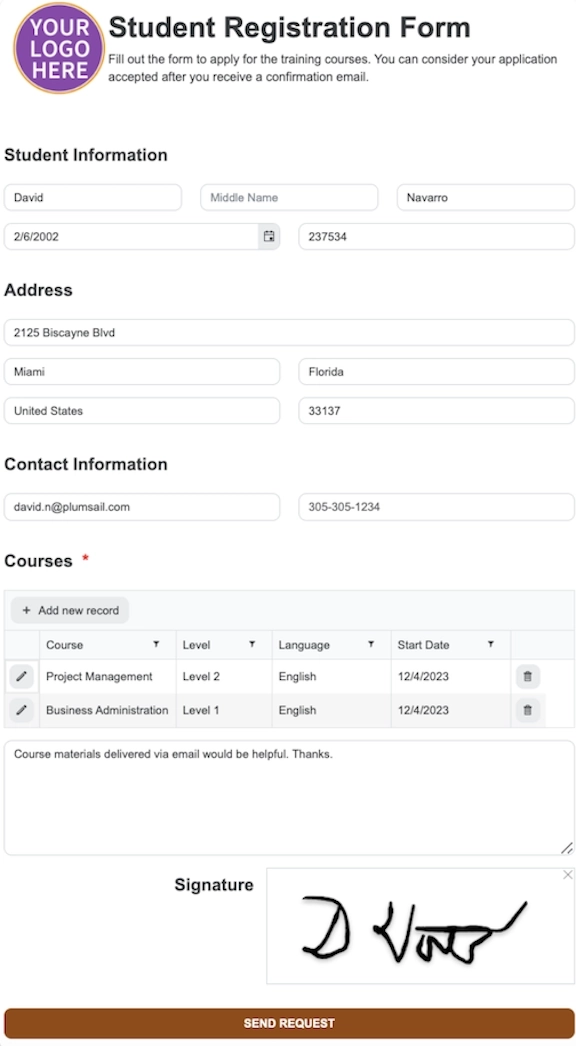
We have described the base case for automation of the course registration process. In addition to this, you can develop a more complex process if needed. Our templates are easy to customize, and they add flexibility into the process. For example, you can use Ink Sketch within the Forms to insert the student signature as they fill out the form. Or you can use an option to deliver the document and sign it via DocuSign, Adobe Sign or many other options available.
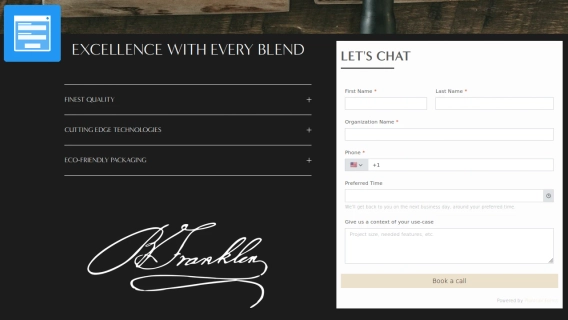
Here is an example of a Student Registration Public Web Form with Ink Sketch:
And an example of the Student Registration Sheet automatically populated and signed with Ink Sketch:
How to insert signature into Documents using Ink Sketch?
To be able to insert the signature into the Document Template via Ink Sketch it is necessary to edit the initial Document Template and add a picture formatter. Picture formatter can be used with resizing options, for example, {{value}:picture(100,100)}, where value field is the name of the Ink Sketch field from the Web Form we connected. Also, you can specify only the width parameter and height will be calculated automatically to keep the image proportions. For example, {{value}:picture(50)}.
Store your data from Student Registration Form
We understand that you would like to store your data, and for that option you can choose delivery to your SharePoint list and library, or you prefer Airtable? You can store it on your cloud as well and for this purpose you can use, for example OneDrive, Google Drive, Dropbox and many more.
All of these options can be used one by one or combined.
Automating the student registration process brings many benefits to educational institutions and to students as well. It streamlines procedures, minimizes errors, and improves the overall experience. By using Plumsail Documents and Plumsail Public Web Forms educational institutions now can introduce seamless automation and students can enjoy smooth and convenient application processes.
Get started with Plumsail Public Web Forms and Documents
Register an account and get a 30-day free trial to explore endless possibilities.
If you have an issue setting up automation by yourself, you can always book a free Intro call with Plumsail and tell us your pain points and we will give our best to make it happen for you. Happy automation!