 Formsn8n
Oct 07
How to score leads with AI using Plumsail Forms and n8n
Learn how to automate lead scoring with Plumsail Forms and n8n: collect leads, score them with AI, and route each one to sales or a personalized reply.
 FormsAirtable
Looking for Airtable form examples?
In this guide, you'll see practical examples of intake forms, feedback forms, order forms, event registration forms, and even an Airtable form with an electronic signature.
I'll use Airtable as a backend and build custom forms with Plumsail Forms to create more flexible layouts and advanced functionality.
You can also watch the video to see how to design forms for Airtable with Plumsail:
In this post:
Let me walk you through designing a simple intake form for an Airtable base. As the backend, I use slightly modified Order tracking and invoicing template and will design a publicly facing form for it with Plumsail Forms.
As a starting point, I use the Access request form template.
Using a template helps avoid starting from scratch. I chose this template particularly because I like its look and the way it is broken into sections with tabs.
Browse all available templates in the gallery on the Plumsail website and pick the one you like the most.
In the form settings, go to Connection tab and click Airtable. Grant access to your workspace, and select the base and table you want to use for the form.
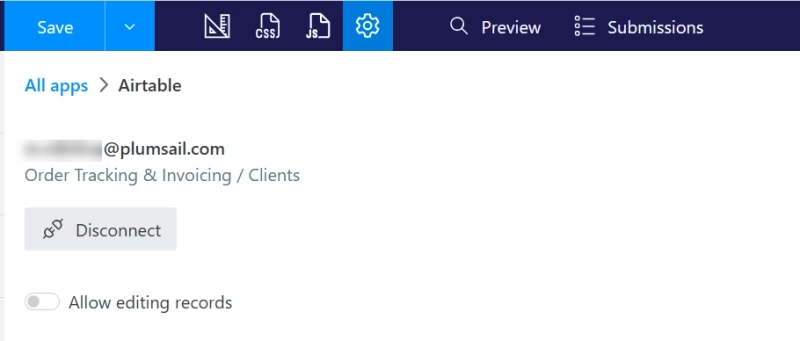
See the Connect Plumsail Form to Airtable for a step-by-step guide.
Next, I replace form fields with fields from my Airtable base and adjust the title and description:
To verify feedback, I add a signature control and connect it to an Attachment field in Airtable.
You can do the same and create an Airtable form with an electronic signature, which is useful for approvals, confirmations, or consent-based workflows.
Here is my final Airtable form with a signature field:
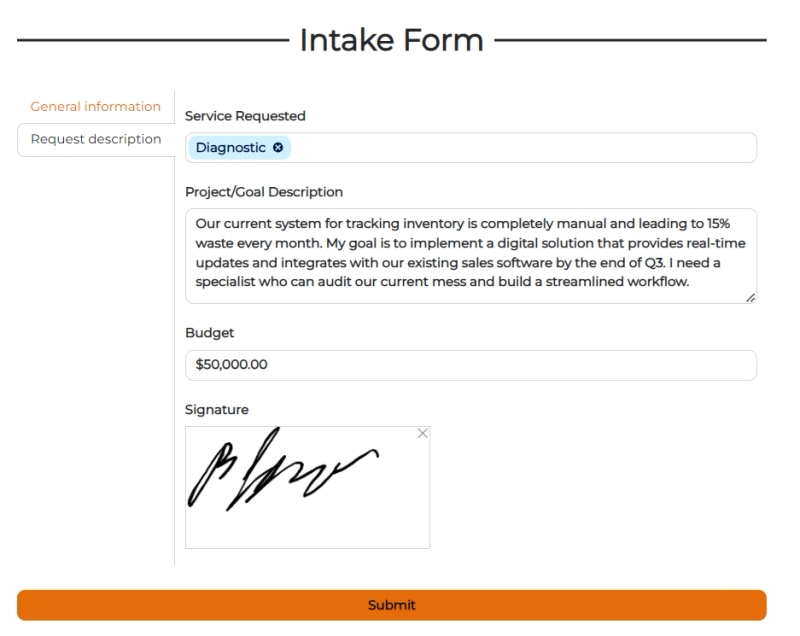
Learn more about designing Airtable forms with signatures in this blog post.
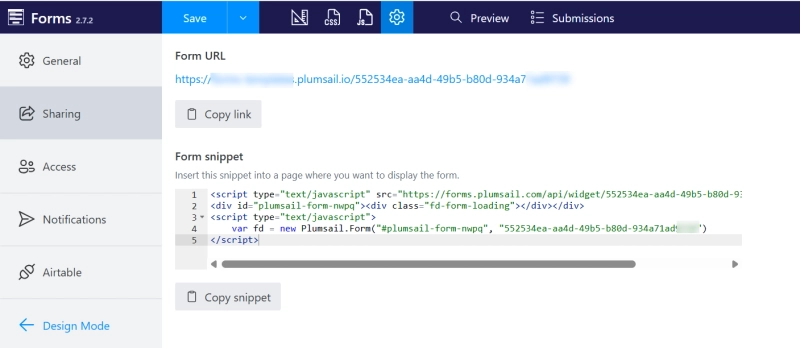
Final step! I save and publish the form. This generates a public link that I can share with my team or embed on a page using a code snippet.
All responses submitted through the form are automatically saved to the connected Airtable base:

There are many more form templates available in the template gallery, including templates designed for bases from the Airtable template library.
Below are a few examples you can use as starting points.
This is a simple and direct purchase order form that you can customize and use and connect to your Airtable base.
The template is designed for Event planning Airtable base template. All fields are already mapped to the corresponding fields in the base, so you can just connect it to your Airtable and start collecting registrations for your events.
This form is designed to collect all necessary information from new employees. Replace fields with the ones from your Airtable base, save and share.
There are several ways to design forms for an Airtable base—from native Airtable forms to third-party tools.
Plumsail Forms stands out when you need more control over layout and behavior. It allows you to:
You can use Plumsail Forms for free, with no limit on the number of forms or Airtable bases you connect.
Using Airtable as a backend and Plumsail Forms as the form layer gives you a flexible setup for real-world data collection.
Whether you're creating a simple contact intake form or a more comprehensive order form, it's easy to start with Plumsail Forms templates and customize them to fit your needs.
You can try Plumsail Forms for free and share your form examples in the comments below.
FormsAirtableFormsn8nLearn how to automate lead scoring with Plumsail Forms and n8n: collect leads, score them with AI, and route each one to sales or a personalized reply.
 DocumentsFormsSharePoint
 Power Automate
Build a SharePoint timesheet system with weekly hour entry, project totals, e-signatures, approvals, and automatic PDF generation. Full setup with code.
FormsMicrosoft 365SharePointSave time and avoid mistakes by pre-filling form fields with Plumsail Forms for SharePoint. Write simple JavaScript to make your forms smart and fill out fields automatically.