Create Modern SharePoint Team or Communication site using PnP provisioning template in Power Automate
This article will show how to automatically create a Modern SharePoint Team site and apply a PnP template to it. You can use this approach to automate the creation of new SharePoint sites from custom templates. For example, you can create team sites for your projects with a predefined set of lists, libraries, etc. The same approach can work for Modern SharePoint Communication site as well.
PnP template is an XML file that contains a description of SharePoint entities (lists, libraries, pages, etc.) that will be created. You can create own XML template for your SharePoint site. Then use the Provision PnP template to SharePoint action from Plumsail Actions to apply PnP templates to your SharePoint sites using Power Automate (Microsoft Flow) or Azure Logic Apps.
If you are new to Plumsail Actions, follow this getting started instruction.
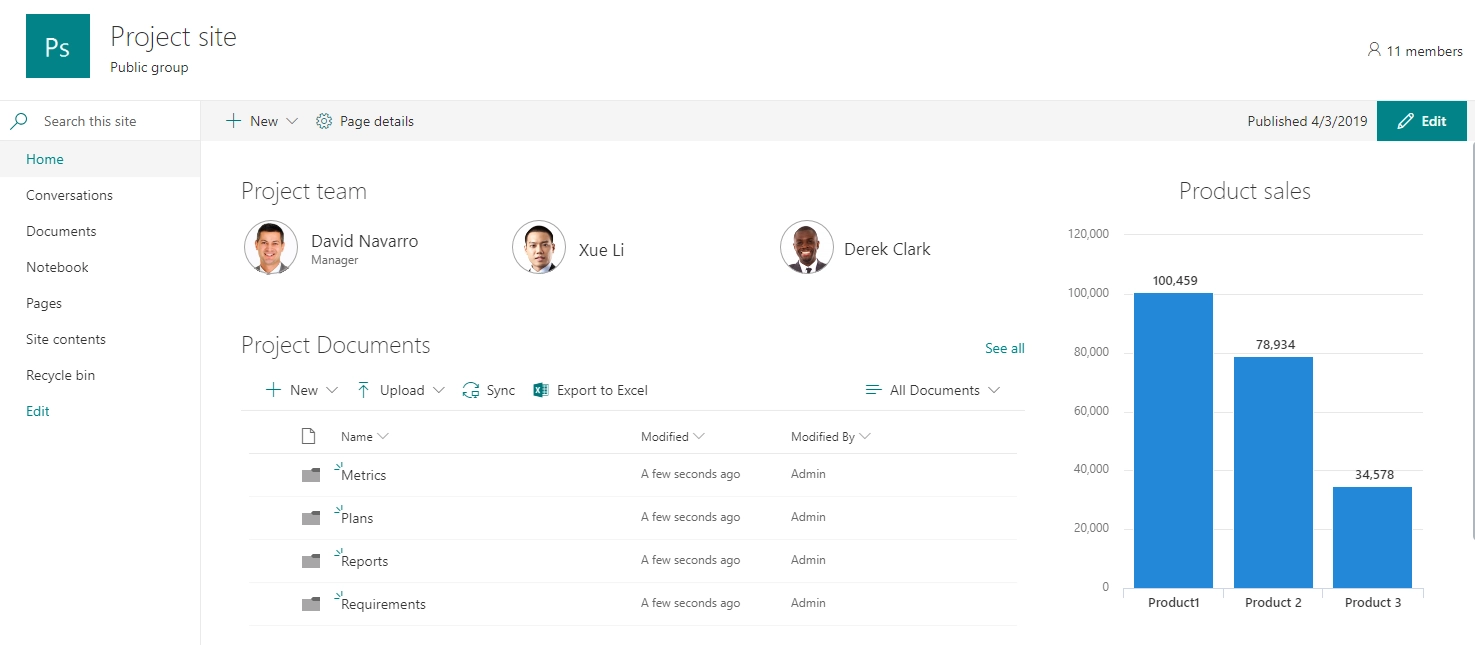
First of all, we need to create a PnP provisioning template for our site. Let us say we have an existing projects site:
You can write a PnP template from scratch or grab it from an existing site using PowerShell.
If you are interested in the first way, review other our documentation articles:
In this article, we will use PnP PowerShell to get the template from an existing site.
PnP PowerShell allows you to execute various commands for manipulating SharePoint, including grabbing of a template from a SharePoint site.
First of all, you need to install PnP PowerShell. Follow the installation instruction. Then connect to your SharePoint site. Execute the command below and specify your own URL for the site that you want to use for the template:
Connect-PnPOnline -Url "https://contoso.sharepoint.com/sites/mysite"
Then execute the command below:
Get-PnPSiteTemplate -Out "template.xml" -Schema V202209
Note
You should specify the schema version explicitly to ensure that it is supported by our service (V202209 or earlier).
This command gets a template of the whole site and saves it to “template.xml” file. You can change this location if you want.
The Get-PnPSiteTemplate command has a lot of parameters. For example, you can specify content that you want to grab using -Handlers parameter. Review the official documentation for more information.
Once you executed the script, you will have the template for your site. You can modify it in any text editor if you want.
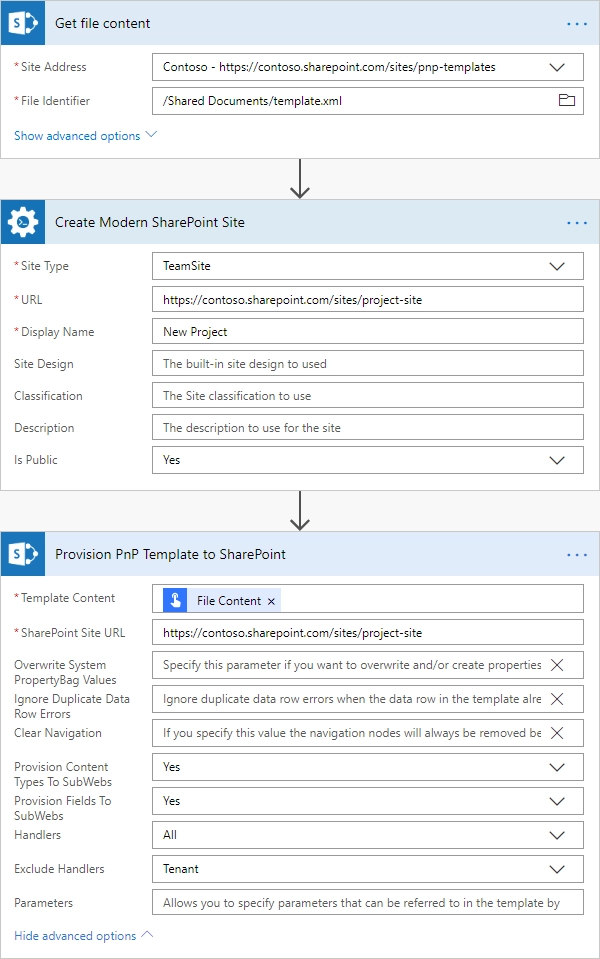
Now you can save the template file somewhere in your SharePoint and use this file as a template in the Provision PnP template to SharePoint action.
Adding the Plumsail action for the first time, you’ll be asked for a Connection name, API Key, and Data center location.
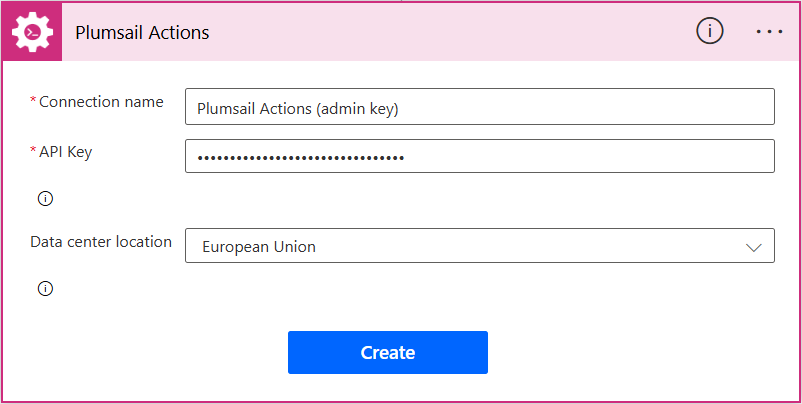
You can type any name for the connection, for example Plumsail Actions (admin key). Next create an API key on your Plumsail account page, copy, and paste it to the API Key field. Ensure that the selected data center location matches one of your account.
This action doesn’t create a new site. It has to be applied to an existing site. That is why in the Flow below we firstly create a modern site using another action, then apply our template to the site. You can also provision a tenant template without creating a site. Please check out the article.
That is all! Now you can create Modern SharePoint sites and apply custom templates to them.
Hint
You may also be interested in this article explaining how to create SharePoint lists or document libraries using PnP template.