Create SharePoint list using Site Design and Power Automate
This article demonstrates how to create a Site design and add it to your SharePoint domain and apply it using Apply Site Design action.
Firstly, let’s check how to create a site design. We’ll check an example of a site design that adds a list to a site.
How to create a site design that adds a list to a site
I use this website sitedesigner.io to create a site design that adds a list to a SharePoint site.
There is a friendly user interface where you can add the elements. The system will generate a script automatically to add this design.
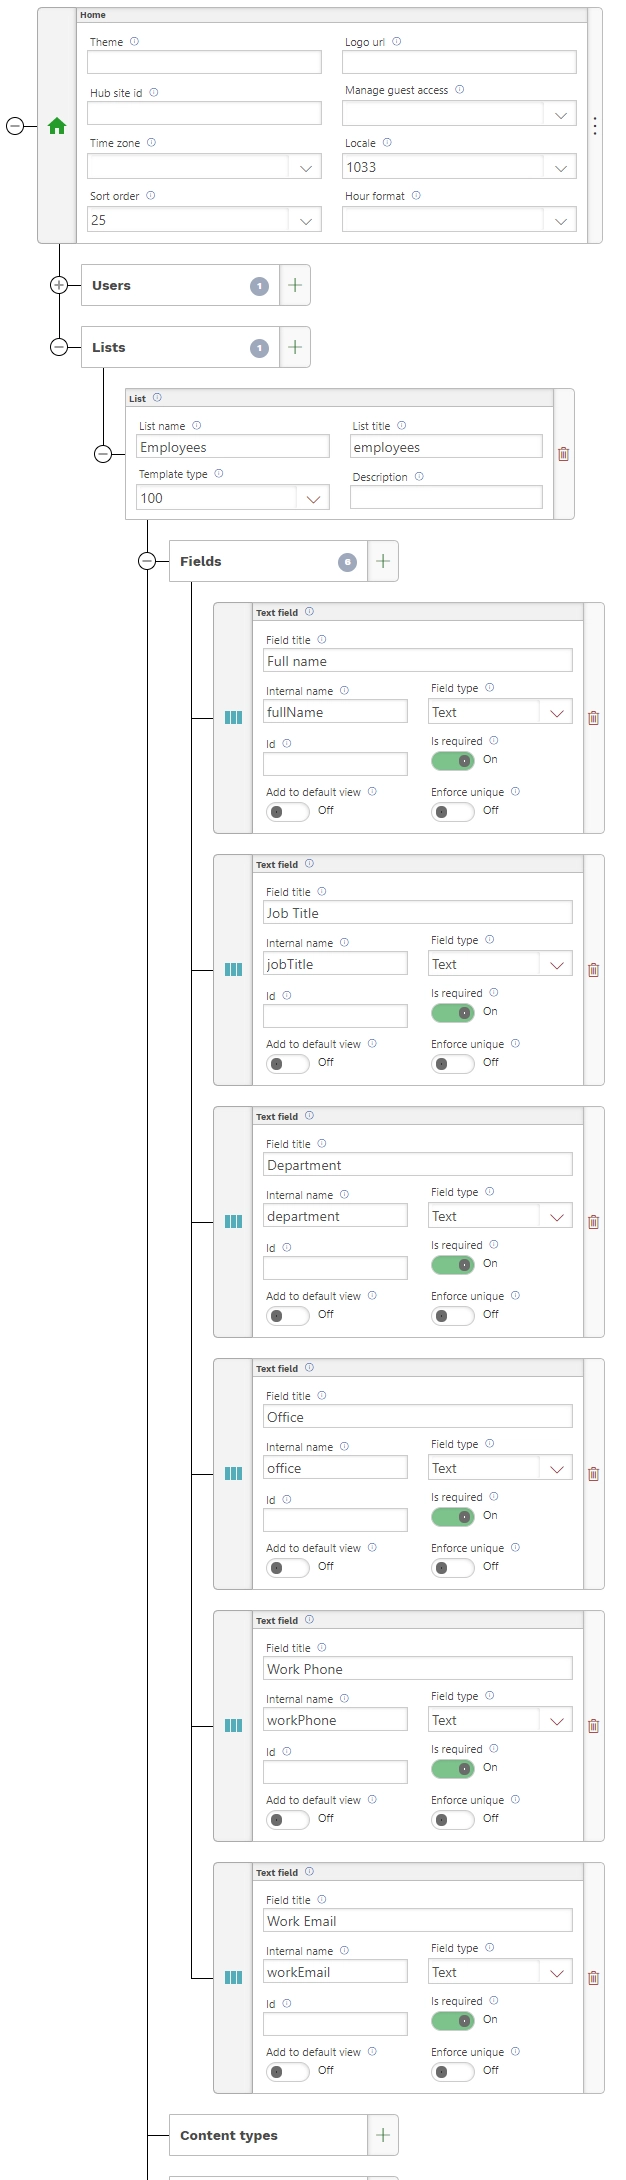
Let’s say I want to create a site design that adds a list with employees. The list has several fields:
Full name, Job Title, Department, Office, Work Phone and Work Email
This is how the scheme looks
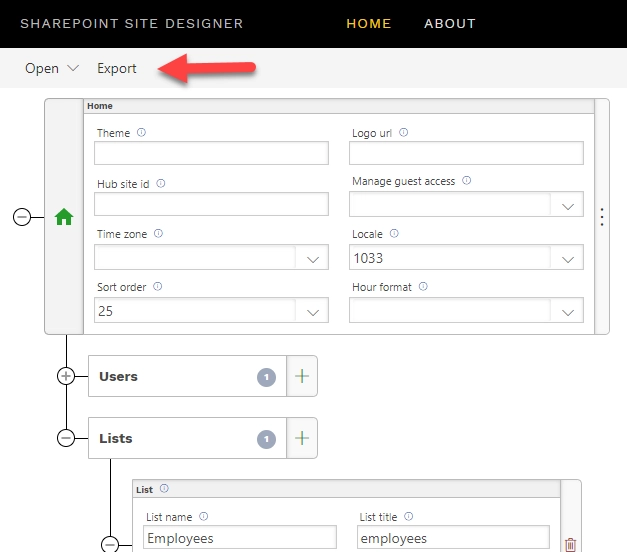
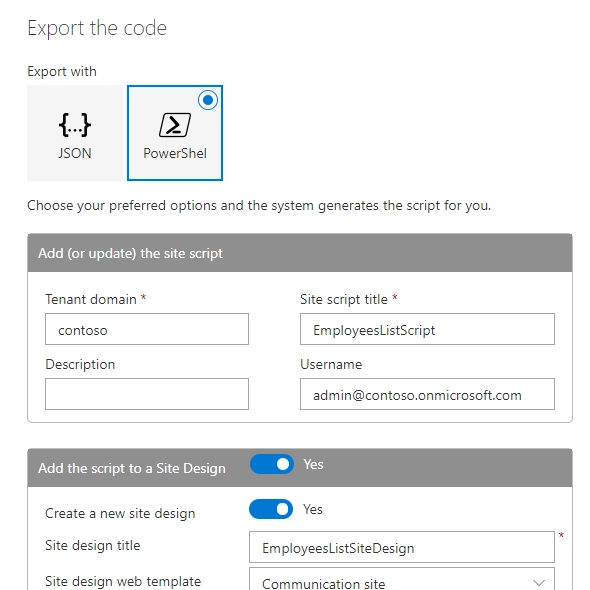
Then I can export the site design to a power shell script
This is the site design JSON:
{
 "$schema": "schema.json",
 "actions": [
     {
         "verb": "setRegionalSettings",
         "locale": 1033,
         "sortOrder": 25
     },
     {
         "verb": "addPrincipalToSPGroup",
         "principal": "ContosoAdmins",
         "group": "Visitors"
     },
     {
         "verb": "createSPList",
         "listName": "Employees",
         "templateType": 100,
         "subactions": [
             {
                 "displayName": "Full name",
                 "internalName": "fullName",
                 "isRequired": true,
                 "addToDefaultView": false,
                 "fieldType": "Text",
                 "enforceUnique": false,
                 "verb": "addSPField"
             },
             {
                 "displayName": "Job Title",
                 "internalName": "jobTitle",
                 "isRequired": true,
                 "addToDefaultView": false,
                 "fieldType": "Text",
                 "enforceUnique": false,
                 "verb": "addSPField"
             },
             {
                 "displayName": "Department",
                 "internalName": "department",
                 "isRequired": true,
                 "addToDefaultView": false,
                 "fieldType": "Text",
                 "enforceUnique": false,
                 "verb": "addSPField"
             },
             {
                 "displayName": "Office",
                 "internalName": "office",
                 "isRequired": true,
                 "addToDefaultView": false,
                 "fieldType": "Text",
                 "enforceUnique": false,
                 "verb": "addSPField"
             },
             {
                 "displayName": "Work Phone",
                 "internalName": "workPhone",
                 "isRequired": true,
                 "addToDefaultView": false,
                 "fieldType": "Text",
                 "enforceUnique": false,
                 "verb": "addSPField"
             },
             {
                 "displayName": "Work Email",
                 "internalName": "workEmail",
                 "isRequired": true,
                 "addToDefaultView": false,
                 "fieldType": "Text",
                 "enforceUnique": false,
                 "verb": "addSPField"
             },
             {
                 "verb": "setTitle",
                 "title": "employees"
             }
          ]
       }
   ],
   "bindata": {},
   "version": 1
 }
Note
You can download the sample JSON and PowerShell script or just make you own JSON or PS script to add a site design.
How to add a site design to your SharePoint tenant
Now, when we have the PowerShell script we can add this site design to a SharePoint tenant.
Then I start PowerShell under administrator account and run the script. The report shows that the script is added to the site.
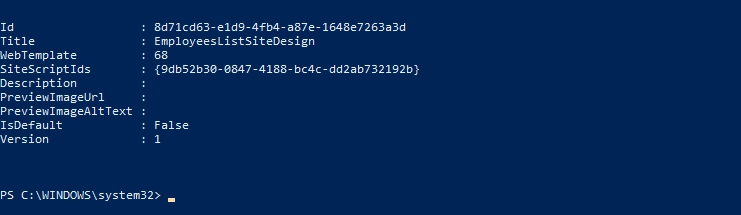
Also, I can see that the site design is available in the list of the designs
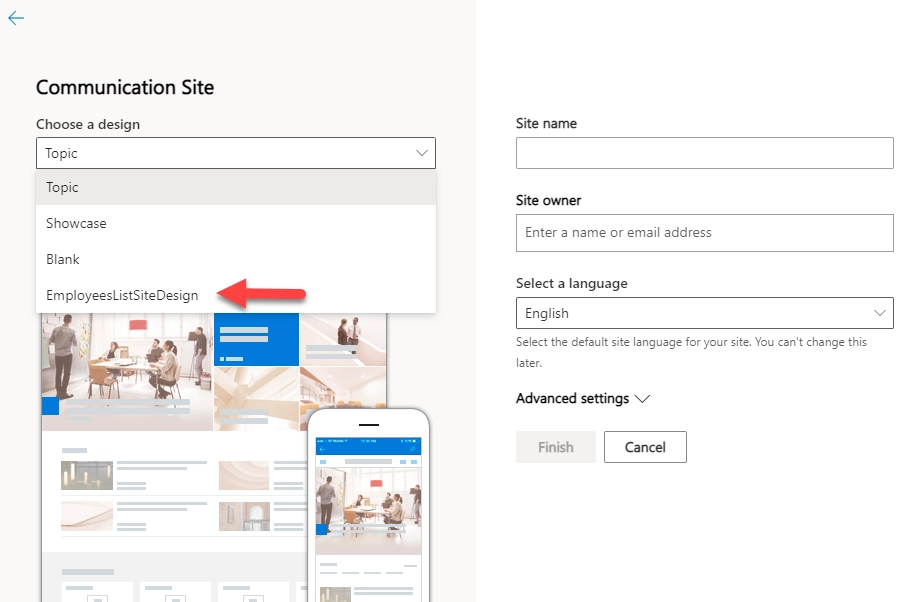
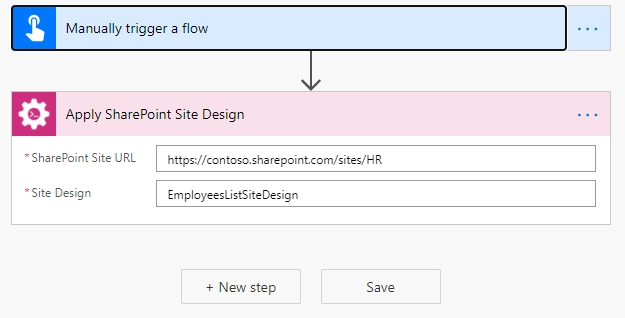
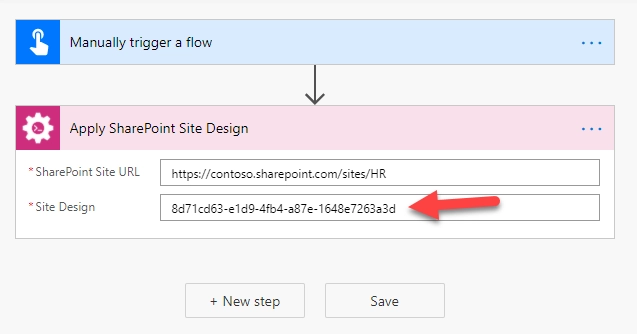
How to apply a site design to a SharePoint site using Apply Site Design action
Our site design creates a list of employees. We can apply the site to any existing site.
This is a simple flow to do this:
Adding the Plumsail action for the first time, you’ll be asked for a Connection name, API Key, and Data center location.
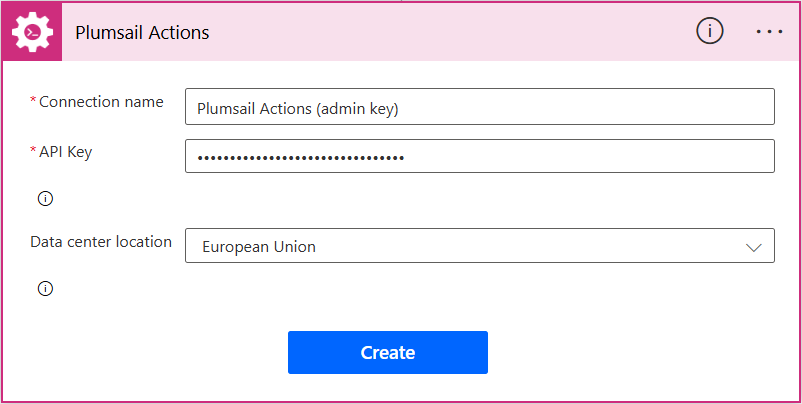
You can type any name for the connection, for example Plumsail Actions (admin key). Next create an API key on your Plumsail account page, copy, and paste it to the API Key field. Ensure that the selected data center location matches one of your account.
You can use the action with Site Design ID too. To get the ID you can use a PowerShell command Get-SPOSiteDesign
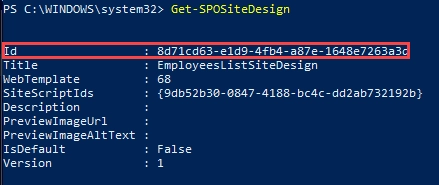
Then use the ID in the action
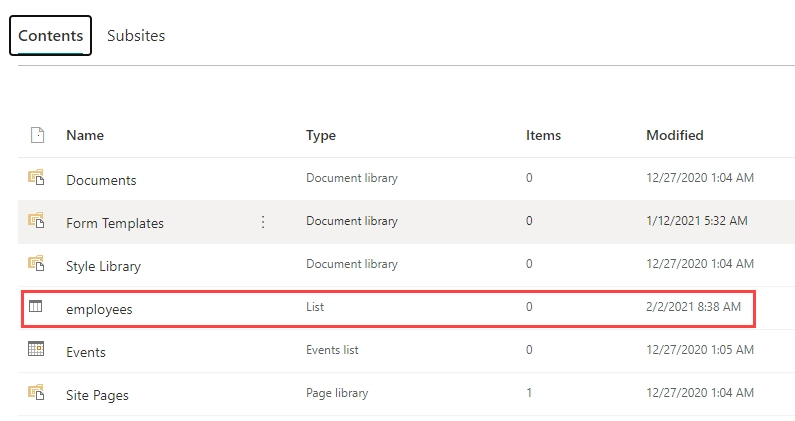
After running the flow the site is updated and the new list appears in the site contents
Conclusion
Apply Site Design action is a useful tool to modify your sites: apply small changes or even complex projects.