In this article, I will show you how to set up a ticketing system within Microsoft Teams using Plumsail HelpDesk, which is built specifically for the Microsoft 365 ecosystem. You will learn how to set up tabs inside Microsoft Teams for submitting new support requests and tracking existing ones, as well as how to add a ticket view for support agents to help them stay on top of their current tickets.
Before we dive into how to organize the Microsoft Teams help desk for both types of users (requesters and agents), let's quickly explore the benefits of Plumsail HelpDesk as a ticketing solution for Microsoft Teams.
Plumsail HelpDesk works well for companies of all sizes and industries. You can have a Microsoft Teams ticketing system up and running in just minutes. What users really love about Plumsail HelpDesk, aside from all its features, is how easy it is to install.
Setting up the foundation for these HelpDesks was easy—thanks to the Plumsail HelpDesk installer, it only took a few clicks.
Now, let's take a closer look at the key features of the Microsoft Teams ticketing system.
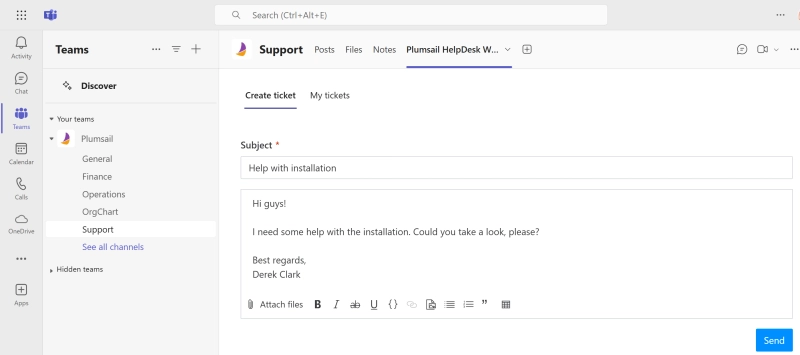
1. Easy ticket submission
Users can submit support tickets directly in Teams without navigating to a separate portal or logging into an external system. The HelpDesk widget also supports file attachments, improving efficiency and user experience.
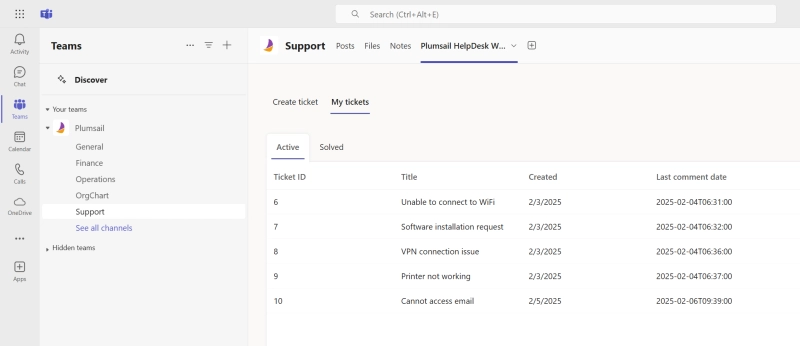
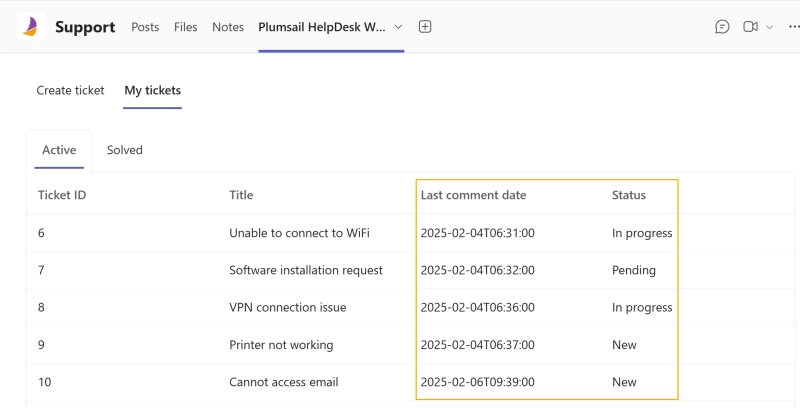
2. Real-time ticket tracking
Requesters can monitor their ticket status without contacting support. Updates and responses from the support team appear instantly in the widget, allowing users to track progress and reply directly within Microsoft Teams.
3. Customization
Plumsail HelpDesk offers flexible customization options for the widget forms and the widget views, helping organizations customize the ticketing process to their needs.
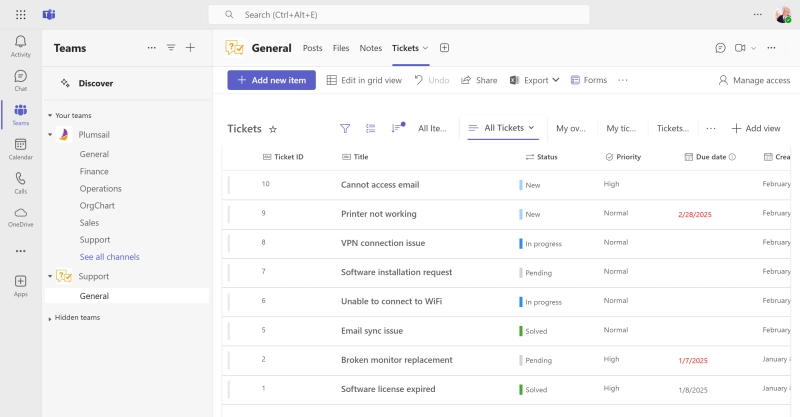
4. Efficient ticket management for agents in Microsoft Teams
Support agents can manage tickets within Microsoft Teams. This improves efficiency and ensures faster issue resolution.
How to add help desk to Microsoft Teams
Plumsail HelpDesk is a SharePoint-based ticketing system that can be added to Microsoft Teams as a tab and used directly within Teams. To add HelpDesk to Microsoft Teams, you'll first need to install it on your SharePoint tenant. To do that, download the setup wizard and follow the installation guide.
Now, let’s explore how to integrate Plumsail HelpDesk with Microsoft Teams.
Step 1: Preparations in the SharePoint Admin Center
To use the HelpDesk widget for requesters, make sure you've made it available to users in Teams.
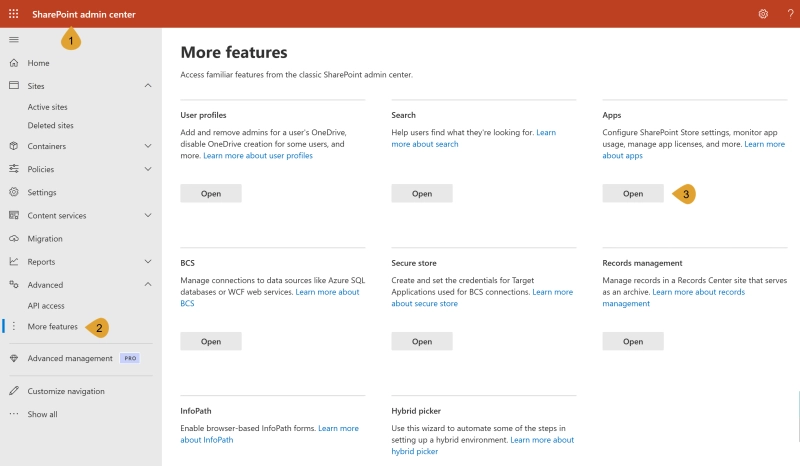
Open the SharePoint Admin center (yourtenant-admin.sharepoint.com) > More features > Apps.
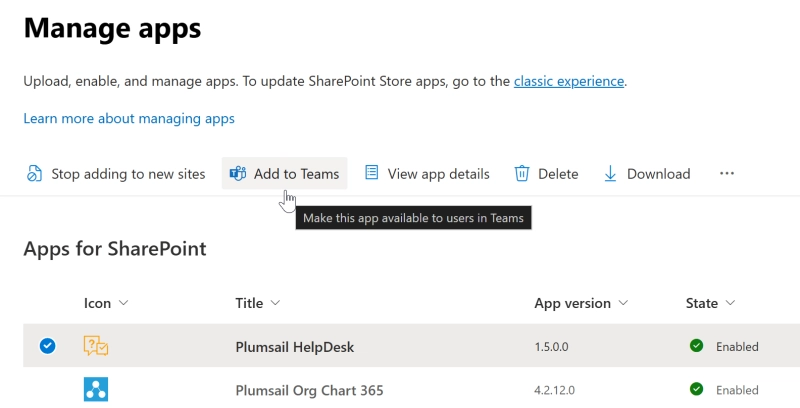
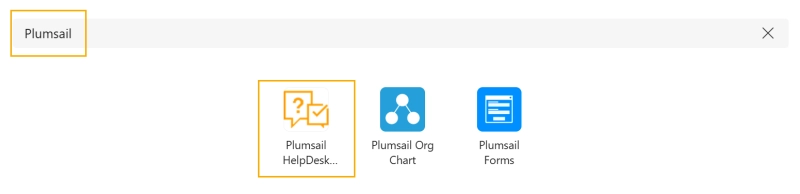
Select Plumsail HelpDesk package and click Add to Teams.
Now the app should be available in Teams. We can move forward.
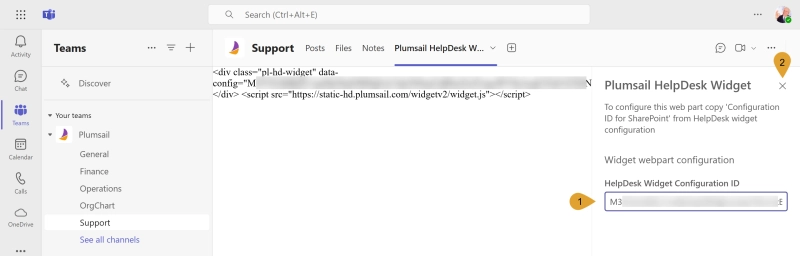
Step 2: Create widget configuration
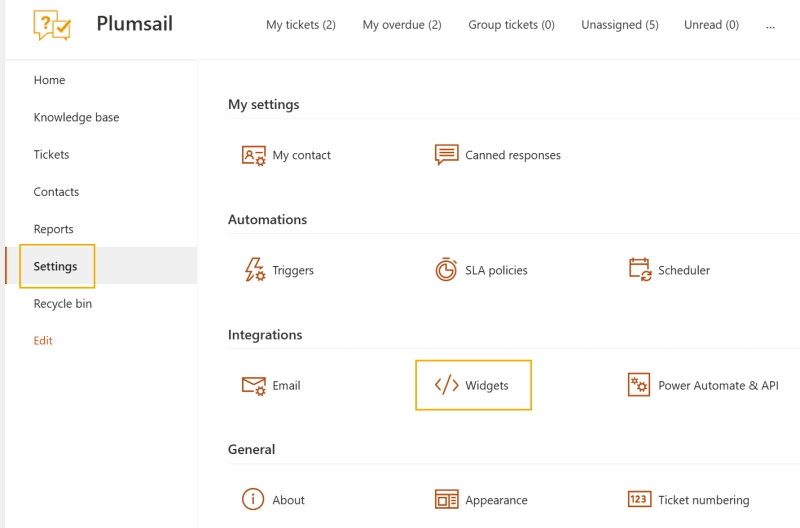
Open your HelpDesk site and navigate to the Settings tab using the left navigation bar. Click the Widgets button.
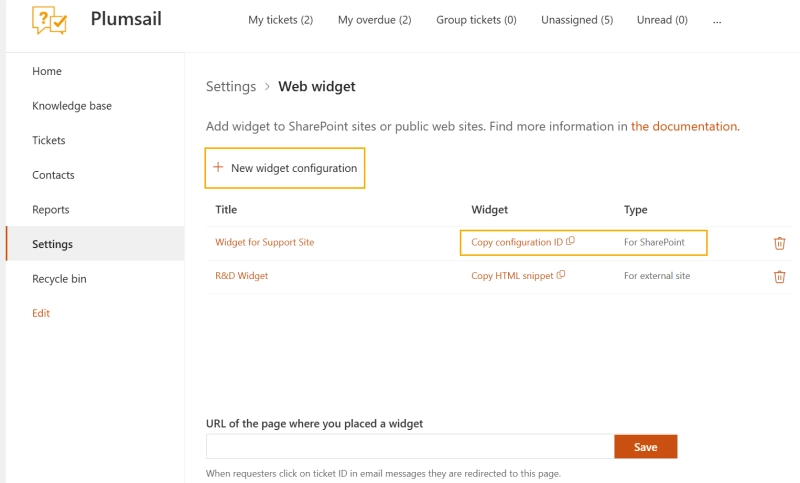
Create new or copy an existing widget configuration.
Step 4: Add HelpDesk to Teams for agents to work with tickets
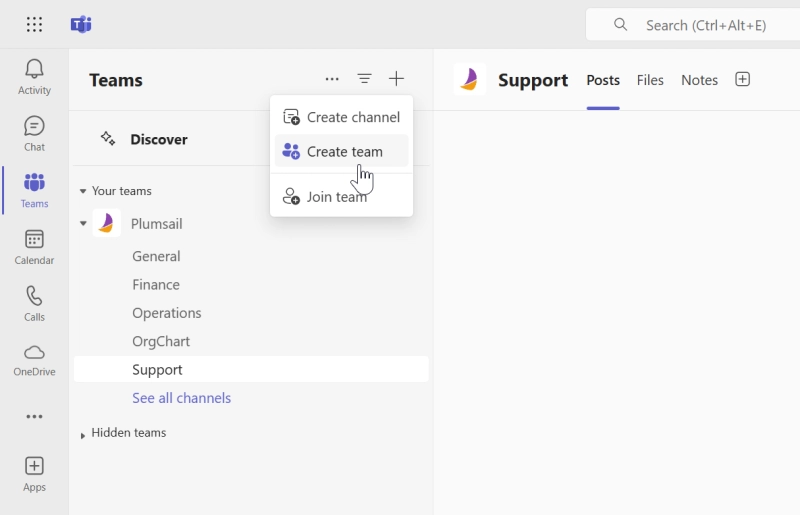
You can also create a team for your HelpDesk agents. This way, each agent will work with the HelpDesk and reply to tickets.
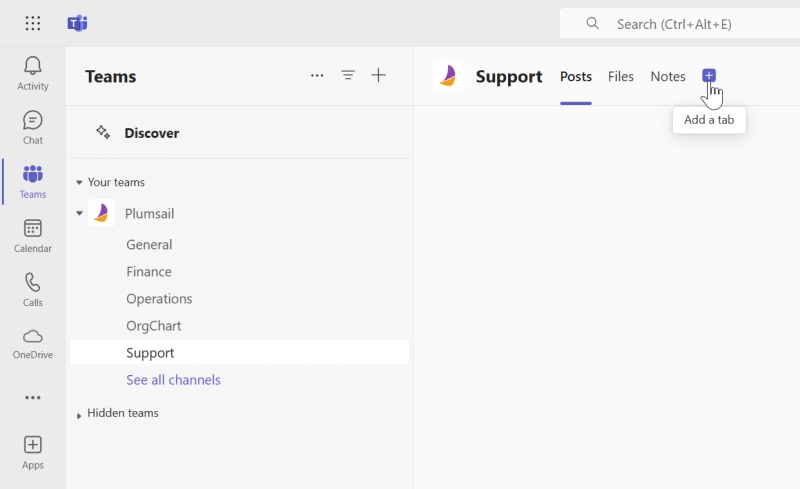
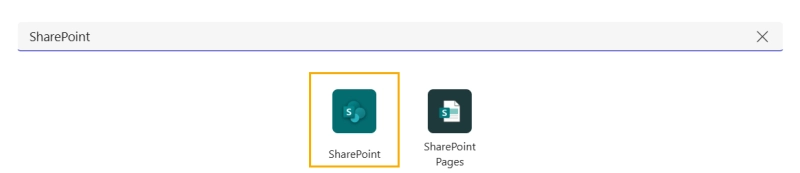
Once you've created the team, click Add a tab and search for SharePoint.
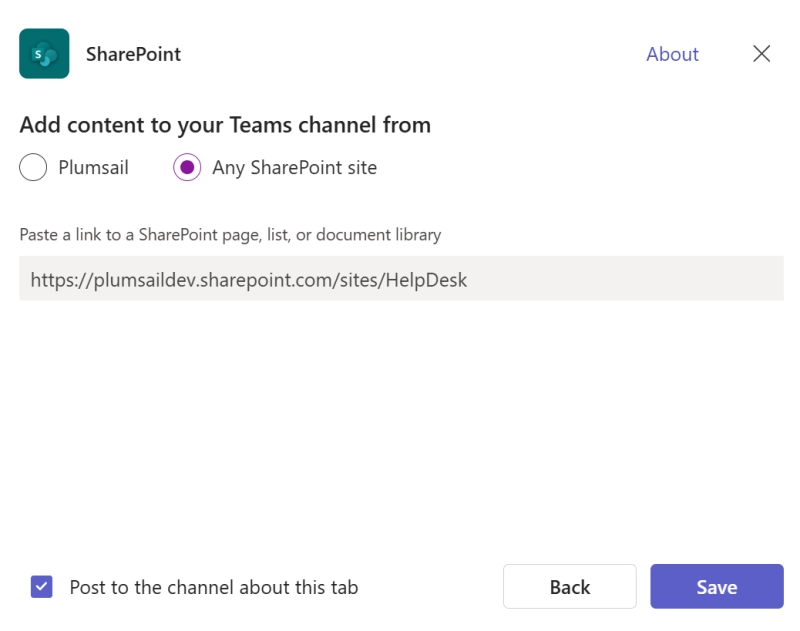
Then select Add content to your Teams channel from > Any SharePoint Site, paste the HelpDesk site URL and save the settings.
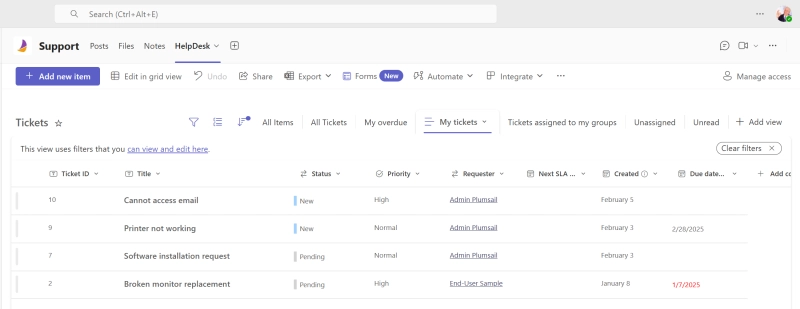
Now the support agents can manage their tickets directly in the Microsoft Teams help desk.
Get started with Microsoft Teams help desk
Download the HelpDesk installation wizard and follow the guide to walk through the steps on your own. This will give you a hands-on experience of setting up Plumsail HelpDesk and understanding how it works.
You're welcome to schedule a call with us to find out how Plumsail HelpDesk can support your needs.