
Public Web Forms - Zapier Integration
Public Web Forms - Zapier Integration
Airtable's built-in form offers a quick and easy way to collect data from users, but the options are fairly limited—forms cannot be split into sections, business logic is restricted, and branding isn't supported.
If you're searching for an Airtable forms alternative that supports advanced customization, mobile responsiveness, and deeper Airtable form integration, Plumsail public forms is designed to overcome these limitations.
Let's explore how to set up a form in Airtable using Plumsail Forms and how it differs from Airtable's built-in form functionality.
Further in the article:
It's extremely easy to set up Plumsail Forms integration with Airtable.
First, register a Plumsail account and open the form designer.
Navigate to Settings → Connection and select Airtable:
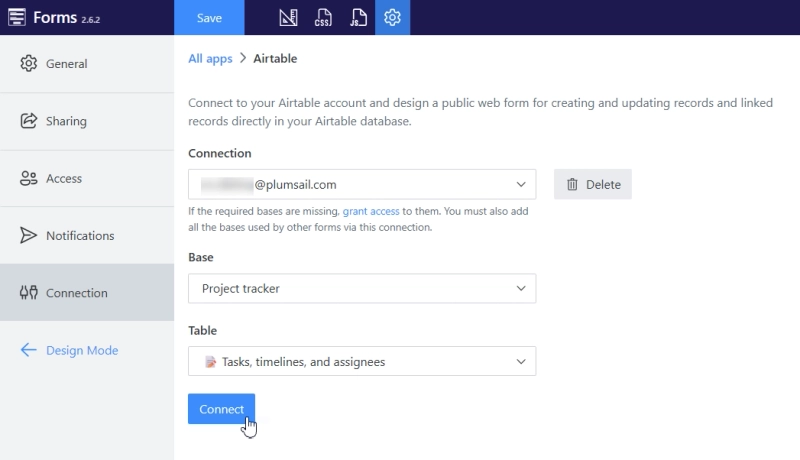
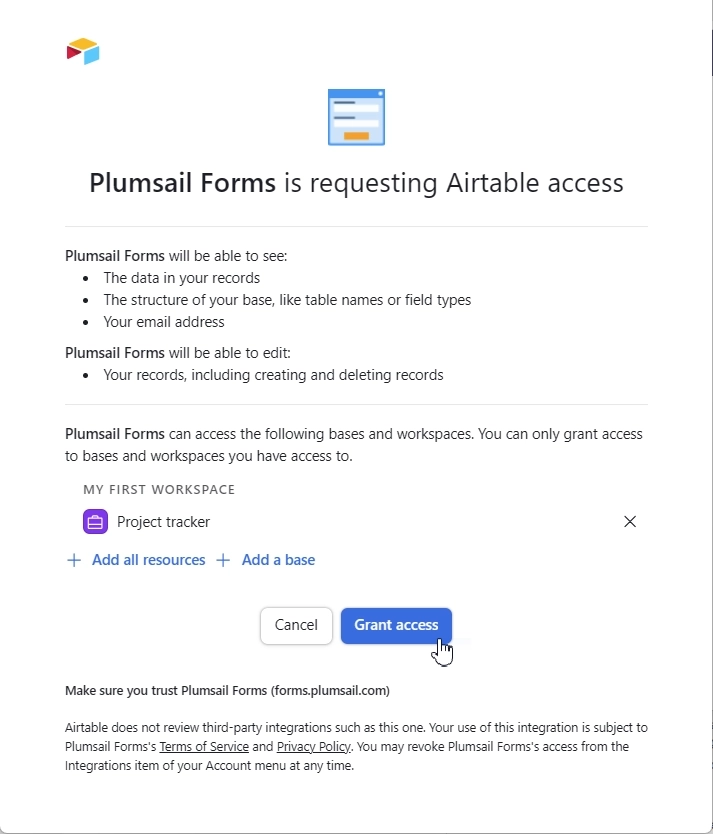
Create a new connection and grant access to your entire Airtable workspace or just a specific base:
Once connected, simply select the base and table you want to design a form for:

Now, all of your table's columns are instantly available to be added to the form. Just drag and drop the Airtable fields you need, and they are automatically mapped to save data directly to your base on submit:
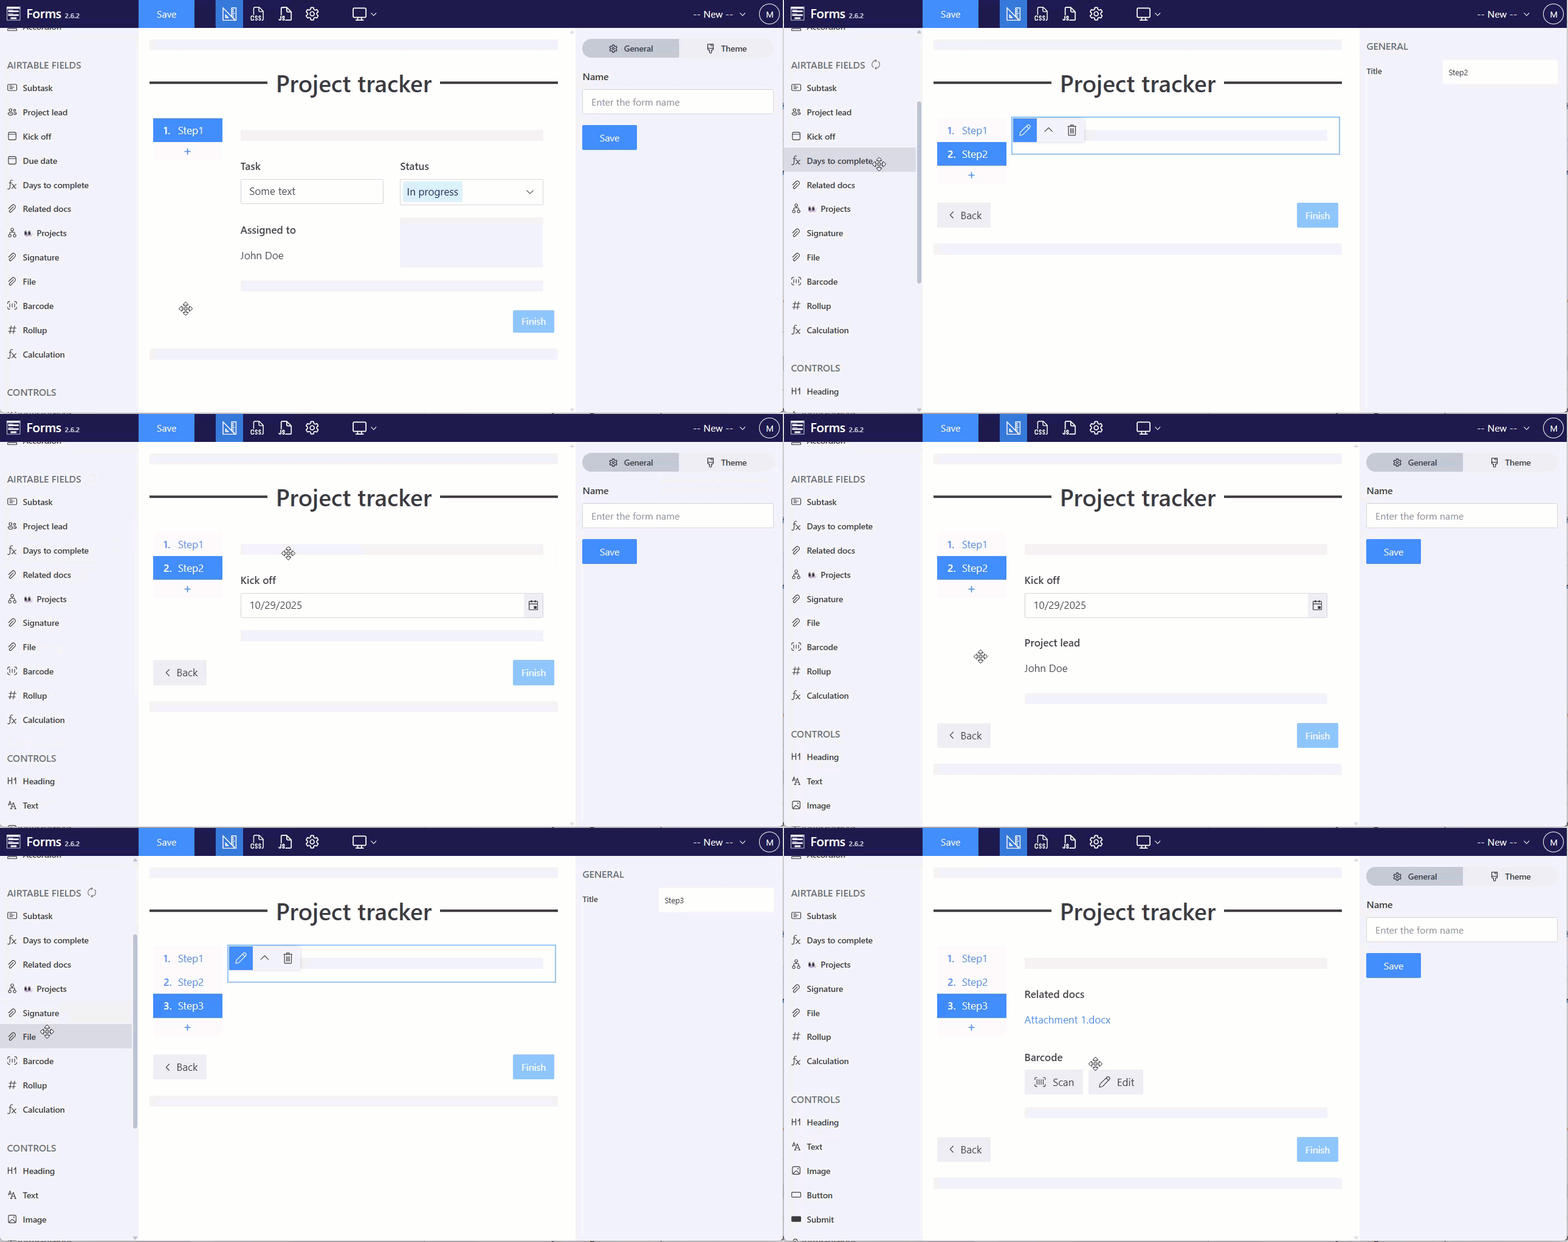
There’s no limit to the number of forms you can create—either overall or per Airtable base. Feel free to build as many as you need.
Once the form is ready to go and you're satisfied with field placement and look, share it with others:
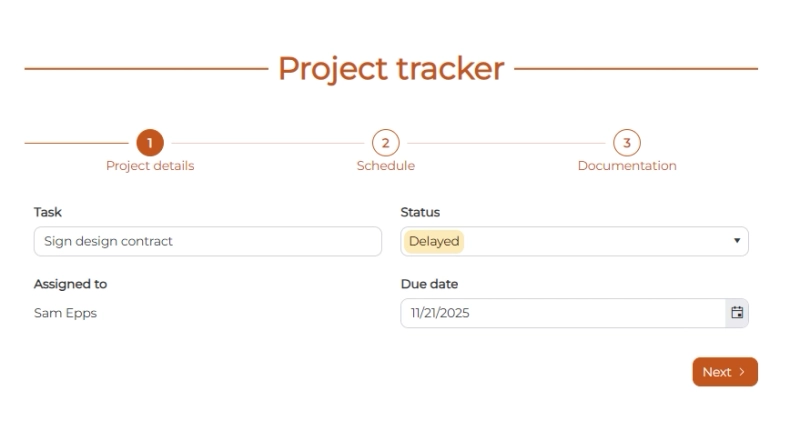
You can externally share the form via a direct link, embed it into your website, or use it in any platform that supports HTML embedding. If you need to control who accesses the form, you can set up form access permissions in the form settings.
All submissions will be automatically saved to Airtable, providing a seamless Airtable form integration experience.

Unlike native Airtable forms, Plumsail Forms supports both editing records alongside new record creation.
You can add a link to each record in the table view to edit it directly in Airtable. Clicking one will open a form pre-filled with existing data, ready to be updated and saved back to Airtable:

Tip: You will see the formula for the column after enabling 'Allow editing records' property.
When you design a form in Plumsail Forms web editor, you can add containers such as Tabs, Accordion, and Wizard to split the form into sections.
Use the Wizard container to break your form into a structured, step-by-step process:
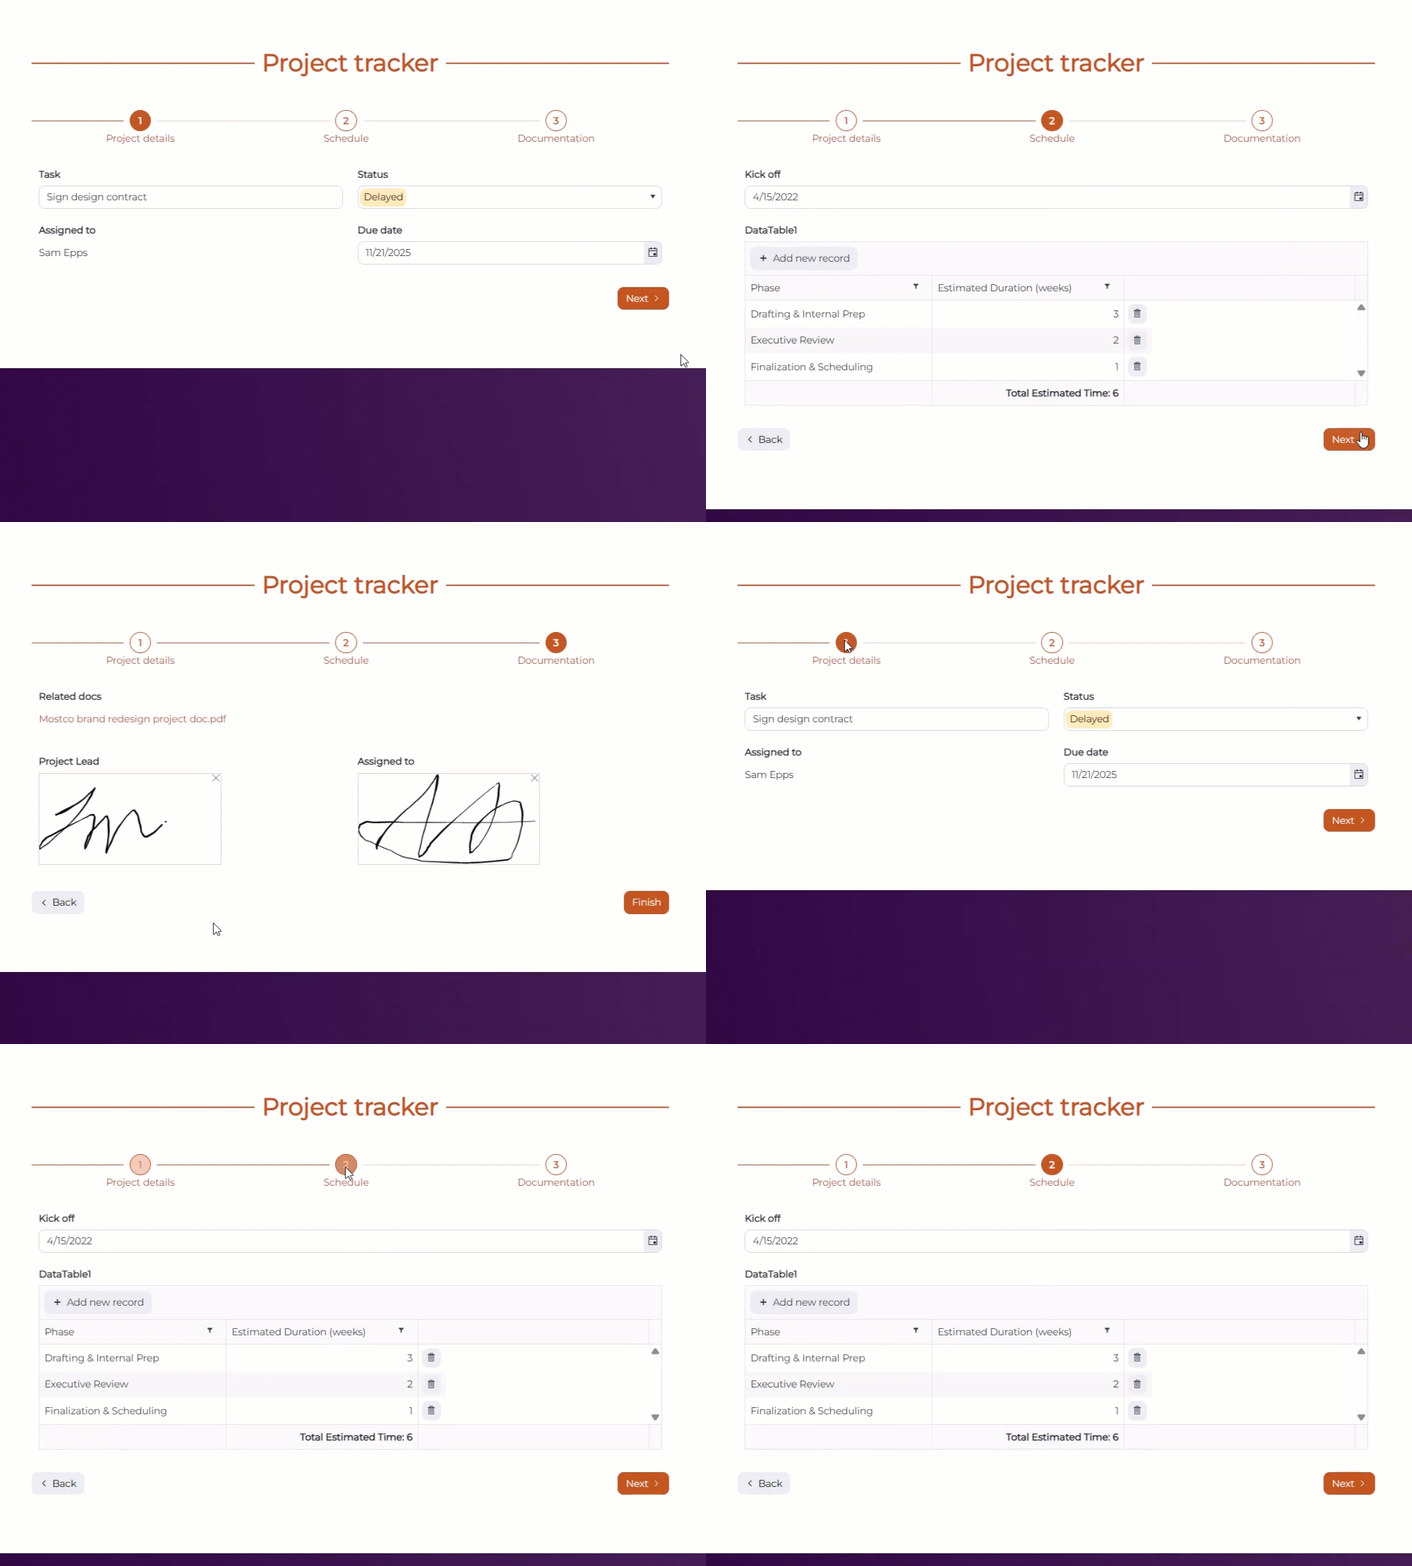
What's more, whether you use Tabs, Accordion, or Wizard, you can dynamically hide or show sections based on user input using JavaScript—creating a truly conditional Airtable form:
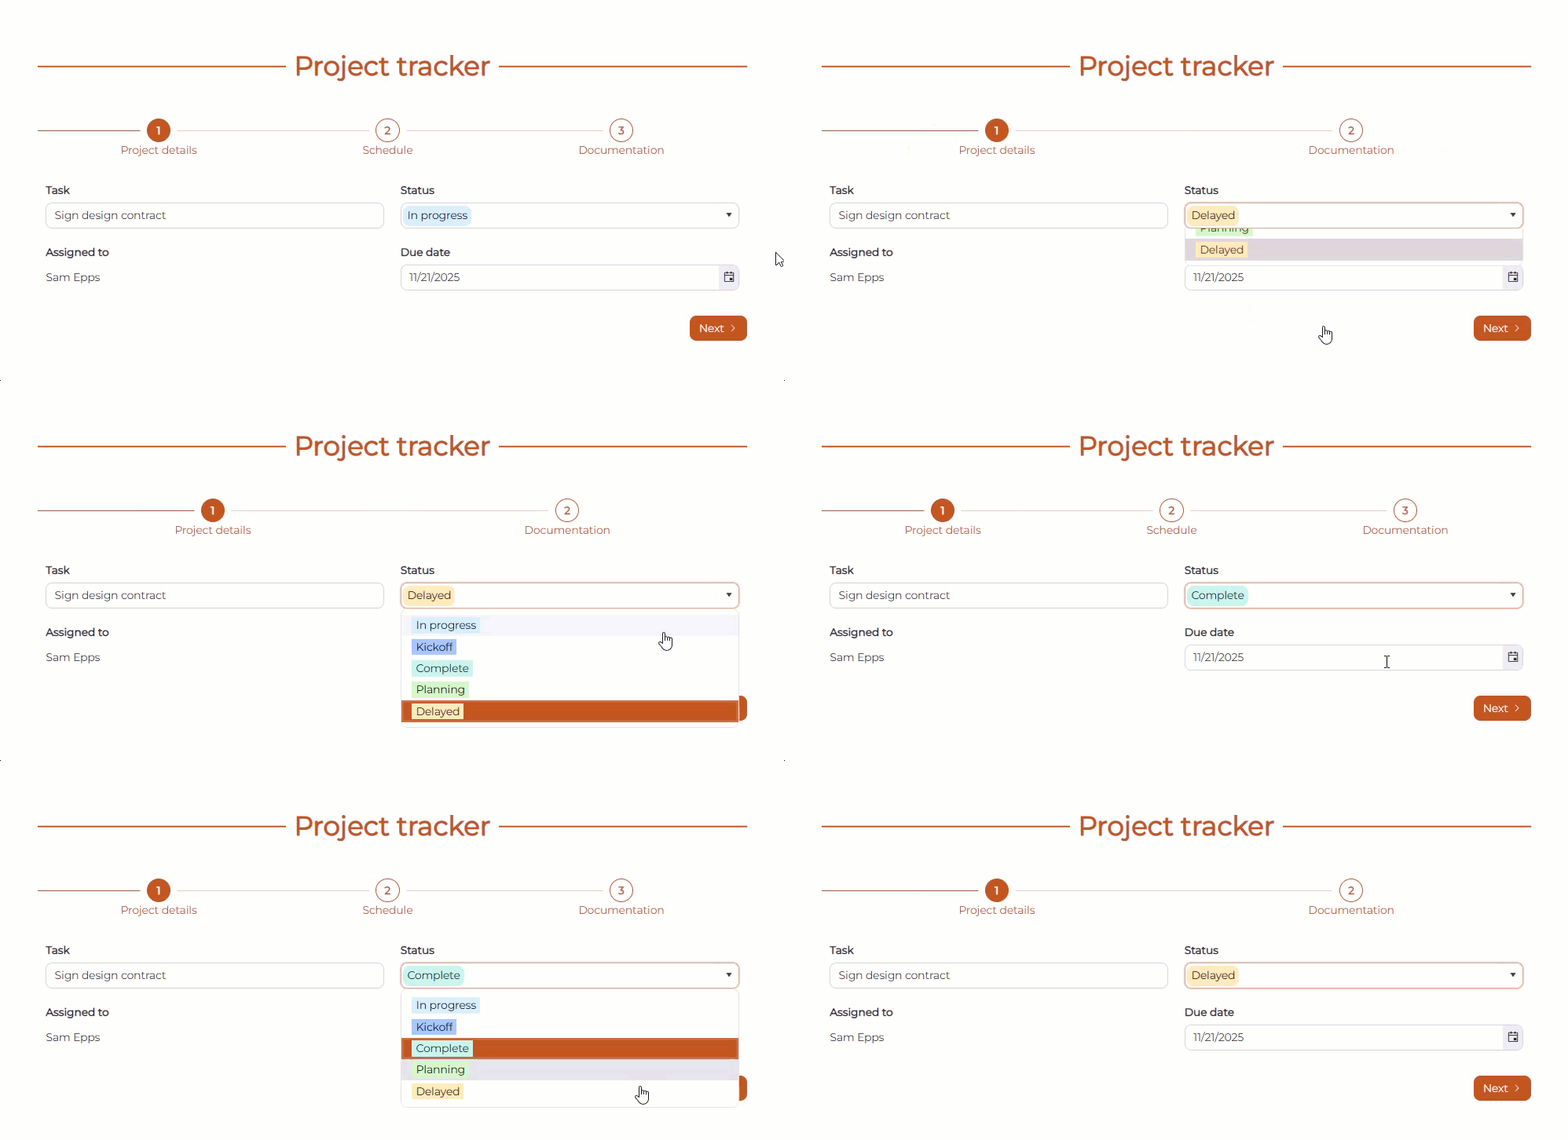
Once you've designed your Airtable form, you can further improve it with custom JavaScript logic.
You can add interactivity and business rules to your Airtable forms to enhance user experience and ensure data quality. For instance, you can:
If you are not familiar with JavaScript, you can take examples from our documentation or use the built-in AI assistant to help you write the code.
Or start with watching the video:
Plumsail Forms themes can be tailored to your requirements. You can choose one of the pre-designed themes or create a custom theme from scratch. You can change the form's primary colors and font style as well as add CSS code to achieve the exact look you're going for.
You can also design a Sharing page that matches your company's branding and use it for all forms by default. Change colors, background, add headers and logos. You can mix forms and page designs to make the form more engaging.
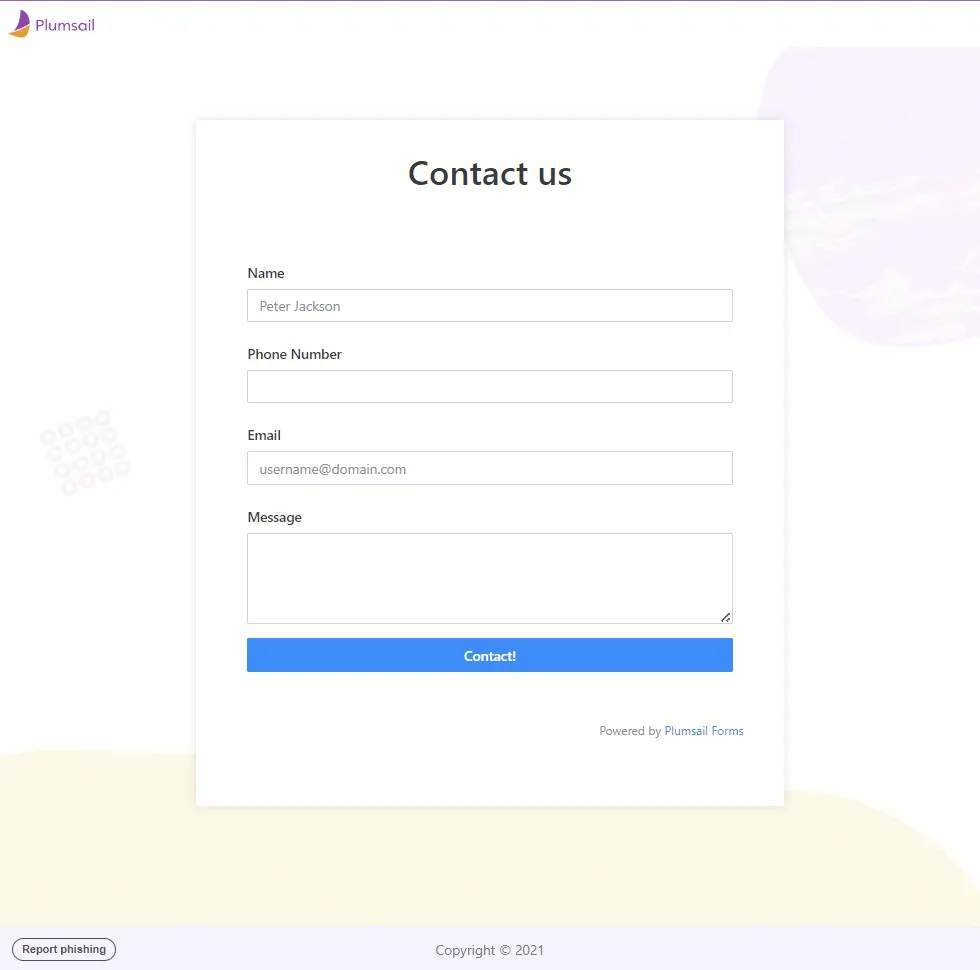
Also, embedding a Plumsail form into any website or platform is super easy. Copy the code snippet from the form settings and paste it into your website. You can simply follow the step-by-step instructions for the most popular platforms like WordPress, Wix, Tilda, Shopify, etc.
When creating public-facing forms for Airtable, data quality and security are paramount. To prevent spam and bot submissions, you can add Google reCAPTCHA.
This simple step ensures every entry is from a real user, protecting the integrity of your data.
Plumsail Forms has an InkSketch control that allows users to leave signatures and handwritten notes directly on the form with a mouse or their finger on a mobile device.

This feature captures a legally compliant e-signature and automatically saves it to your Airtable attachment field—ideal for contracts, approvals, and sign-offs.
A major challenge with native Airtable forms is mobile responsiveness. Plumsail Forms are fully optimized for mobile devices — fields, containers, and buttons automatically adjust to fit different screen sizes and orientations.
This ensures your Airtable form integration not only looks great but functions smoothly across desktops, tablets, and smartphones.
Plumsail Forms allows multiple team members to collaborate on form creation and management.
Invite unlimited team members to work on Airtable-connected forms and make updates. This collaborative approach streamlines the form-building process and ensures everyone is aligned on data collection goals.
With Plumsail Forms, you will be able to create custom forms to add records to Airtable and use them for editing records as well. These forms for Airtable can have your branding, conditional business logic, custom notifications, allow you to use containers such as Wizard or Tabs, and advanced controls such as Data Table or Likert Scale.
You can check out Plumsail Forms product here, it includes a free plan with a limited number of submissions. And we’ll be glad to answer any of your questions in our community forum.