Forms
Jun 08, 2022
Public forms tips and tricks: How to conditionally show and hide fields
Create interactive forms using these tips for conditional showing and hiding fields

Tables come in handy when creating forms, such as an order form, an event registration form, or a job application form. Most online form solutions do not offer any possibility to manipulate tables or provide feature-restricted widgets; however, Plumsail online forms give you the ultimate capabilities in working with tables.
In this post, I will tell you how to populate columns, calculate totals, and fill the table from an external source.
You can try out the examples from this post on a real form to see how they work:
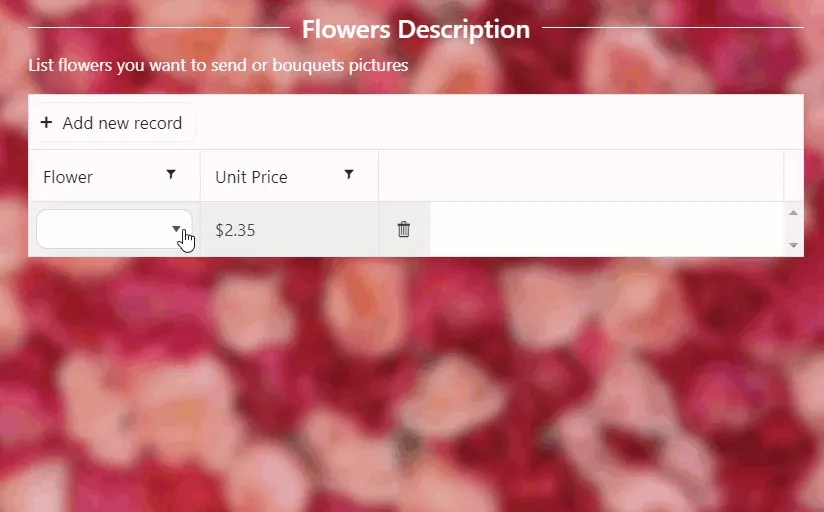
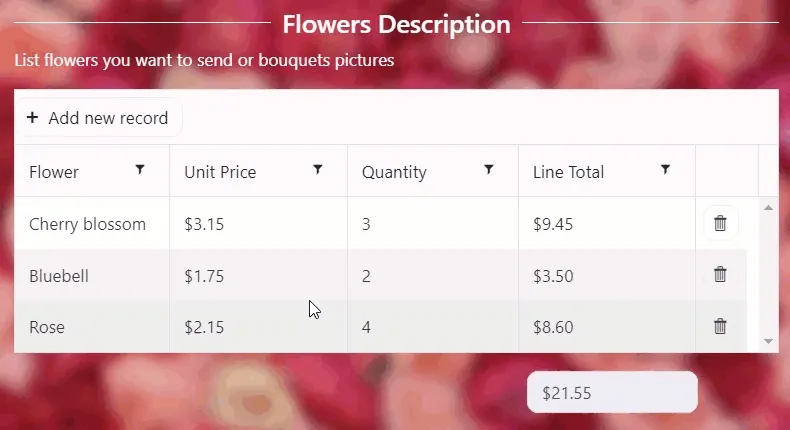
Suppose you have an order form. You add a table to the form with two columns product and price. It would be nice to automatically populate the price column when users select a particular item in the first column:
With JavaScript code you can easily achieve this. You can find the code sample in our documentation.
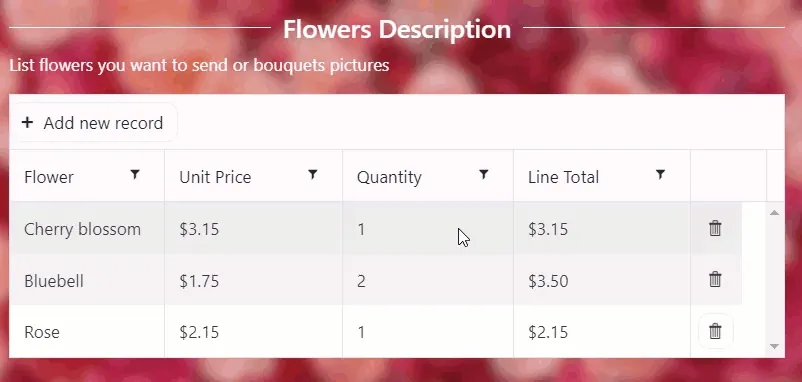
Users want to select the quantity and know how much they will pay for each item in the list. You add the Quantity and Total column to the product list and the code to calculate the total for the row:
The next level is calculating the total price for all products in the table. Add a field to the form to store the total for the whole order. Then, add the code from our documentation.
That way, when users add a new product to the list and select a quantity, the total price will be recalculated:
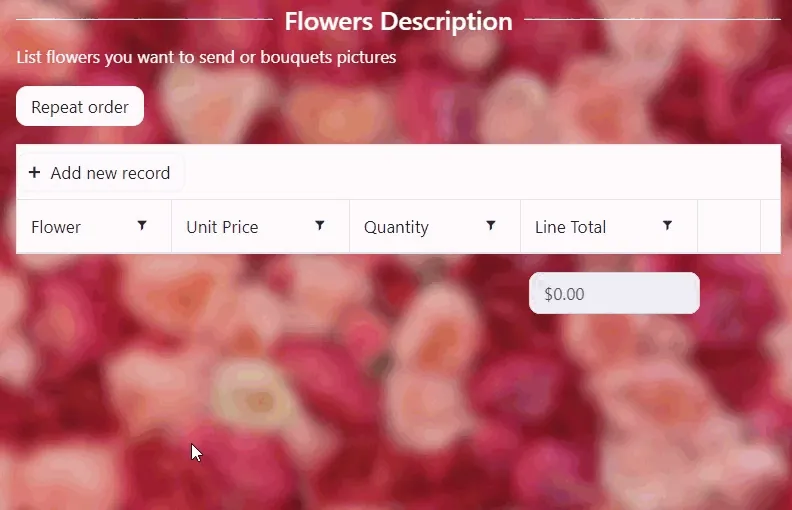
You can also populate a data table from an external file stored on GitHub, OneDrive, Google Drive, etc. For instance, add a button to the form that fills the Data Table with a set of items:
These are just a few of the most common examples of what can be done with tables. Create a free account to design your first form with a table from scratch or use one of the ready-made templates.
Find more information and examples in Plumsail forms documentation, or contact the support team to get help with your ideas.
Create interactive forms using these tips for conditional showing and hiding fields
Elevate your web forms for mobile era! Follow these 7 simple tips to create mobile-friendly online forms that are responsive and easy to complete.
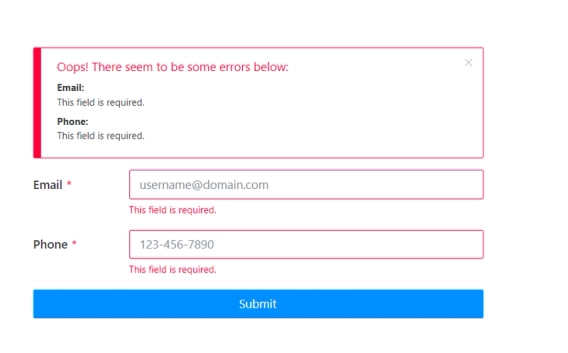
Popular use cases of how to validate a particular field in a web form.