Plumsail Documents is a powerful tool that allows you to create a variety of documents — PDF, Word, HTML, and text — using templates. Their recently launched Zapier integration allows you to connect Plumsail with over 2,000 other apps and fill your templates with data from the other apps your business uses.
If you’re already using Zapier and are considering adding Plumsail to the mix, here’s how you can do it.
Create printable event tickets for your customers
Say you’re running an event and you want to give attendees a customized PDF ticket — this is something perfectly suited to Plumsail.
First, you’ll want to open Zapier, and in the top left, click “Make A Zap”.

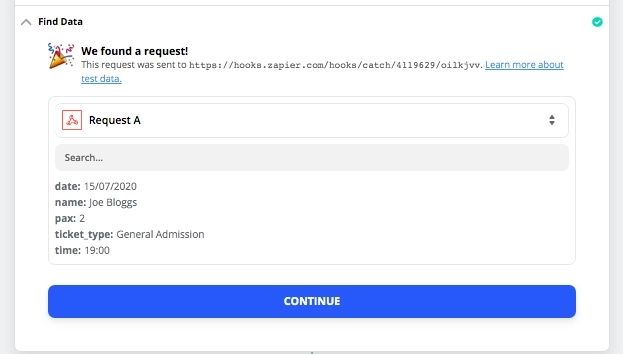
Every zap needs a trigger — in our example, this will be whichever app your customers book tickets through. It could be Eventbrite, Meetup, Shopify, WooCommerce, or anyone of the e-commerce apps that Zapier supports.
Add your trigger app and follow the steps to configure it. Once done, hit the “Test” button and you’ll see data associated with an attendee.
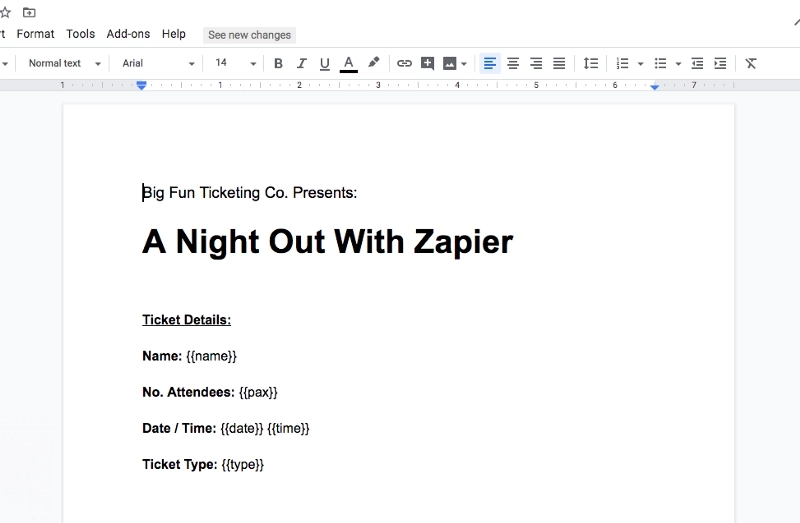
Next, we need to head over to Plumsail and upload our ticket template so we can use it in our zap.
We created our ticket template in Google Docs and downloaded it in .docx format for uploading to Plumsail. When creating it, you need to add placeholders where you want live data to appear. Placeholder fields should be surrounded by {{ and }}.
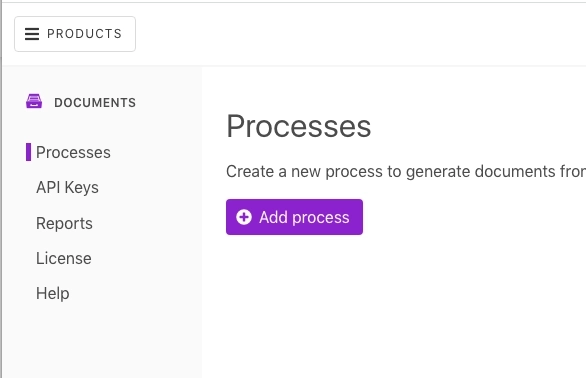
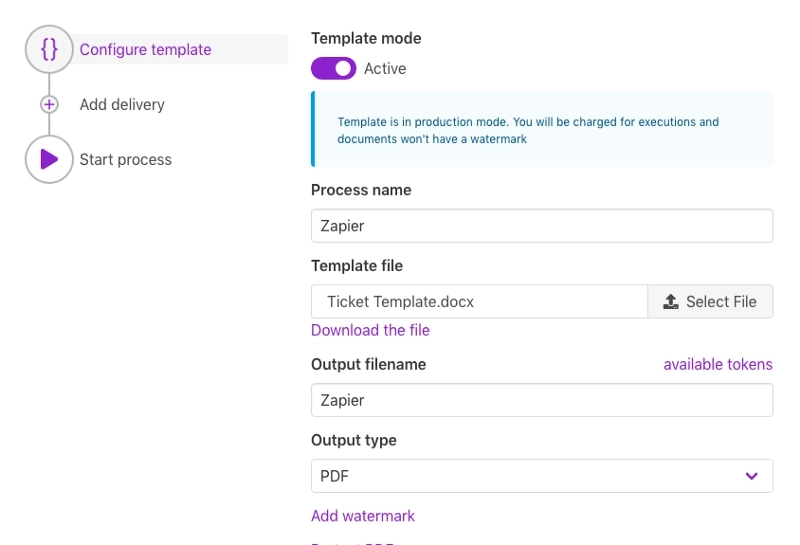
Next, head over to Plumsail and click “Add Process”. A process is an instruction for Plumsail to merge incoming data with a document template you upload. Once we’ve created a process, we’ll be using Zapier to start it.
You’ll be prompted to upload your template document and then, once ready, you just need to set your process to ‘Active’ and make any settings changes required.
The final part of the setup requires you to create a JSON object and paste it into the Plumsail step in Zapier. Click the + symbol below your trigger step, select ‘Plumsail’ and then select “Start Process in Plumsail Documents”.
In the first dropdown, select the process you just created in Plumsail. Below that, you add the JSON object. The format is quite simple — with an entry for each placeholder on your template and value to go with it, taken from the trigger step.
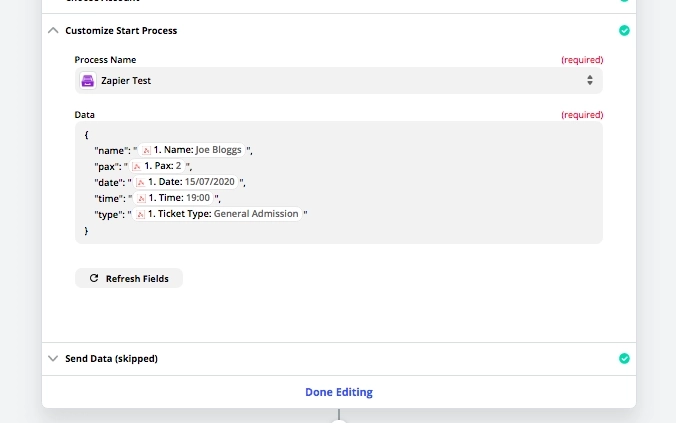
Test this step, and one of the output values will be a ‘file’ field which can then be used in further steps in your zap.
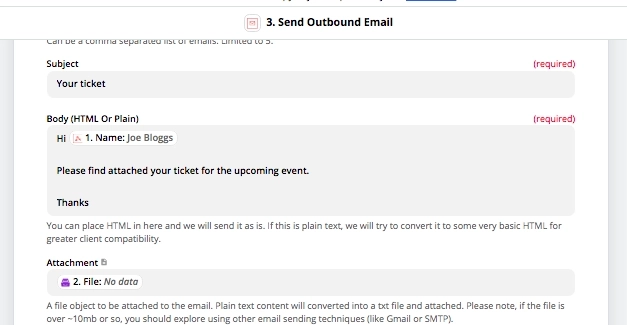
In our example, we’re going to add it as an attachment to an email.
Use advanced features to create customized presentations for clients
As well as standard text fields in templates, Plumsail can handle advanced features like tables, nested bullet lists, dynamic page creation, and charts with data, making it ideal for creating presentation documents and slideshows for clients.
Pull data directly from your CRM or project management tools like Asana or Trello and output documents in PDF format as well as PowerPoint or Excel.

This article is a guest post by Andrew Davison. He is the founder of Luhhu — automation specialists and Zapier experts. They help customers save an average of 35 hours per week on business admin, by building complex, highly customized automation processes.