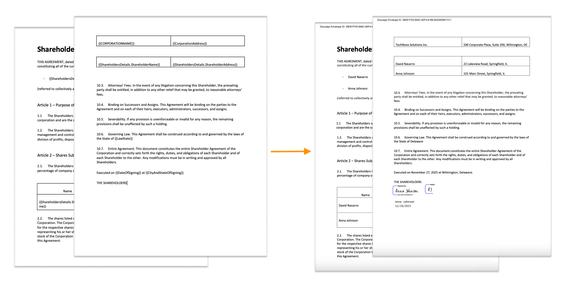
Create documents from a template and sign them with DocuSign eSignatures
DocuSign integration for Plumsail Documents is released
This time, we’d like to tell you about a new direct eSignature integration for Plumsail Documents — with the signNow platform. It can help you to boost document generation and exchange processes.
Let’s see how Plumsail Documents and signNow work together in the example of a sales contract. We’ll populate a sales contract template with custom data and electronically sign it using signNow.

To follow the steps from this how-to guide, you’ll need:
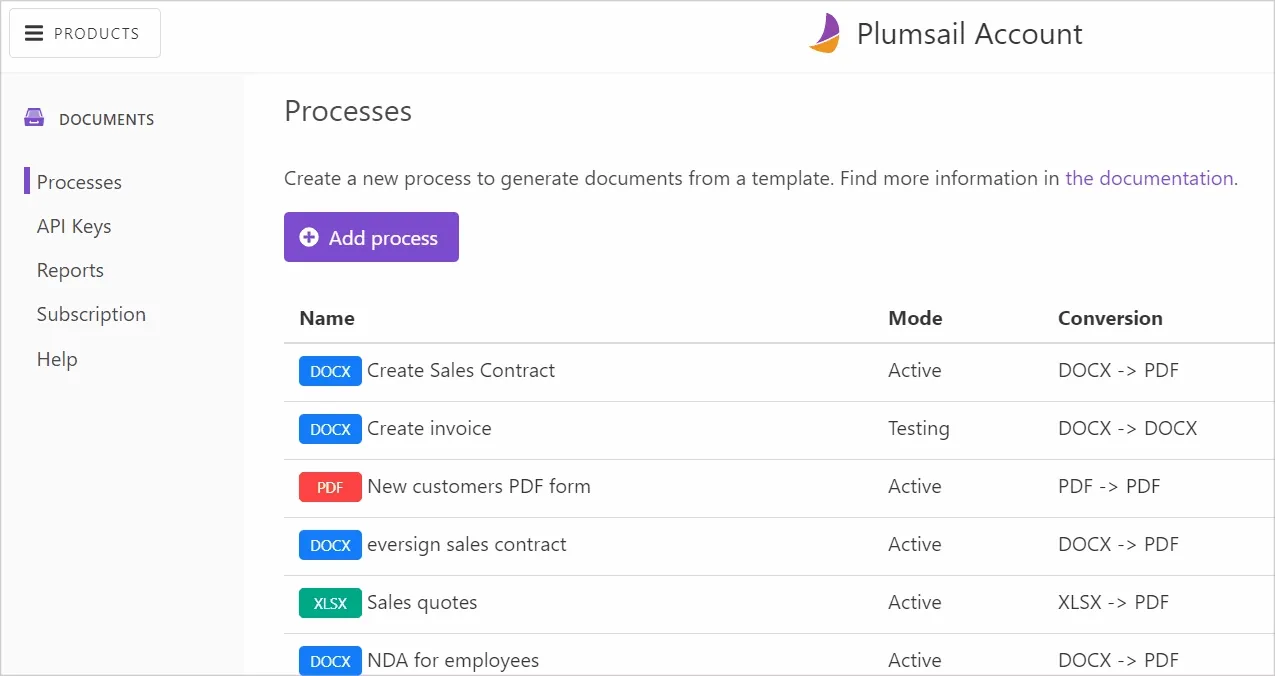
Open the Processes page in your Plumsail account. Create a new process like it’s shown in the gif below:

After clicking Next, you’ll be redirected to the process settings step. Please, download our premade sales contract template in a DOCX format and upload it to the process:

Click Save & Next to move to the template’s settings. There we enable an Active mode, personalize the name of the document that will be generated, select PDF for an output file format:

Click Save & Next to proceed to add delivery to the process.
Select signNow. You’ll be offered to connect to your signNow account and grant Plumsail Documents access to it. Once you’ve finished with this, you’ll see the signNow delivery settings:

As you can see in the screenshot above, here we fill email subject and message, specify our recipients with their roles (Signer1, Signer2), and actions required (Needs to sign).
There are advanced options you can enable. Read more details about the signNow delivery in the documentation article.
If you took a look at our sales contract template, you might see combinations of symbols embraced with curly brackets at the end of the document:
{t:s;r:y;o:"Signer1";}
{t:t;r:y;o:"Signer1";l:"Date";}
They are special signNow text tags that preset the location, type, size, and other settings of such fields as Signature, Initials, Date, and more. In our case, we have signature and date fields for both signers (Signer1, Signer2).
This is how they appear for the signer:

To understand how such text tags work, let’s look at what is in the brackets:
1. t stands for Type_, s means Signature, t means Text.
2. r stands for Required_, y means Yes, the field is required.
3. o stands for Role_, “Signer1” means the fields are meant for the first signer.
4. l stands for Label, “Date”.
So you just list the field characteristics and insert the tag into the document template.
Find more examples of signNow text tags in the Plumsail documentation.
The last step is to launch the sales contract generation process which will send ready documents to signNow for signing.
You may see various ways to do it at the step Start Process. We picked to start the process from the auto-generated web form:

Plumsail Documents creates a web form based on the document template tokens automatically. You can share this form with your colleagues, and in case you want, you can even adjust the form to your personal needs and taste. So, all you need to do is to complete the form and submit your answers:

That is it. We automated the process of creating sales contracts and sending them to signNow for electronic signature in three steps.
You can go further and connect your custom systems (such as CRM, ERP, Databases, etc.) to Plumsail Documents to populate document templates with its data.
Please, check the integrations section on the Plumsail site.
Register a Plumsail account free of charge for 30 days.
Got questions? Or, maybe, you’d like to share ideas? Just drop a comment or mail us to support@plumsail.com.