Looking for an Airtable signature field to make your forms more powerful? You’re not alone. Many Airtable users say they wish the platform had a way to capture e-signatures.
Being able to keep paperwork for a nonprofit on Airtable is great. However, a lot of our forms require signatures. It would be great if Airtable provided this feature.
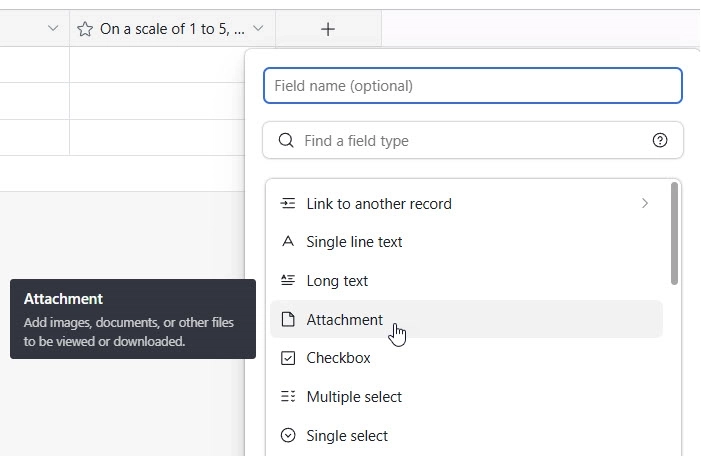
The truth is, Airtable doesn’t yet include a built-in signature field. But the good news is that you can add one using Plumsail Forms and save signatures directly to Airtable as attachments.
With Plumsail Forms, you can easily collect electronic signatures and save them straight to Airtable.
Yes, it's a workaround, and you'll need to use one more app in your business process, but you're getting the feature you really need plus an amazing tool for creating truly impressive, mobile-friendly forms.
As a result, we'll have a form where users can leave handwritten signatures, which we'll save to Airtable like this:
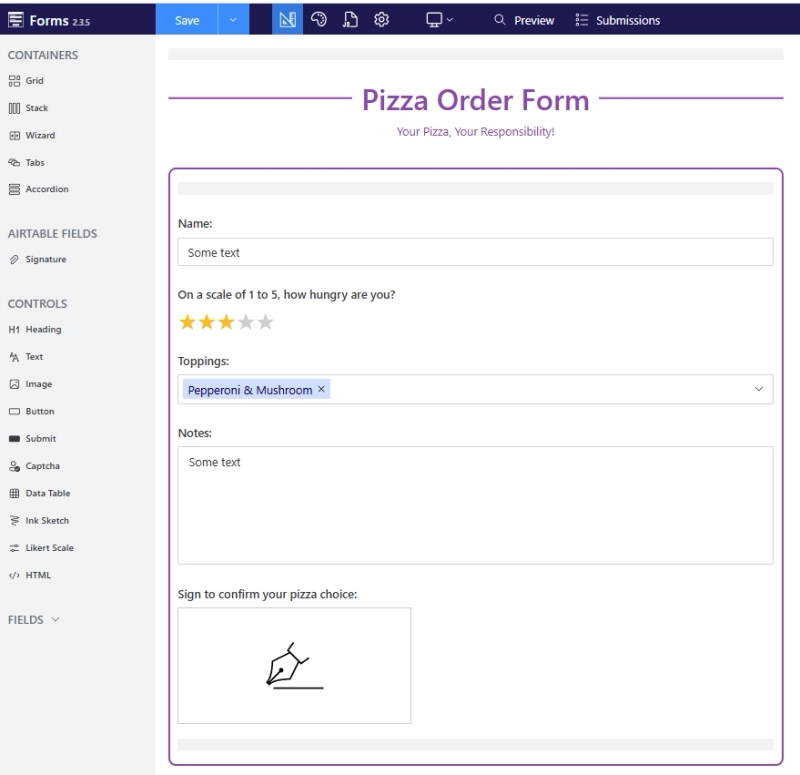
Let me show you my form with Airtable signature field. It's pretty straightforward, and you can easily adapt it to your own requirements.
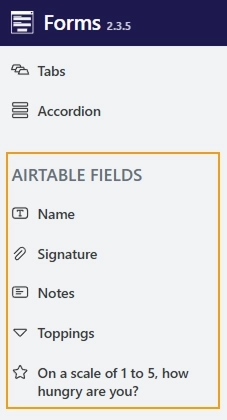
Once connected to Airtable, you'll see the columns in the left panel, ready to be added to a form:
I added all the necessary fields from Airtable and also included an Ink Sketch control for collecting electronic signatures:
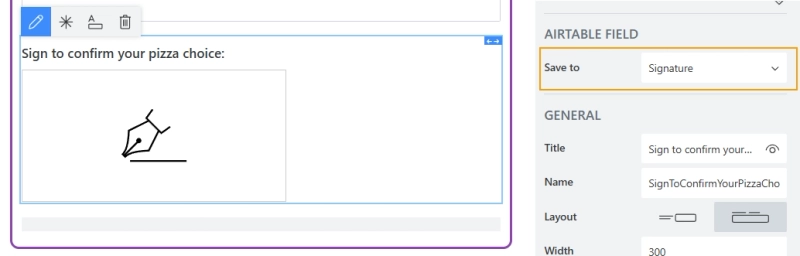
The last important step is to select the attachment column in the Ink Sketch control's settings where you want to save the signatures:
And that's it!
Step 4. Test Airtable signature form
Time to test my form! I filled out the form, including my signature to show I'm serious about my pizza toppings. And submitted it.
Here’s what the submitted signature looks like in Airtable:
Step 5. Share Airtable form to collect signatures
Time to share the form with the team!
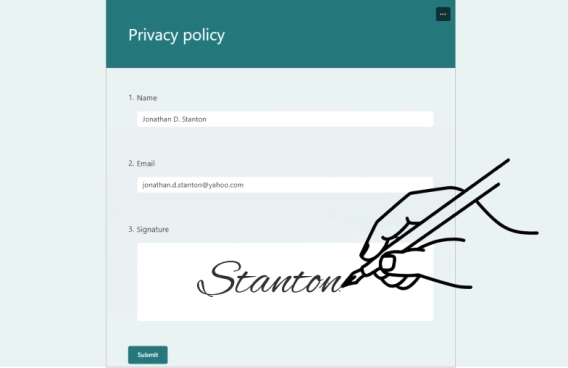
I share it using a direct link. The sharing page can be customized to your liking or to match your company branding:
I've also added the form to our corporate portal by simply embedding it on the page. You can do the same using the ready-made code snippet.
Get started with free forms for Airtable
Now you know how to add a signature field in Airtable. Plumsail Forms lets you add signature fields to your forms and saves the signed records directly to your Airtable base.
No, Airtable forms don't have a built-in signature field, but there's a simple solution. You can design a form with a signature field using Plumsail Forms and connect it directly to your Airtable base.
How do I store signatures in Airtable?
First, create an Attachment column in your Airtable table. Then, add a signature field to the form you design with Plumsail Forms and connect it to Airtable. The signature image will be saved directly to the attachment field.
How to use Airtable DocuSign integration to automatically save signed documents to Airtable
Learn how to use Airtable DocuSign integration for digital signing and automate attaching signed documents back to Airtable records using Make.
Sergey Kaigarodov
Internet Marketer
Forms
Last updated: Jun 28, 2023
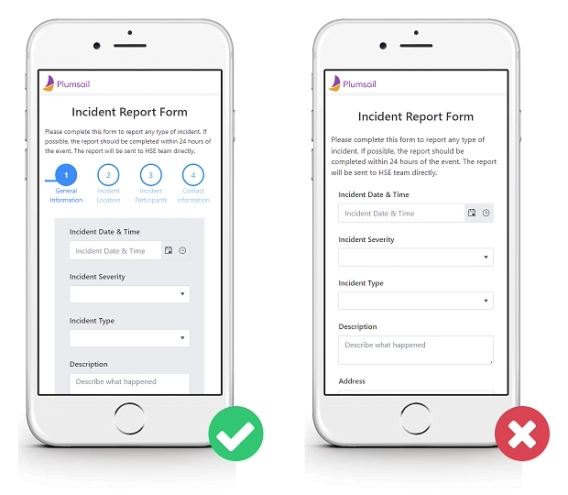
How to design Mobile-Friendly Online Forms
Elevate your web forms for mobile era! Follow these 7 simple tips to create mobile-friendly online forms that are responsive and easy to complete.
Margarita Nikitina
Customer Support Engineer
Forms
Jun 25, 2024
How to add a signature in Microsoft Forms
Learn how to add a signature in Microsoft Forms with our comprehensive guide. Discover workarounds and best practices to collect signatures easily and effectively.