WSP installation for SharePoint 2013
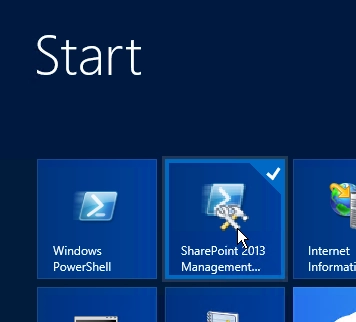
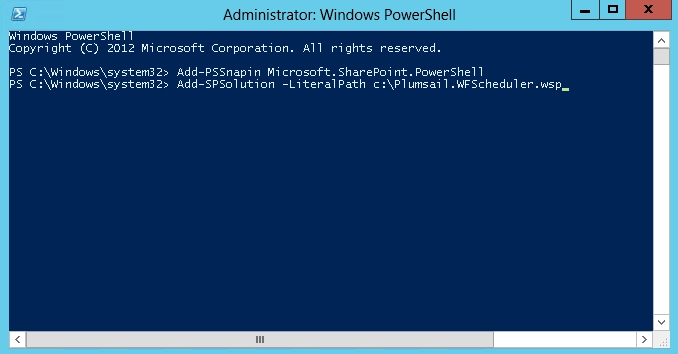
Download wsp-package and place it to one of the servers in your Sharepoint 2013 / 2016 / 2019 / SE farm. Run Sharepoint 2013 Management Shell as administrator:

Print Add-SPSolution <path to wsp-package> :
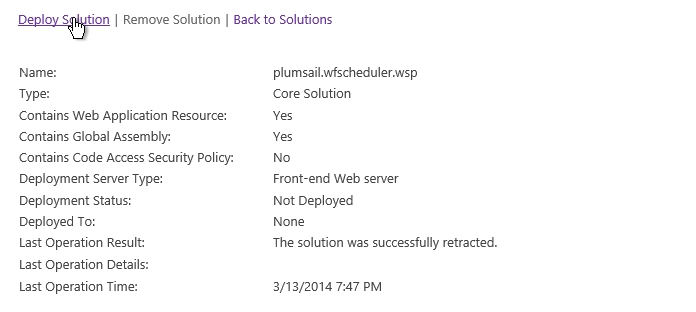
Open Central Administration as administrator → System Settings → Manage farm solutions. Select plumsail.wfscheduler.wsp and press Deploy Solution link:
Make sure that the site collection feature is activated
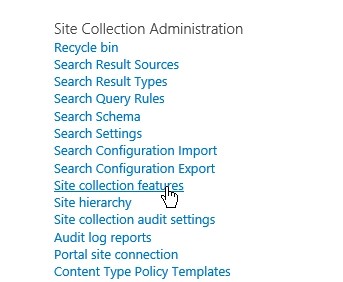
Go to your application. Select ‘Site Settings’ item in the root of the site collection in ‘Site Actions’ menu. Choose ‘Site collection features’ in ‘Site Collection Administration’ section:
Activate ‘Plumsail Workflow Scheduler’ feature if it is not activated.

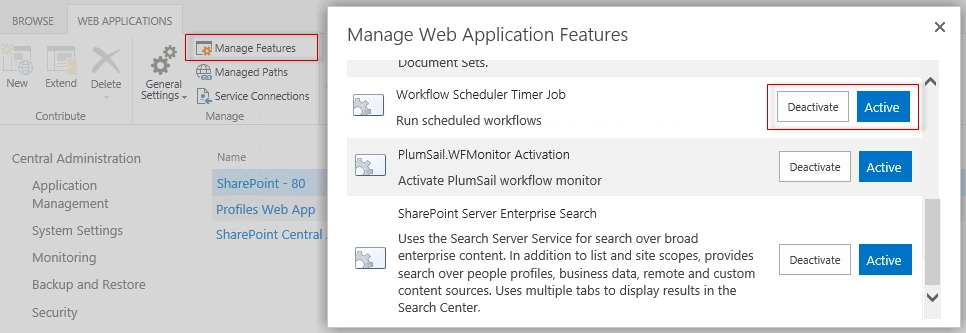
Make sure that the web application feature is activated
Open SharePoint Central Administration as administrator → Application Management → Manage web applications. Select the web application where Workflow Scheduler is deployed, click ‘Manage Features’ in the ribbon and activate ‘Plumsail Workflow Scheduler Timer Job’ feature if it is not activated.