Getting started
- Register account and get API key
- Use in Power Automate (Microsoft Flow)
- Use as REST API
- License activation
User guide
- API Keys
- Reports
- Subscription and notifications
- Account settings
- Audit log
- Invite team members to account
Power Automate (Microsoft Flow) actions
General
- Licensing details
- Release notes
- Data protection and security
- Data center location
- Service Level Agreement
REST API
Power Automate (Microsoft Flow) examples
- Provisioning
- Permissions management
- Documents management
- List items management
Read CSV file and add item to SharePoint list in Power Automate
In this article, we’ll demonstrate how to read CSV files in Power Automate (Microsoft Flow) using Parse CSV action from the Plumsail Actions connector.
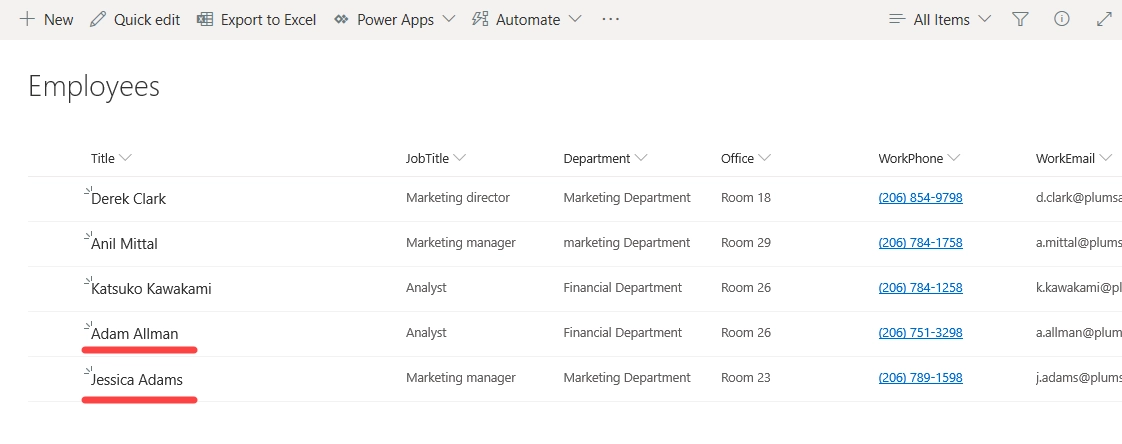
Let’s say we have a SharePoint list ‘Employees’ and we need to add information there from a CSV file.

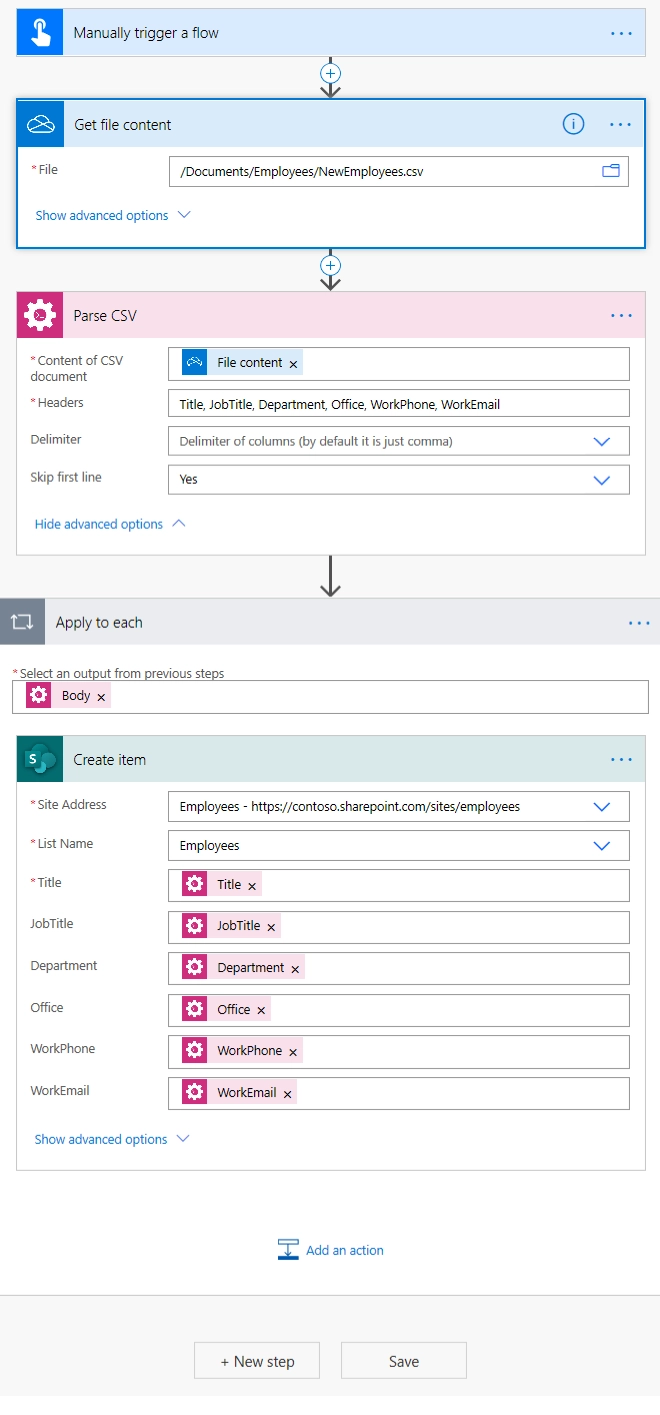
The CSV file contains the same headers as the Employees list columns: Title, JobTitle, Department, Office, WorkPhone and WorkEmail

This is how our complete flow will look like:
Adding the Plumsail action for the first time, you’ll be asked for a Connection name, API Key, and Data center location.
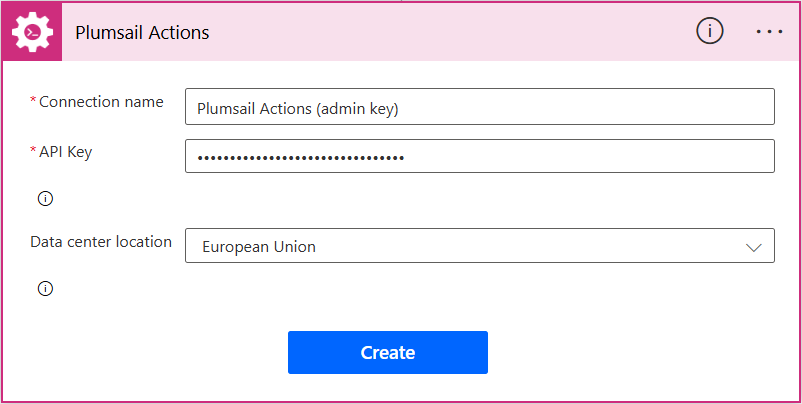
You can type any name for the connection, for example Plumsail Actions (admin key). Next create an API key on your Plumsail account page, copy, and paste it to the API Key field. Ensure that the selected data center location matches one of your account.
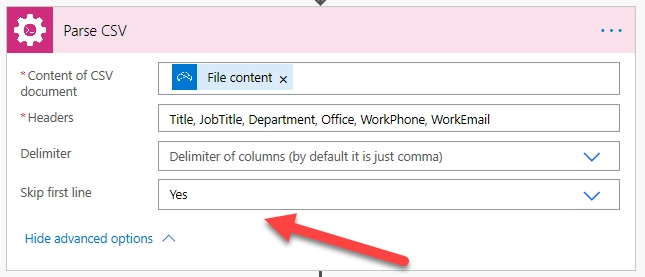
Configuring the action, I set the option ‘Skip First Line’ to ‘Yes” since my CSV file has headers on the first line.
Our source CSV file has to be stored somewhere. Power Automate (Microsoft Flow) has a lot of connectors for different systems.
Here are just a few of them:
SharePoint
Salesforce
Box
OneDrive
Google Drive
Dropbox
SFTP
File System
You can store your files anywhere. In this example, we will store our source CSV file in OneDrive folder, but you can get data from any other sources.
I add new item using Create Item action from SharePoint connector and Apply to each action since we have 2 items to add.
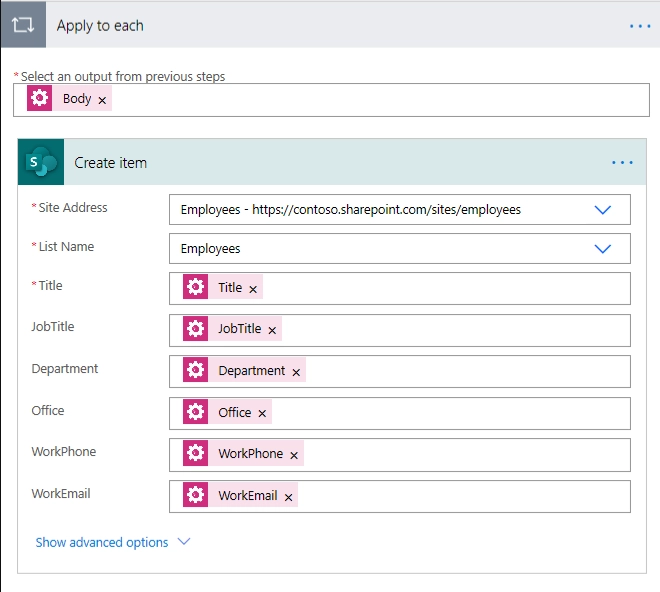
After running the flow we have two new employees in the Employees list
You can download the sample csv here .
Update a SharePoint list
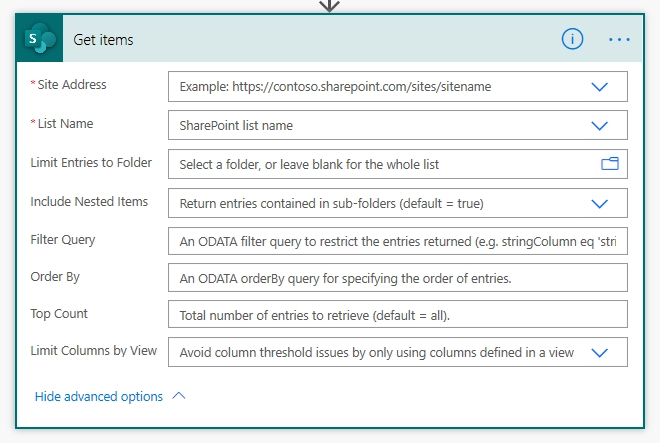
The same approach could be used to update a SharePoint list. However, in that case, you need to check if the item already exists. To filter the existing items you can use Get Items action from SharePoint connector.
Conclusion
That is it. These few simple steps can help you to update any SharePoint list using CSV file as the data source.
Hint
You may also be interested in this article explaining how to read a CSV file in Power Automate (Microsoft Flow) and bulk generate documents.