Create SharePoint group and add users in Power Automate
In this article, you will learn how to create a SharePoint group and add users there. Let’s suppose that you have a SharePoint site and now you want to check if a group exists, create the group and add users there. We will be using Check if SharePoint Group exists, Create SharePoint Group and Add User to SharePoint Group actions from the Plumsail Actions connector.
There are a few other actions to manage SharePoint groups which you can use in your flow:
Create SharePoint Group
Update SharePoint Group Properties
Remove SharePoint Group
Add User to SharePoint Group
Is User Member of SharePoint Group
Get Members of SharePoint Group
Remove User from SharePoint Group
You can find all the actions and their description on this page.
Create Power Automate (Microsoft Flow)
Now let us review the flow and learn how it is implemented:
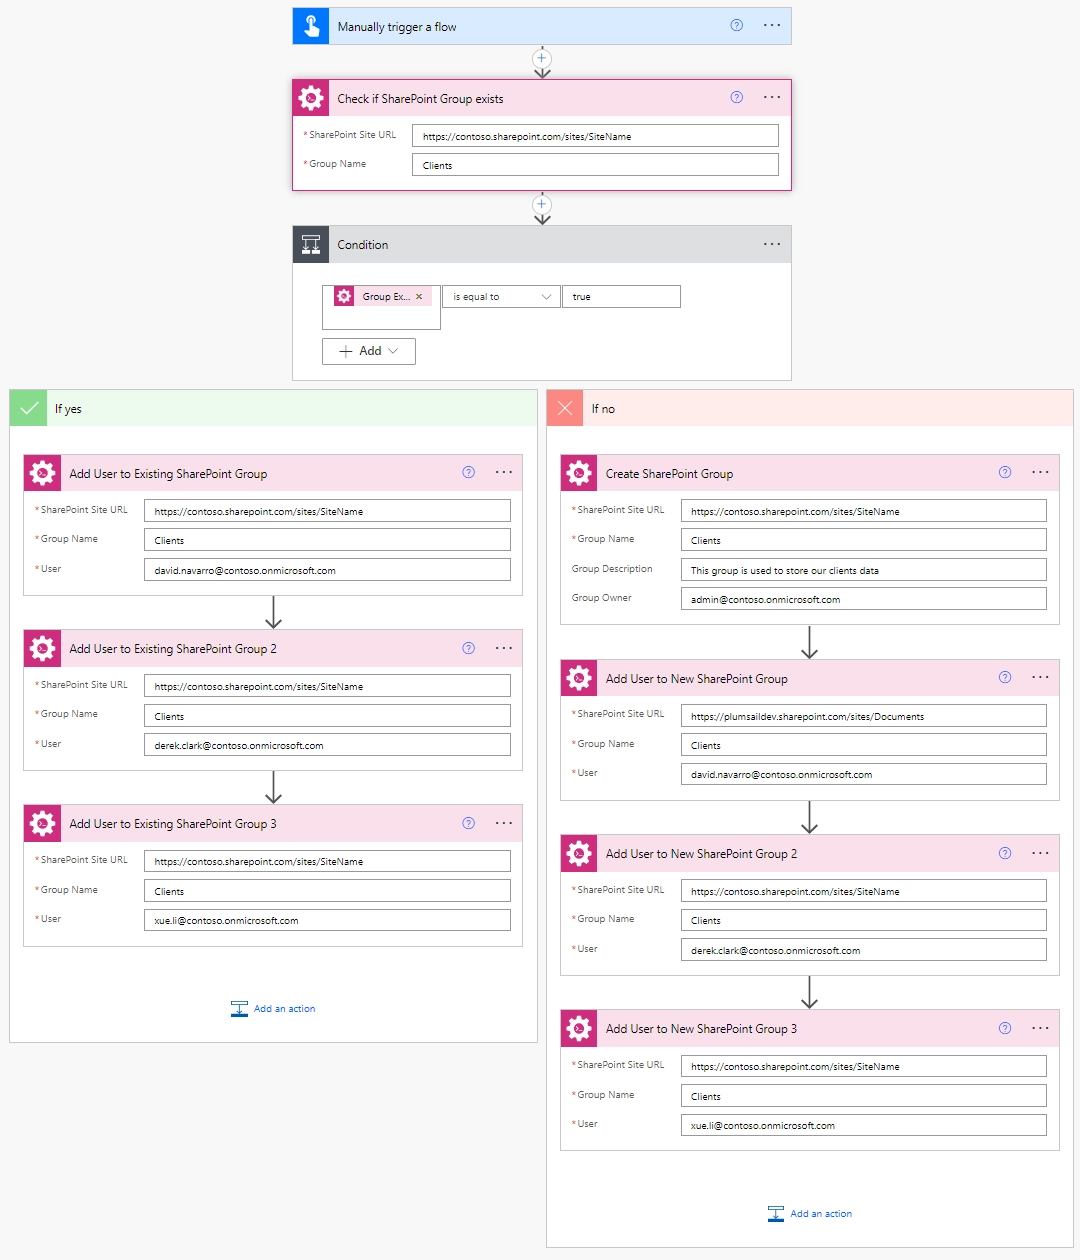
You can actually pick any trigger. For example, you can start a flow when a new email arrives. We are using “Manually trigger a flow” trigger here to simplify the flow.
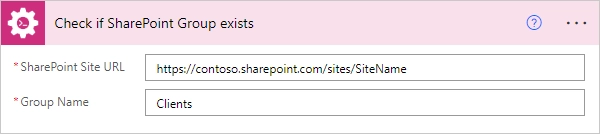
Check if SharePoint Group exists
Check if SharePoint Group exists is an action from the Plumsail Actions connector.
Adding the Plumsail action for the first time, you’ll be asked for a Connection name, API Key, and Data center location.
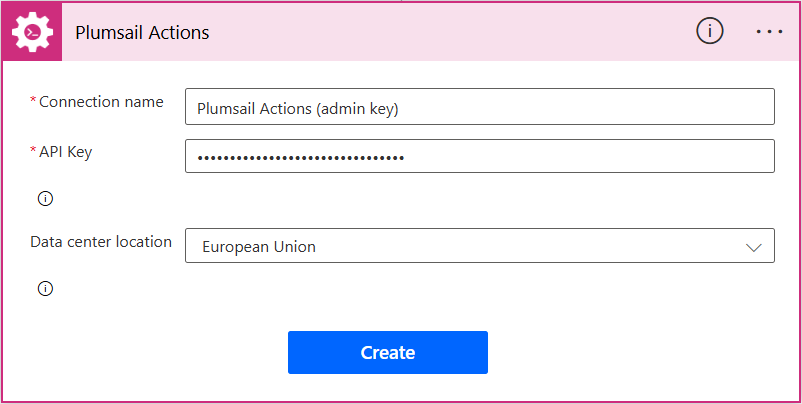
You can type any name for the connection, for example Plumsail Actions (admin key). Next create an API key on your Plumsail account page, copy, and paste it to the API Key field. Ensure that the selected data center location matches one of your account.
Then specify the SharePoint Site URL and the Group Name to check if the group exists.
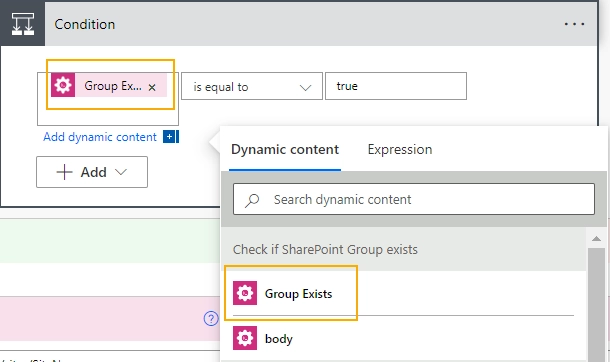
Condition
We need to perform certain actions depending on the Check if SharePoint Group exists result. For this we add the Power Automate condition block.
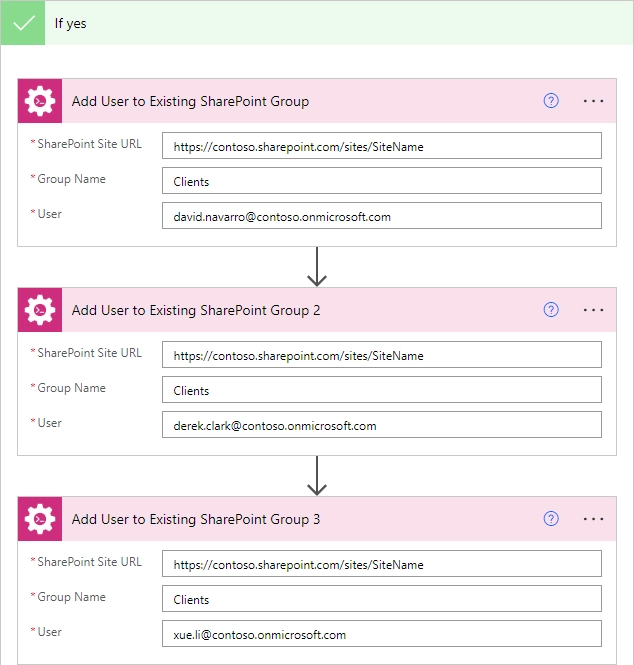
Add users to SharePoint group
If the condition returns true, i.e. the group “Clients” exists, we are adding users to the existing group. We are using the Add User to SharePoint Group action from the Plumsail Actions connector to do this.
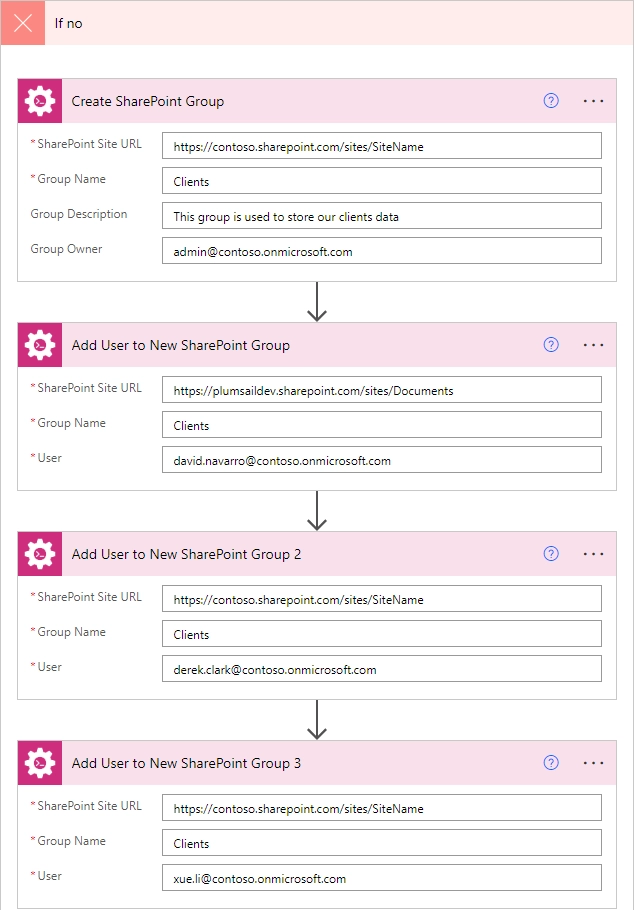
Create SharePoint Group
If the condition returns false, i.e. the group “Clients” doesn’t exist, we create a new group with Create SharePoint Group action.
You can specify this group’s owner and add a description. Then we add users the same way as we did previously.
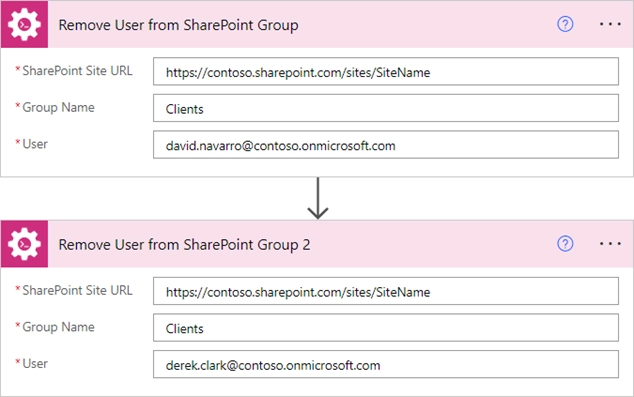
Remove User from SharePoint Group
Sometimes we also need to remove users from a SharePoint group. In this case, we can use the Remove User from SharePoint Group action from the Plumsail Actions connector.
Conclusion
Now you should have an idea how to use actions from the Plumsail Actions connector for Power Automate (Microsoft Flow) to manage SharePoint groups. If you haven’t used the connector yet, registering an account would be the first step. It is quite easy to get started.