Forms
Apr 29, 2021
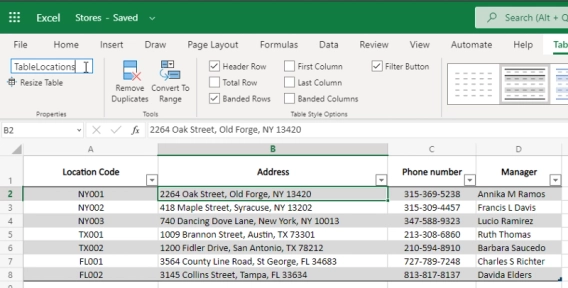
Use OneDrive Excel file as an external source for your Public Web Form fields
Populate fields on your form with data from an Excel file

In this article, I'll show you how to pull data from your Microsoft Dynamics 365 Business Central with the help of Azure Function and Entra ID app and use it in a public web form for populating fields and dropdown options. I will bind records from Customers, Vendors, and Items in Business Central to dropdown fields in a public web form designed with our Plumsail Forms and demonstrate how to dynamically populate other fields based on the selected option in the Customer dropdown—address, email, and others. Yet, with a few tweaks to the Azure Function, you can request any other data from your Business Central, limit the set of fields you want to expose, or configure filtration based on user's input as Microsoft provides comprehensive API for data manipulation.
Dynamics 365 Business Central is an ERP system standing aside from other Dynamics 365 apps such as Sales, Customer Service, or Talent which use Dataverse for storing their data and thus are integrated into Microsoft Power Platform. Business Central is a standalone solution which nevertheless can be connected to other Dynamics 365 apps via REST API. It's designed for small and mid-sized organizations for managing their finances, sales, procurements, and products.
You can sign up for a trial with your Microsoft work or school account but unfortunately, in most of the countries the trial is unavailable. You can either find a Microsoft reselling partner or create a new tenant in Microsoft Entra ID and select the US as datacenter location as the region cannot be changed for existing tenants.
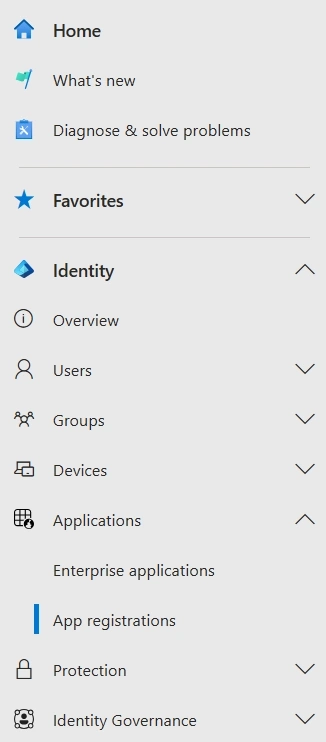
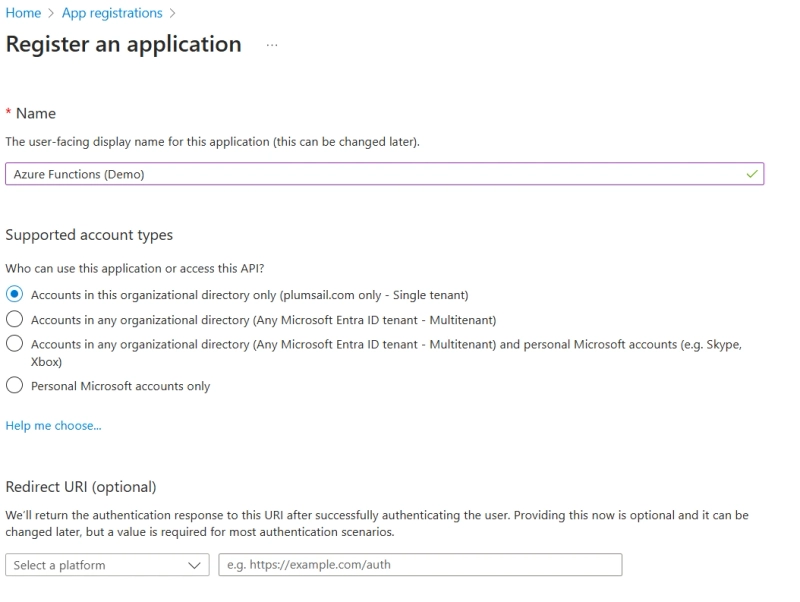
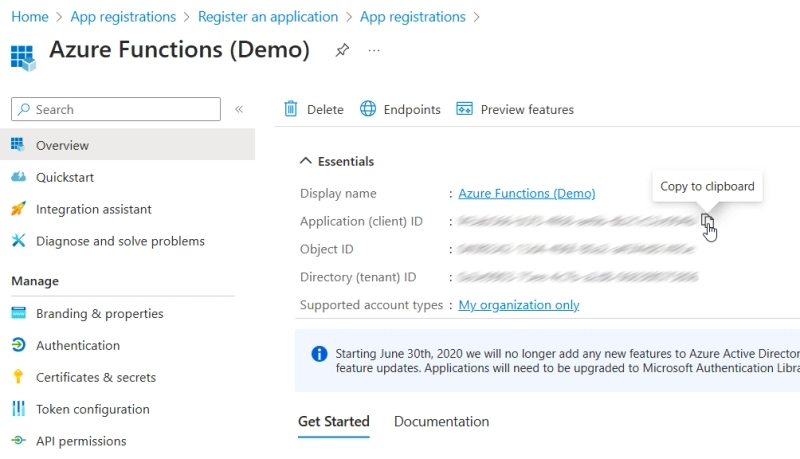
First, we need to register a new Entra ID app with access to Dynamics 365 Business Central API.
Now, we need to configure permissions for the app:
Finally, we need to create a client secret for our app to use it in Azure Function:
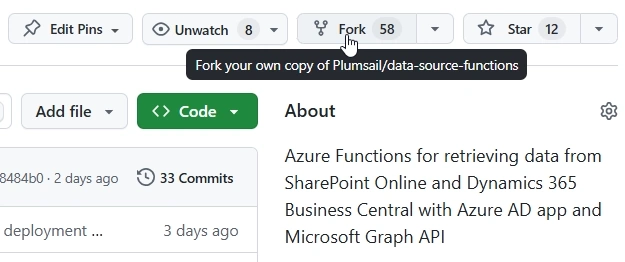
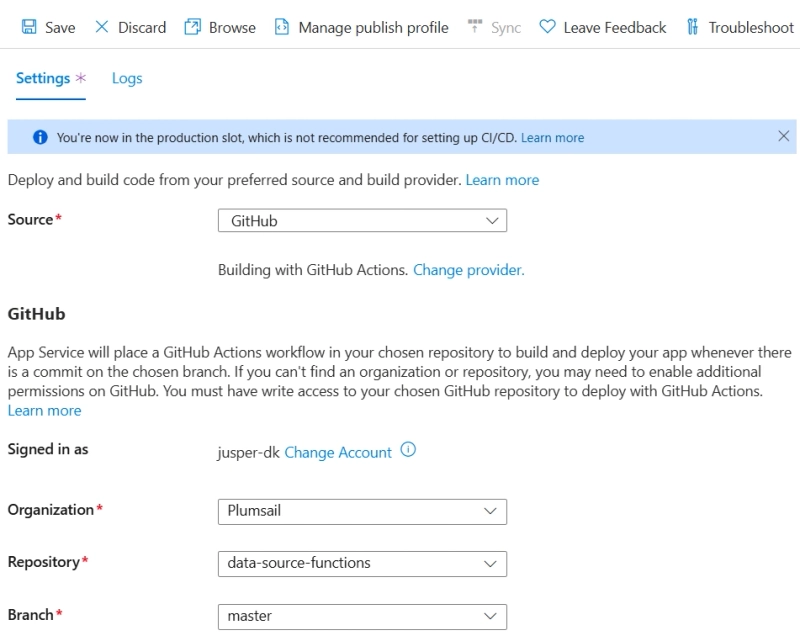
You can deploy functions for retrieving data from Dynamics 365 Business Central directly from our GitHub repository. No need to modify source code to specify the app or the data source settings, all of them can be configured via the Function App's environment variables after the deployment:
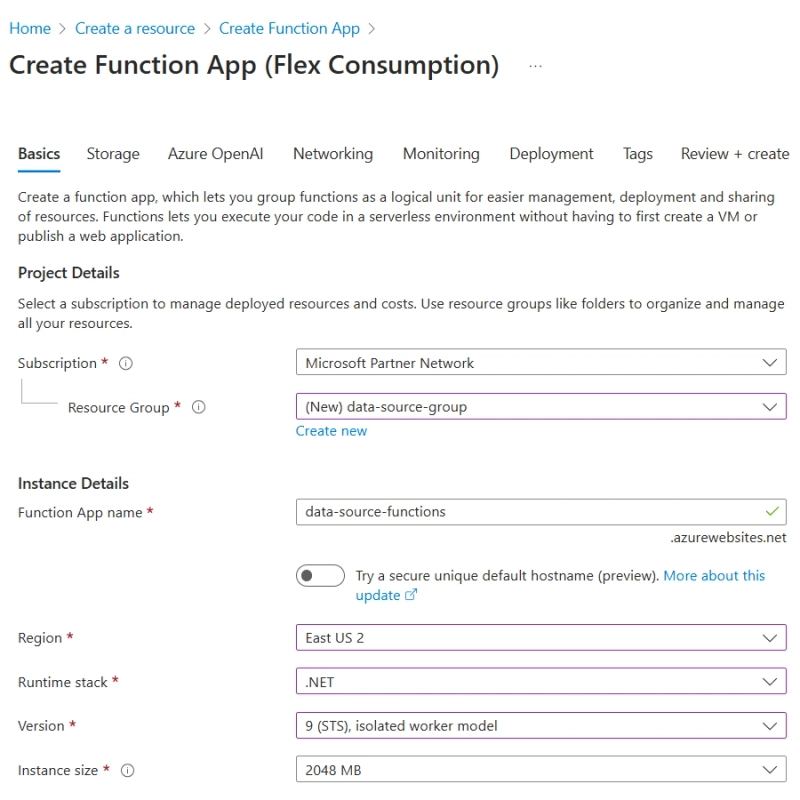
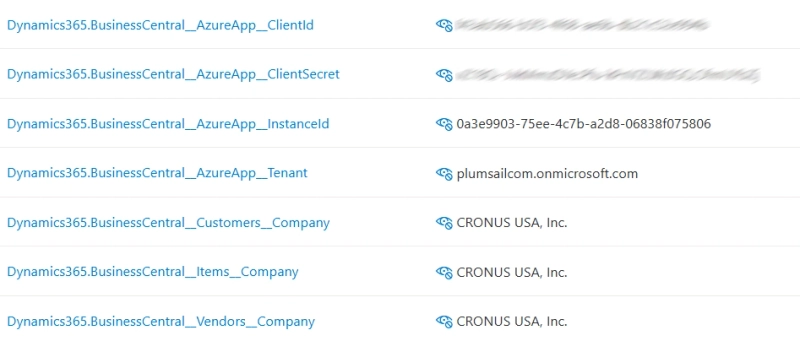
Once the project is built and deployed, you will see the functions in your Function App. Now, we need to define its environment variables to get access to our Dynamics 365 Business Central.
Dynamics365.BusinessCentral__AzureApp__ClientId
The Application (client) ID of the Entra ID app

Dynamics365.BusinessCentral__AzureApp__ClientSecret
The Client secret of the Entra ID app

Dynamics365.BusinessCentral__AzureApp__Tenant
Your Microsoft 365 tenant, ex.: contoso.onmicrosoft.com

Dynamics365.BusinessCentral__AzureApp__InstanceId
Your Business Central ID. Take it from your Business Central URL:
https://businesscentral.dynamics.com/{instanceId}/?referrer=office

Dynamics365.BusinessCentral__Customers__Company
The name of the company in Dynamics 365 Business Central which Customers you want to request in D365-BC-Customers function

Dynamics365.BusinessCentral__Vendors__Company
The name of the company in Dynamics 365 Business Central which Vendors you want to request in D365-BC-Vendors function

Dynamics365.BusinessCentral__Items__Company
The name of the company in Dynamics 365 Business Central which Items you want to request in D365-BC-Items function
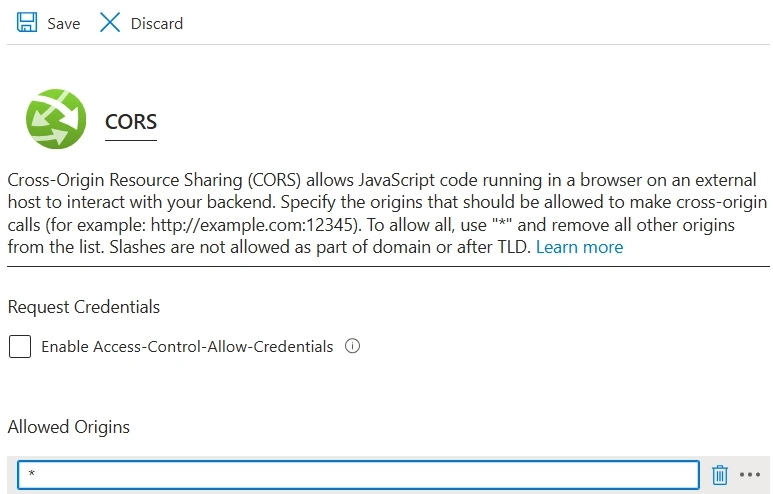
Finally, we need to enable Cross-Origin Resource Sharing (CORS) for our app to allow JavaScript requests from our web form:
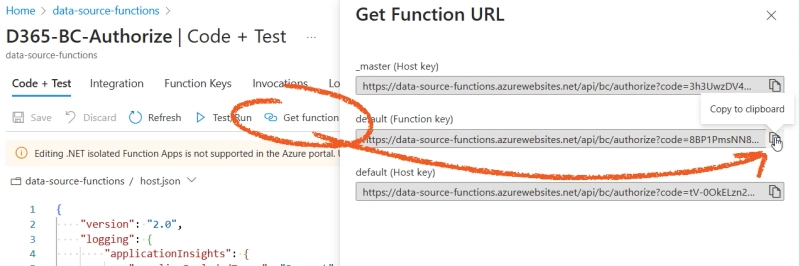
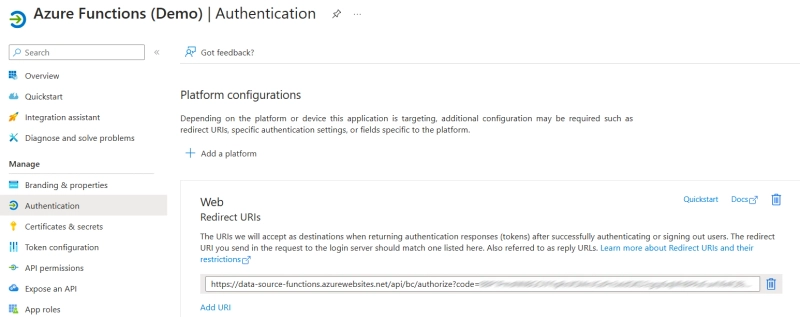
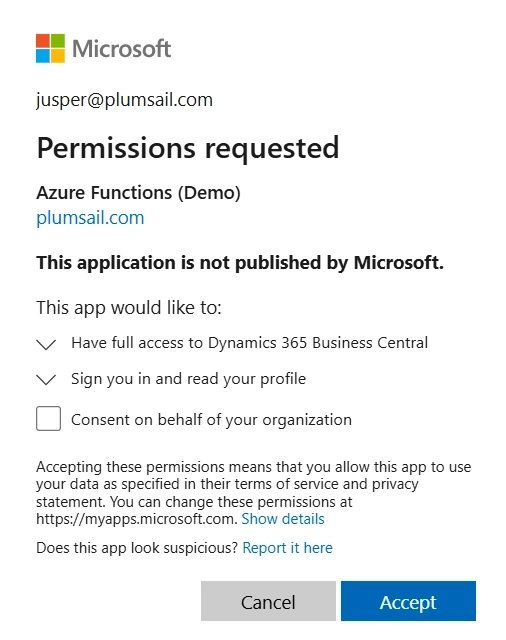
You might noticed the D365-BC-Authorize function among the others. It allows you to grant delegated permissions to the app. All further communication with Business Central will be performed on behalf of a user who approved the app's permission request. After approval of the app request, the Azure Function saves tokens in cache and uses them in other functions for obtaining data from Business Central.
Before starting this function, you should add its URL to the list of redirect URLs of the app.
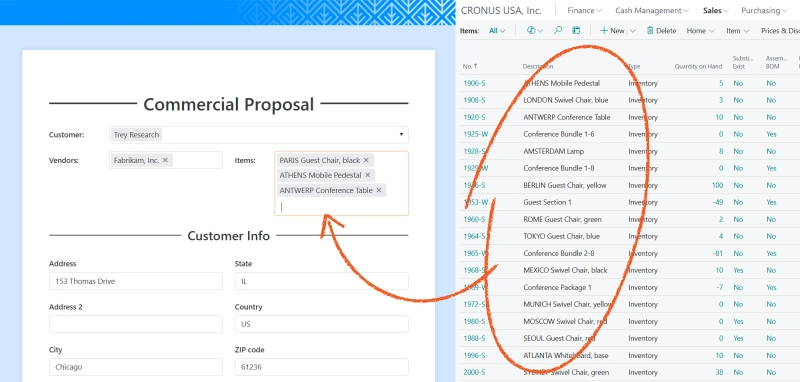
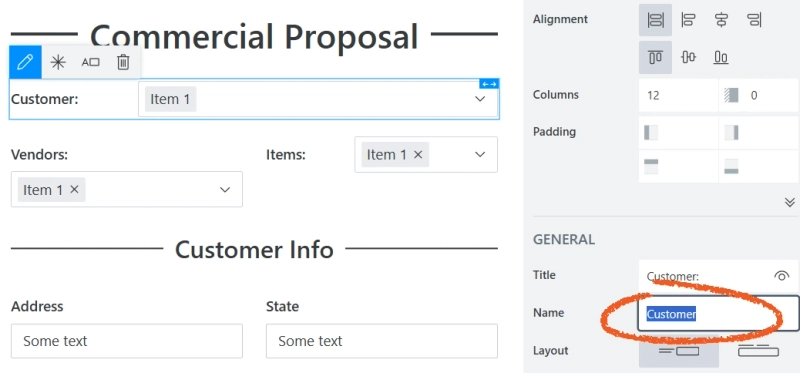
Finally, we can design a public web form and populate dropdown field options from Azure Functions with JavaScript. In this example, I have Commercial proposal form with Customer, Vendor, and Items fields which I want to be linked to corresponding lists in Dynamics 365 Business Central.
First, I need to copy their names in the design mode:
Next, copy URLs of D365-BC-Customers, D365-BC-Vendors, and D365-BC-Items functions and remove {id} from them. Should be like that:
https://{your-function-app}.azurewebsites.net/api/bc/customers/?code=...{id} is needed if we want to retrieve a certain Customer, Vendor, or Item. Without specifying {id}, the functions return all records.
Switch to JavaScript editor and assign functions' URLs as data sources for the dropdown fields:
fd.rendered(() => {
const customerField = fd.field('Customer');
const customerWidget = customerField.widget;
customerWidget.setDataSource({
transport: {
read: '-- URL of D365-BC-Customers (without {id}) --'
}
});
customerWidget.setOptions({dataTextField: 'displayName', dataValueField: 'id'});
const vendorsWidget = fd.field('Vendors').widget;
vendorsWidget.setDataSource({
transport: {
read: '-- URL of D365-BC-Vendors (without {id}) --'
}
});
vendorsWidget.setOptions({dataTextField: 'displayName', dataValueField: 'displayName'});
const itemsWidget = fd.field('Items').widget;
itemsWidget.setDataSource({
transport: {
read: '-- URL of D365-BC-Items (without {id}) --'
}
});
itemsWidget.setOptions({dataTextField: 'displayName', dataValueField: 'displayName'});
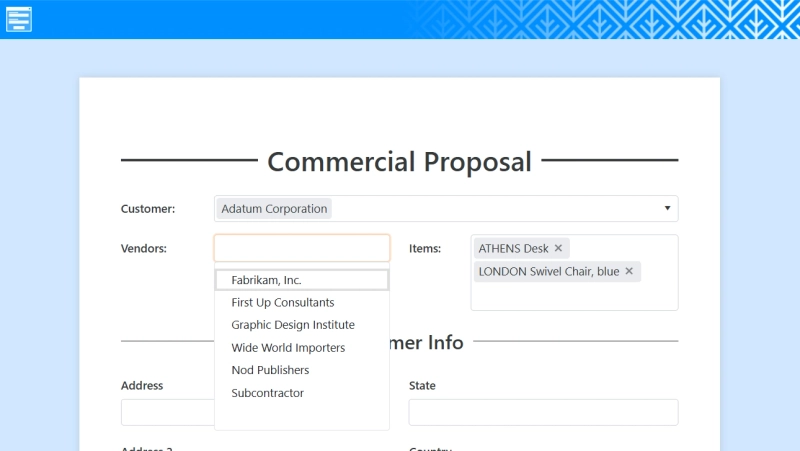
});And here you go:
Now, once a user selects a Customer, I want to populate Customer Info section with properties of the selected Customer—address, email, and website. Switch to JavaScript editor and add the following function for requesting a customer by id and populating the customer info fields:
async function populateCustomerData(customerId) {
    // Replace {id} in D365-BC-Customers URL with customerId
    const response = await fetch(`https://{your-function-app}.azurewebsites.net/api/bc/customers/${customerId}?code=...`);
    if (response.ok) {
        const customer = await response.json();
        fd.field('Address1').value = customer.addressLine1;
        fd.field('Address2').value = customer.addressLine2;
        fd.field('City').value = customer.city;
        fd.field('Country').value = customer.country;
        fd.field('State').value = customer.state;
        fd.field('ZIPCode').value = customer.postalCode;
        fd.field('Email').value = customer.email;
        fd.field('Website').value = customer.website;
    } else {
        fd.field('Address1').value =
            fd.field('Address2').value =
            fd.field('City').value =
            fd.field('Country').value =
            fd.field('State').value =
            fd.field('ZIPCode').value =
            fd.field('Email').value =
            fd.field('Website').value = null;
    }
}
Here, we replace {id} from the D365-BC-Customers URL with the id of a particular customer. Now, we'll need to call this function whenever a user changes selection in the Customer field:
fd.rendered(() => {
const customerField = fd.field('Customer');
customerField.$on('change', v => populateCustomerData(v));
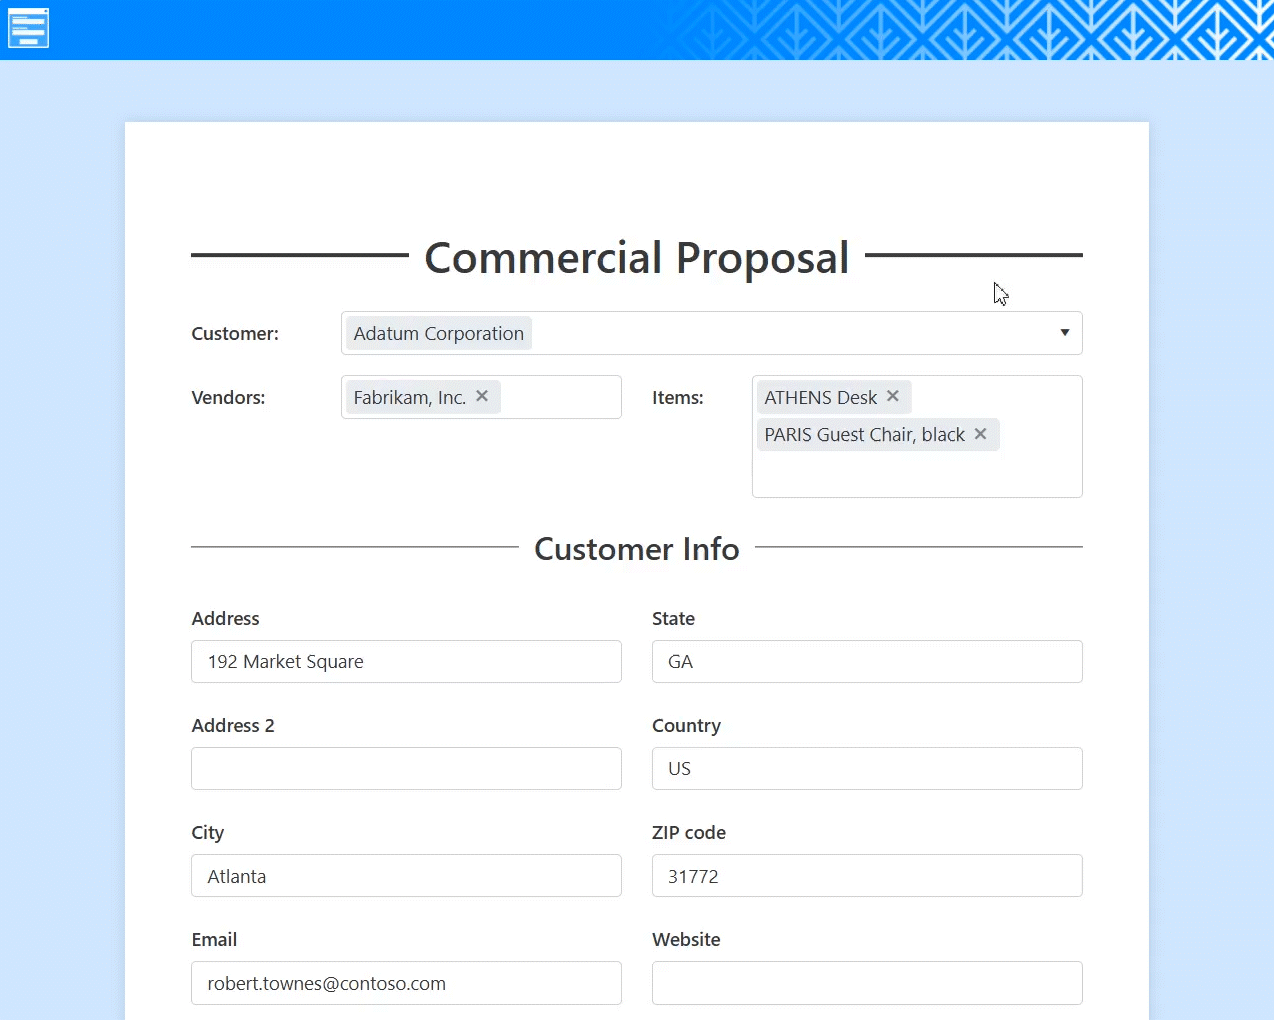
});And this is my public web form populated with data from Business Central:
This was just a basic example of what can be achieved with Azure Functions and Plumsail forms. The code is not optimal and designed only for demonstrating capabilities. You're not limited to just requesting data but also, you can submit data back to your Azure Function and save it to Dynamics 365 Business Central or any other app. In Plumsail Forms, you can add a URL of your function to Webhooks in Settings → Notifications and each time a user submits your form, the data will be sent to the specified URL.
If you have any questions, do not hesitate to contact us by email or in Plumsail community. And let us know if you are looking for integration of Plumsail forms with other platforms, we'll be happy to demonstrate it in the future blog posts. All the best and stay tuned!
Populate fields on your form with data from an Excel file
Learn how to retrieve data from Dynamics 365 via Azure Function and Entra ID app and use it in a web form.
Learn how to get SharePoint list data via Azure Function using Entra ID app and Microsoft Graph API and use it in public web forms.