The Plumsail Documents connector in Power Automate introduces a new Convert Images to PDF action that lets you convert multiple images into a single PDF. Supported image formats include JPG, PNG, GIF, and BMP. This feature is useful for organizing receipts, managing travel documents, or securely archiving paperwork. In this article, we'll show you how employees can capture images of receipts with their phones, and Power Automate flow will combine them into a single PDF.
In this article:
Use case: Expense reimbursement
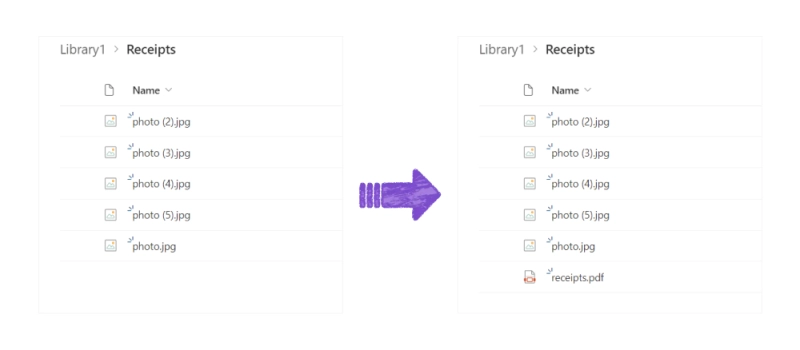
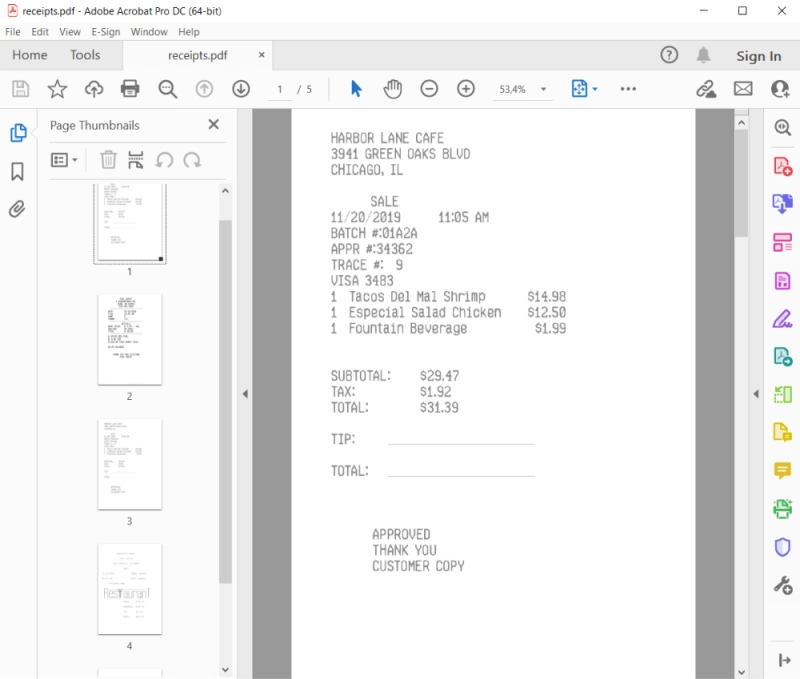
Employees on business trips incur various expenses. After their trips, they take photos of their receipts and upload them to a SharePoint folder. The goal is to use Power Automate to convert these images into a PDF and send it to the accounting department. The Images to PDF action simplifies this process, ensuring that receipts are compiled into a single PDF and sent for reimbursement.
Convert images to PDF in Power Automate: step-by-step guide
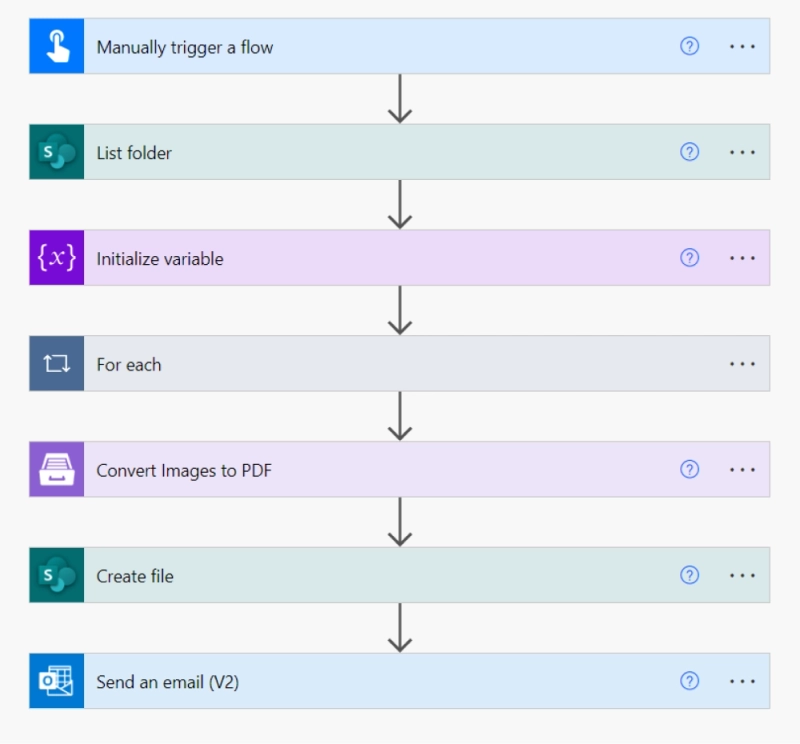
In this section, we'll guide you through creating a Power Automate flow that converts an array of images into a single PDF and emails it to the accounting department for expense reimbursement. Follow these steps to automate the process and reduce manual work.
Step 1: Create and trigger the flow to convert an array of images to PDF
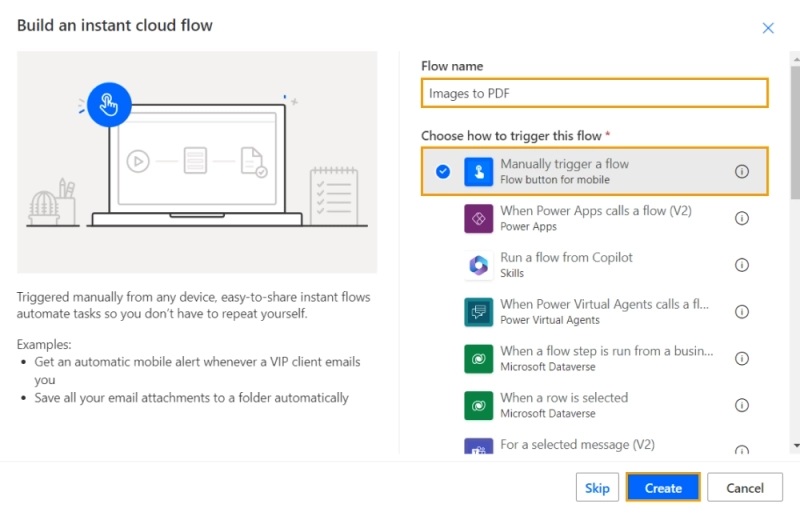
First, log into your Power Automate account and create a new flow. For demonstration purposes, we use the Manually trigger a flow action, but in real-life scenarios, it can be triggered by events such as uploading files to a SharePoint folder, receiving an email, or submitting a form.
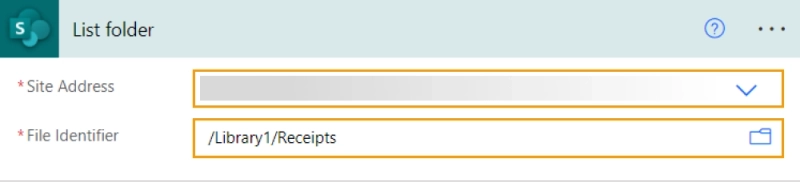
Step 2: List files in SharePoint
Next, set up the List folder action in SharePoint. This action retrieves all the files stored in the specified folder, allowing you to process them later in the flow. Fill in the site address and specify the path to the folder where your receipt and invoice images are stored. This ensures that all images uploaded by employees are collected for further processing.
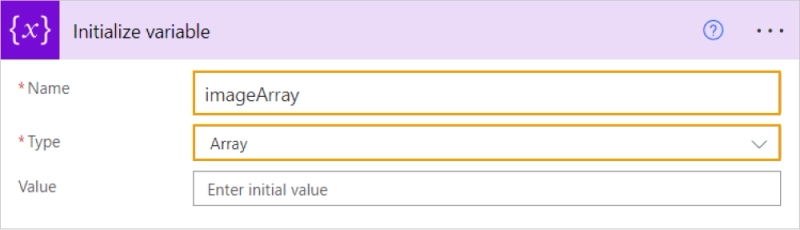
Step 3: Create an array variable for images
In this step, we create an ImageArray variable of the Array type to store the image data. This variable will store all images retrieved from the SharePoint folder, setting them up for conversion from JPG to PDF in Power Automate.
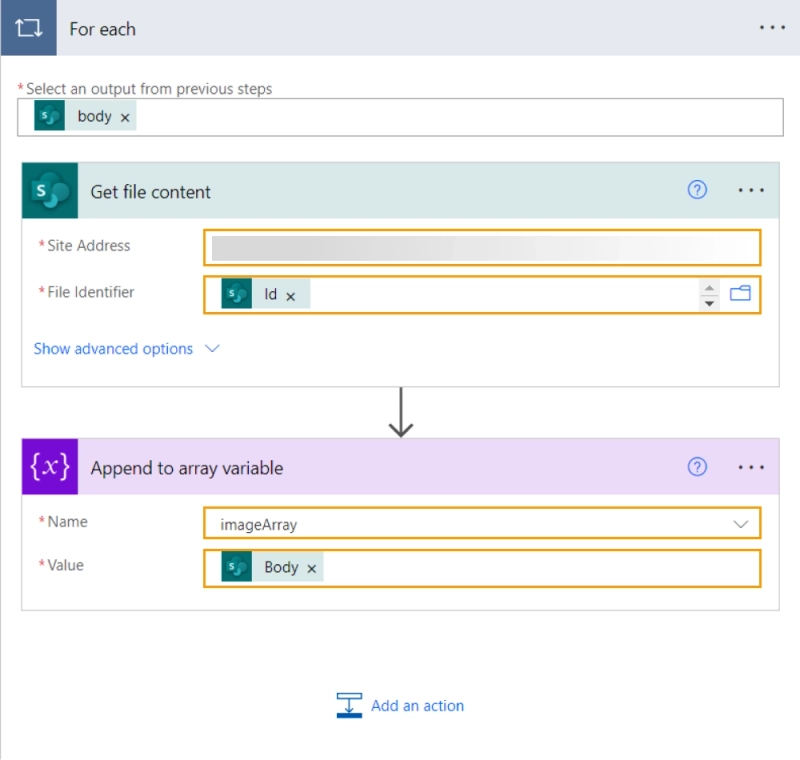
Step 4: Get file content and append to array
Extract the contents from the List files action in SharePoint using the Get file content action. Enter the SharePoint site address and use the dynamic Id from the File Identifier field. Append each file content to the ImageArray variable using the Append to array variable action inside a For each control loop.
Step 5: Convert images to PDF in Power Automate
Now we have our array of images and are ready to convert them to PDF. To do this, we'll use the Plumsail Documents connector and the Convert Images to PDF action. This action converts JPEG to PDF and supports other formats like PNG, GIF, and BMP.
If you're using the Plumsail Documents connector for the first time, you'll need to set up an API key. To do this, sign up for a Plumsail account, navigate to the Documents, and generate an API key.
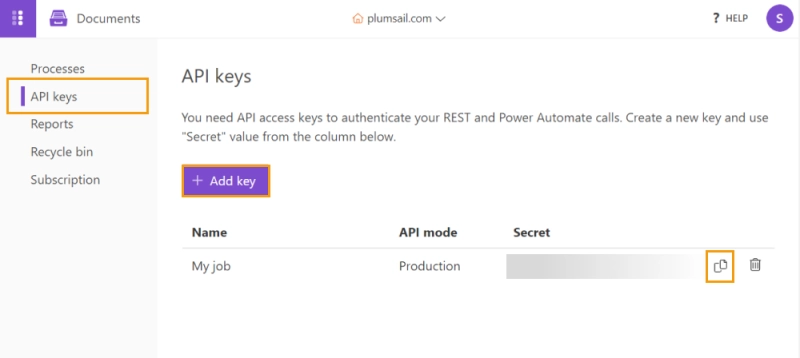
Once you have the key, you can add it to your Power Automate flow by selecting Plumsail Documents as a connector and entering the key in the required field.
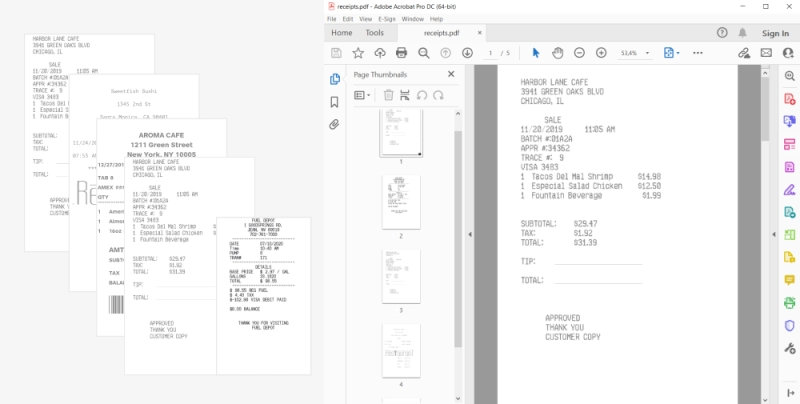
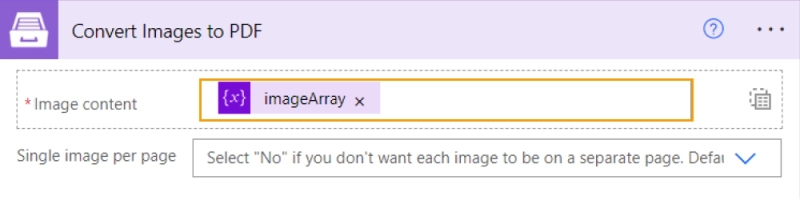
Now, add the Convert Images to PDF action to your flow. In the Image Content field, specify the ImageArray variable created in the previous steps. This action will take all the images stored in the array and combine them into a single PDF document.
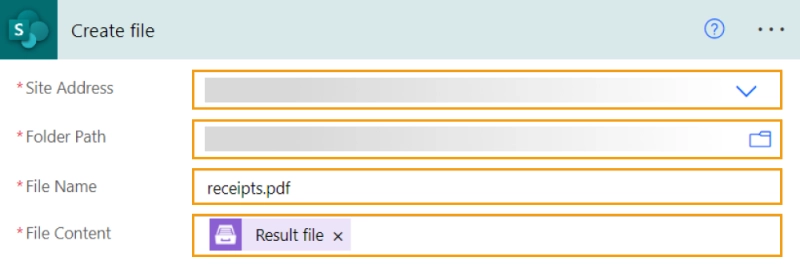
Save the generated PDF to your SharePoint folder using the Create file action for SharePoint. Specify the folder, assign a name to the file, and include the .pdf extension.
If there is ever a need to extract images back from PDF documents, Plumsail Documents action Convert PDF to Image in Power Automate is also available, making it simple to retrieve JPEG, PNG, or BMP images from any PDF.
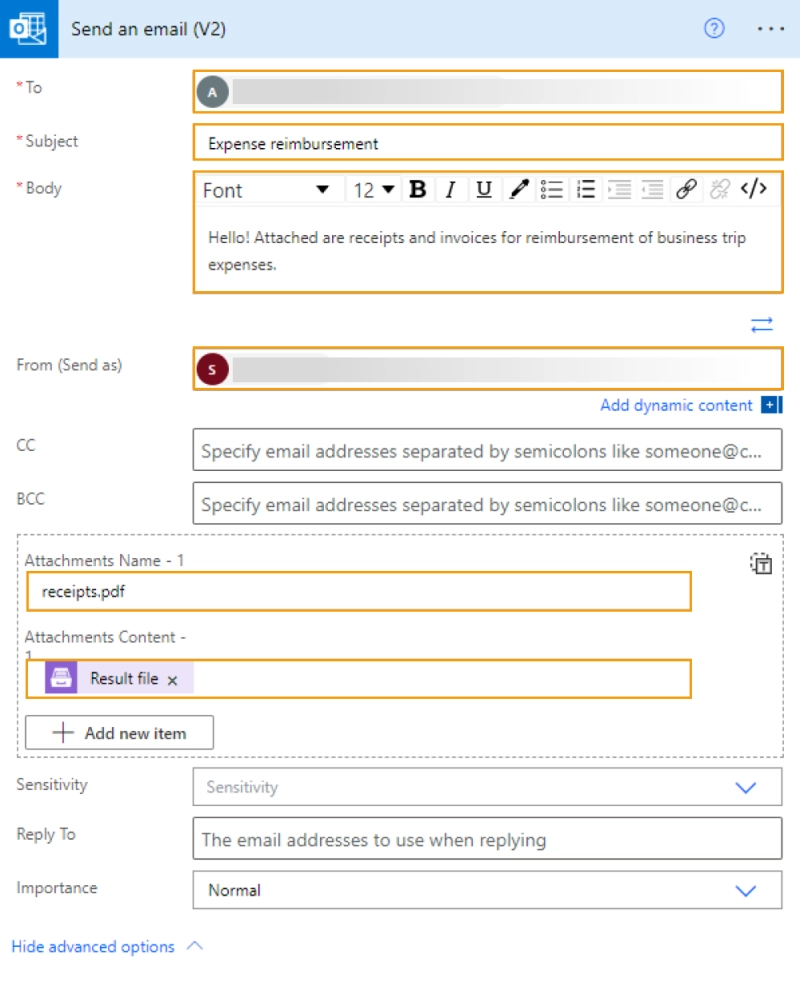
Finally, send the PDF file via email to the accounting department using the Microsoft Office 365 action, Send an email. Enter the accountant's email address, write a message, and attach the PDF file using the advanced options. In the Attachments Name field, enter the name of your file, and don't forget to specify the .pdf format, otherwise, the file won't open. In the Attachments Content field, insert the output from the Plumsail Documents action, Convert Images to PDF.
Using Power Automate to convert arrays of images into a single PDF simplifies document management for organizations. Automating this process makes image to PDF conversions faster and integrates smoothly with digital workflows. Here are some practical uses:
- Compile receipt photos into a single PDF for expense reports
- Archive scanned documents as PDFs for easy access
- Convert work logs or reports into one PDF for sharing
- Merge images of IDs and documents into PDFs for record-keeping
These examples show how Power Automate can enhance document workflows with ease.
In addition to image to PDF conversion, Plumsail Documents offers a Convert PDF to Image action in Power Automate. This converts each PDF page to JPG, PNG, GIF, or BMP, which can be useful in workflows like:
- Extract PDF pages as images for presentations or emails
- Convert training manuals to images for mobile access
- Split a PDF brochure into images for social media
- Create image files from PDFs for systems that support only image storage
Register an account for a 30-day free trial to explore Plumsail Documents in Power Automate. Need help? Book a free Intro call with the Plumsail team, and we'll assist with your automation needs.