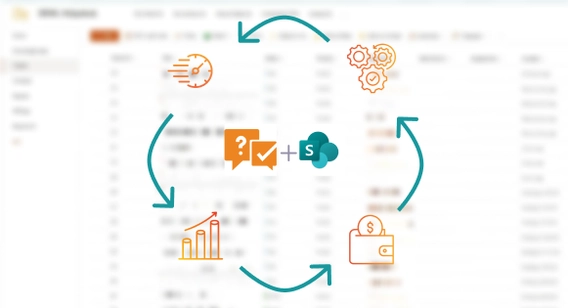
In this article, I want to demonstrate how you can utilize Plumsail HelpDesk for SharePoint Online in your organization as a communication channel between you and your customers.
First, you will need to install Plumsail HelpDesk on a new or existing site and configure e-mail forwarding to your mail server, so all messages sent to a particular address e.g. helpdesk@contoso.com will automatically appear in SharePoint as tickets and comments:
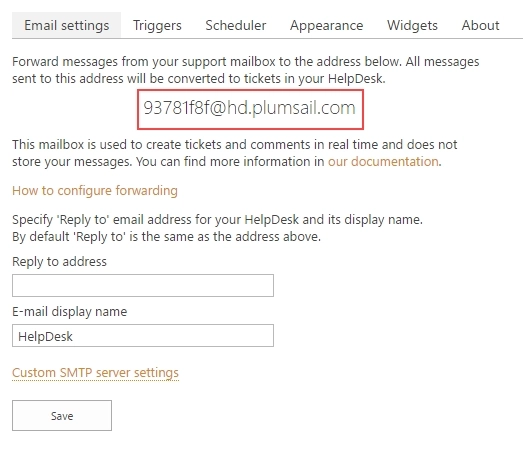
Go to helpdesk settings and copy the address under the Email settings tab. Next, configure forwarding from your primary helpdesk e-mail to this auto-generated address and specify your primary helpdesk e-mail address in the ‘Reply to address’ box. That’s it.
Now all discussion relating to a particular e-mail message together with attachments is saved in a HelpDesk ticket and you are able to reply to your customers directly from SharePoint:
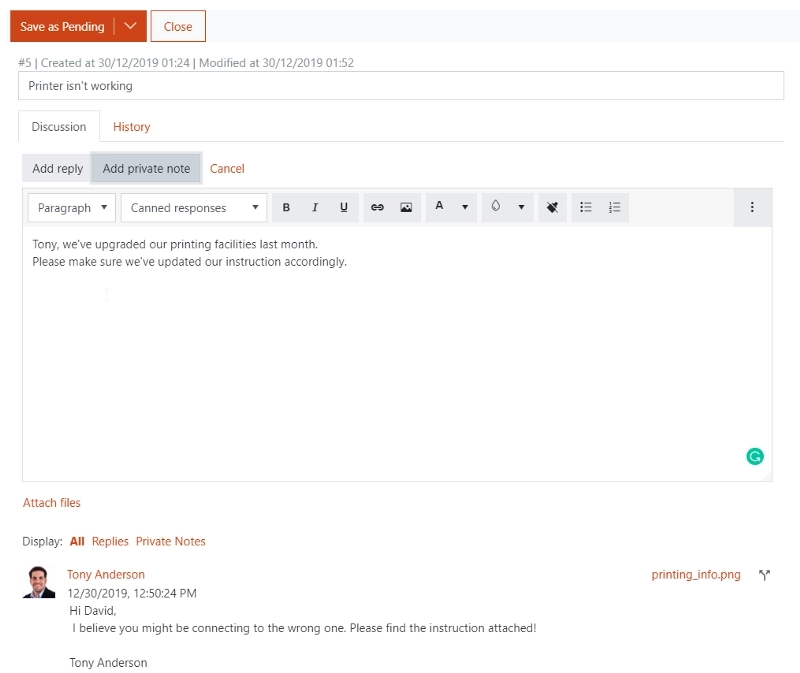
On the right side of this form you can find and manage the ticket’s properties: Requester, Assigned To, Cc, Status, Priority, Due Date, Category and Tags. If required, adding a new field is as simple as adding a new column to the SharePoint Tickets list and placing it on the form with the help of Plumsail Forms Designer, limited edition of which is available in Plumsail HelpDesk out-of-the-box.
On the second tab of the central part of the form you can find the list of changes relating to the ticket: when and what has been changed and who changed it.
As you can see, everything you need to resolve a request is found within the single page. Now let me show how tickets are sorted in our system and how agents process incoming requests.
Here is the Home page, you can navigate it by clicking the appropriate button in the menu on the left side:
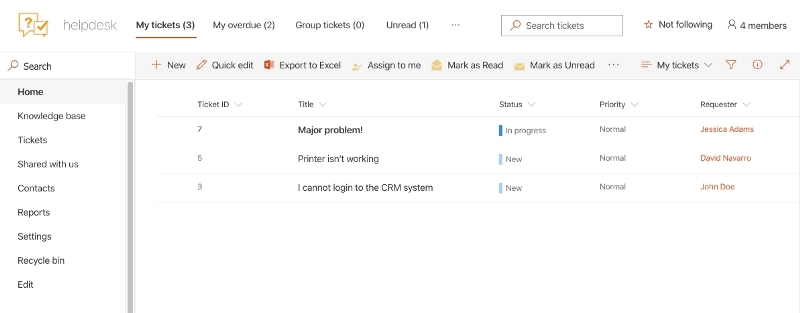
As you can see there are smart filters at the top of this page:
- My tickets: displays all tickets assigned to the current user.
- Requested by me: displays tickets created by the current user. This section is important if you use Helpdesk as an internal ticketing service.
- My overdue: displays ‘My tickets’ with Due Date greater than the current date.
- Group tickets: displays tickets assigned to SharePoint groups which the current user belongs to.
- Unassigned: displays tickets that have not been assigned yet.
- Unread: displays ‘My tickets’ that have been changed by the customer or other agents.
You can create your own views but for most cases this is enough to quickly find whatever you may need. As you can see in the screenshot, the first ticket is highlighted. It means that it requires your attention: a new comment has been added or another agent has updated its properties. Once you open it, it will be marked as read automatically. Or you can select it and mark as read manually through the appropriate ribbon button in the HelpDesk tab.
If you need to view all tickets in the system, you should go to the Tickets section:
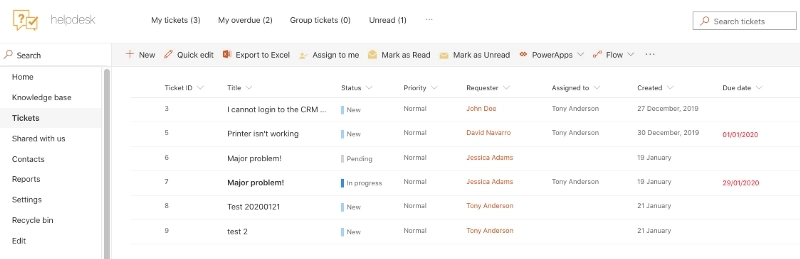
Here you can filter by creation date and due date. You can also specify your own time interval by clicking the ‘Custom period’ link.
Contacts section contains the list of users working with Helpdesk. Your customers will be added to this list automatically during synchronization.
The Reports section will help you evaluate the intensity and efficiency of Helpdesk usage. Here you can find most active requesters, the number of opened tickets grouped by categories, by status, by agents and by time period. You can add new charts or modify existing ones with the help of Plumsail Dashboard Designer but you will need to purchase a separate license to make this feature available.
And finally, the Settings section provides space for customization and extension of Helpdesk. Here you can define workflows that will be executed when a new ticket is created or updated, schedule workflows for periodic execution, and modify e-mail templates.