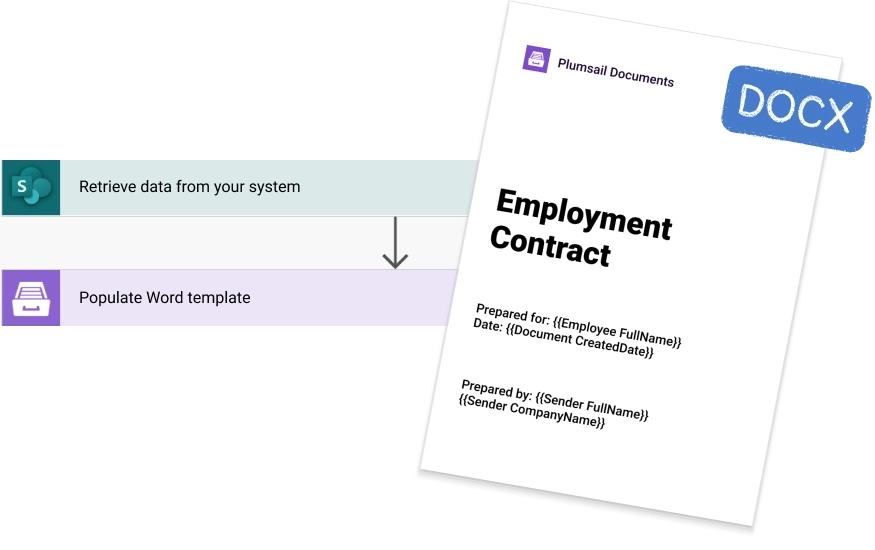
Automatically populate Word template in Power Automate flow

Step 1. Upload and prepare Word document template
We will populate a Word template with data from the SharePoint list to demonstrate the logic. The case is the following: we add a new employee to the list, this data fills an employment contract template, then we send the resulting document by email. First, we will prepare a document template in Plumsail Documents.
Create a free account for Plumsail Documents. In the account, add a new document generation process. There are two options: create it from a template or a blank.

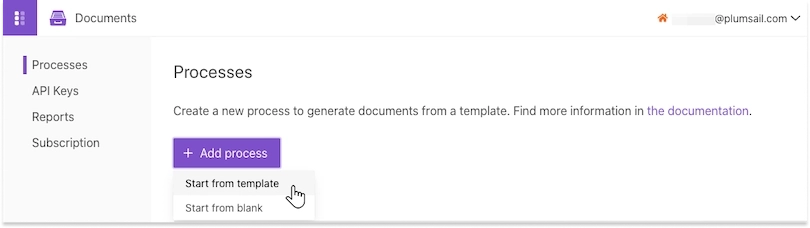
We will create the process from the ready-to-go template for an employment contract. Otherwise, you can start from blank, upload your document and transform it into a reusable template. Make sure to select DOCX format for further work with the Word document.

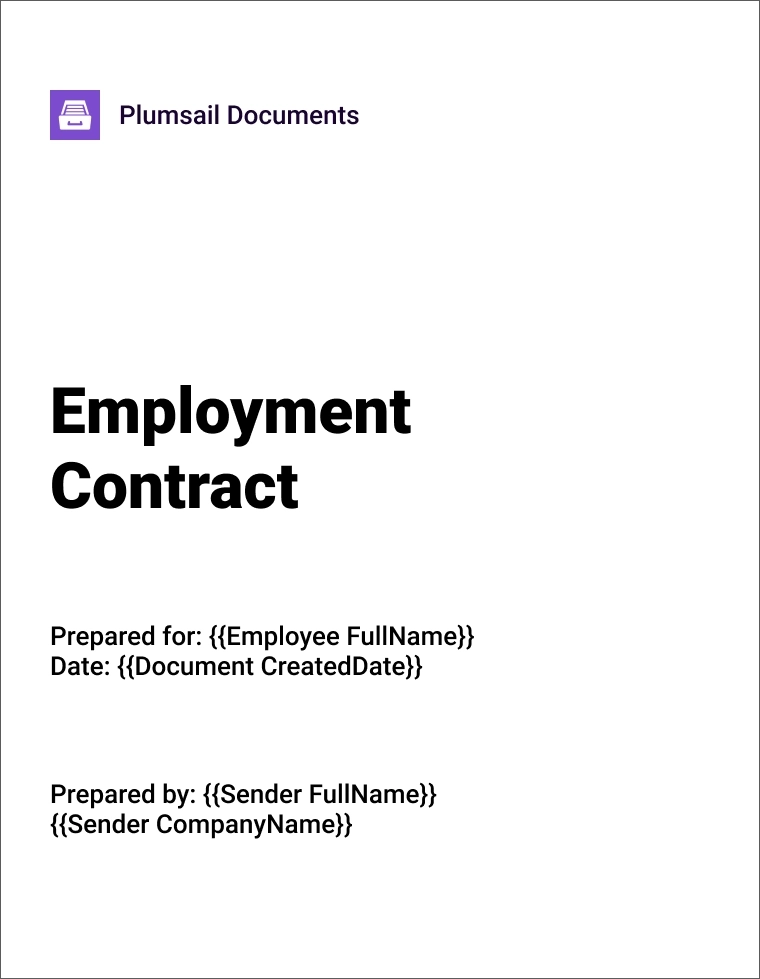
To transform your document into a reusable template, mark all places you usually copy and paste with double curly brackets. These will be dynamic placeholders, also called {{tokens}}. Your custom data will automatically fill them. See how they look in our employment contract template.

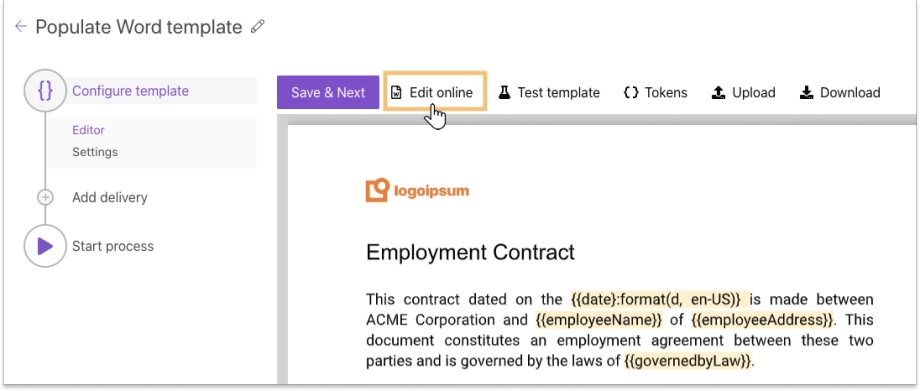
Plumsail templating syntax is simple yet powerful. It can process arrays and automatically create lists, tables, charts, and other elements with repeating data. It supports inserting pictures, generating QR and barcodes, hiding particular blocks based on conditions, and much more. Moreover, you can use formatters to make data in the resulting document look a certain way.
Once the document template is ready, we go to the settings of the output file.
Step 2. Configure output file and delivery settings
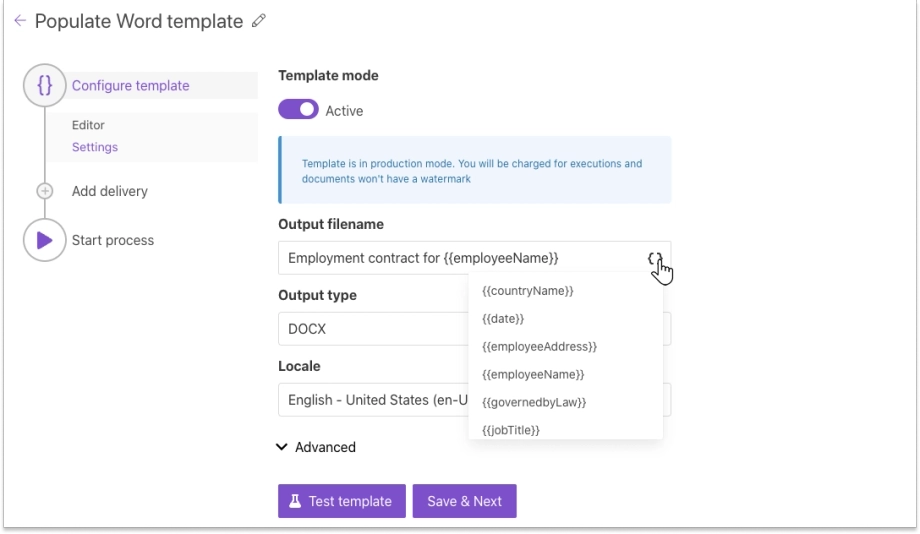
We set DOCX as the output file format. You can select PDF to get the resulting document in PDF. Use {{tokens}} to make the output filename dynamic and receive new documents with unique names.

Next, we add deliveries—where to send and store the resulting document. You may include as many as you desire. SharePoint, CRMs, chats, and other software, can be found there. There is a list of native integrations with third-party software to sign, deliver, and store your documents. We added an Outlook delivery to send generated documents by email.

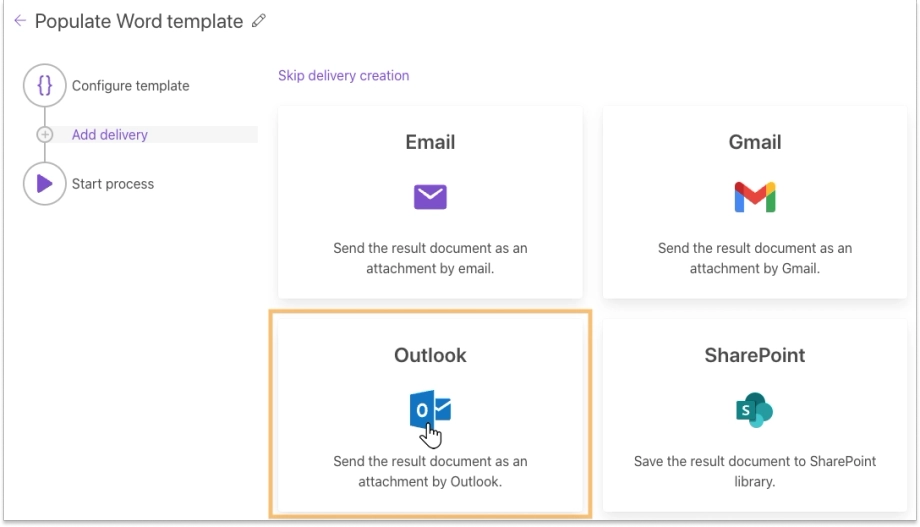
When you use native integration with a third-party app for the first time, you have to connect your account from the app with the Plumsail account. It takes a few clicks and is not so hard, so we will not describe the process in detail. Let's look at the configured Outlook delivery.

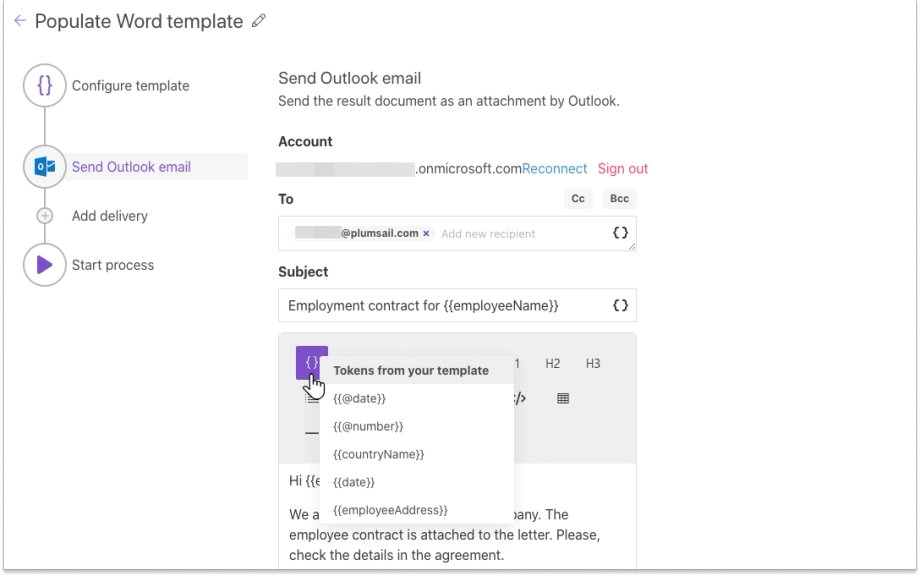
We also use tokens in the email body. Read the article to learn more about delivery options. After configuring deliveries, go to the Power Automate account.
Step 3. Populate Word template in Power Automate flow
We decided to use the "When an item is created" trigger from the SharePoint connector to launch the flow. You can use any other trigger from your system, for example:
- an event happened in CRM;
- a new row is created in the cloud sheet;
- web forms are submitted;
- a client made a payment;
- and more;
After you set the trigger, add a new step, and find and select the Plumsail Documents connector.

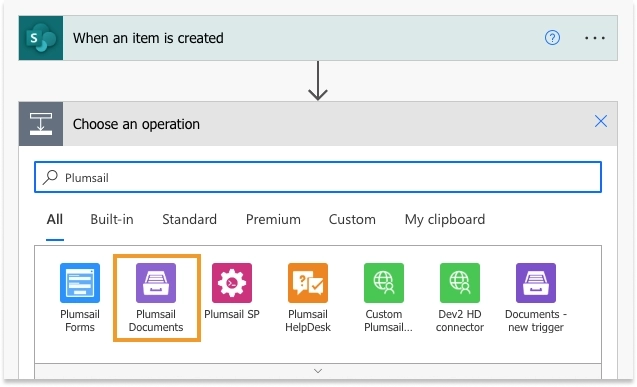
You’ll be asked for "Connection Name" and "Access Key". You can type any name for the connection. For example, "Plumsail Documents". Then create an API key in your Plumsail account page, and copy and paste it to the "Access Key" field.
After that, you will see a lot of actions from the Plumsail Documents connector. Find and select "Start document generation process". It has two parameters:
- Process name. Here we select the process created in Plumsail Documents.
- Template data. Here we map tokens from the Word template with output from the trigger in the JSON format.

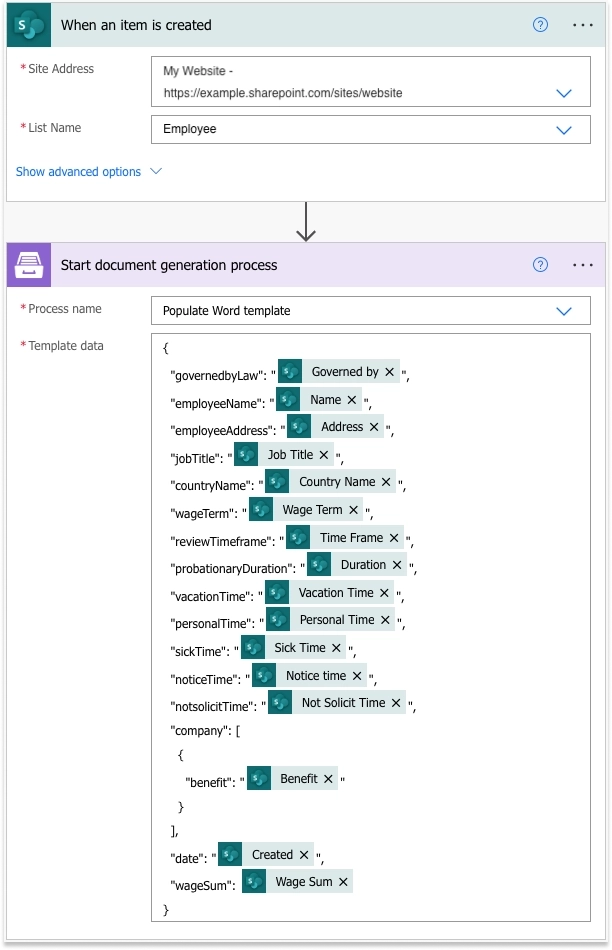
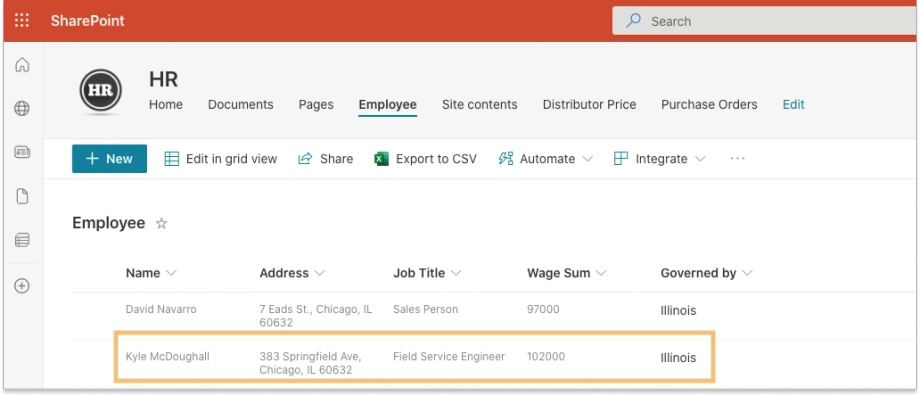
The flow is done, let's test it and see the result. We added a new employee to the SharePoint list.

After that, we automatically got the email with the contract you can see in the screenshot below.

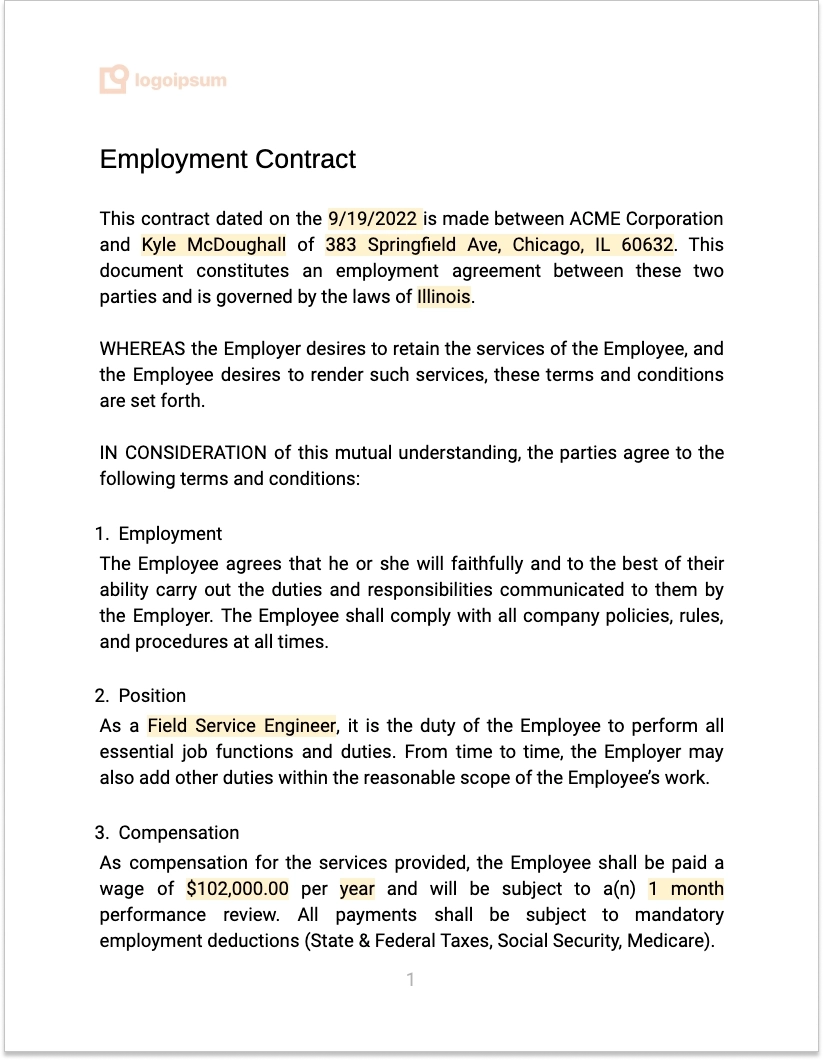
Now, you know how to instantly populate data from your favorite systems into a Word document template using Power Automate and Plumsail Documents!
What people say about Plumsail Documents