Forms
Aug 11, 2020
Create posts in Twitter/Facebook from public web forms with Zapier Automate
Allow users to post data to your social media, or utilize our forms to improve your Social media posting process.

Looking to design complex web forms for Zapier integration? Look no further, we want to show you how easy it can be.
Previously, we’ve described how you can use Plumsail Public Web Forms with Microsoft Flow. In our latest update, we’ve added integration with another popular platform — Zapier. Just like MS Flow, it offers automation of workflows and integration of countless apps.
The process is even simpler with Zapier, than it is with Flow. You’ll need to:
We’ll go through each step in detail. You can also read more about the process on our site as well.
First step is to create a Plumsail Account where all your forms would be stored. It can be done by following this link.
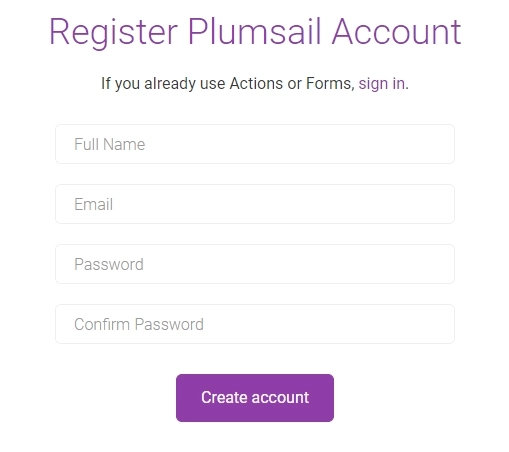
This account will be used when you add our application in Zapier.
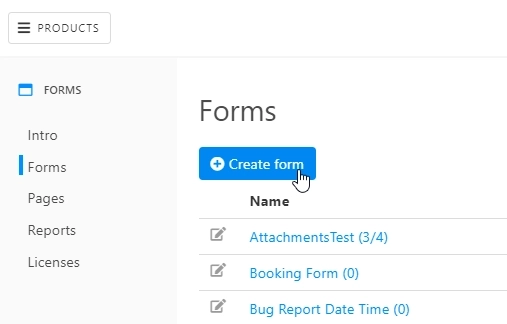
Once inside the account, you will find a download link for the designer, and a brief instruction on how to create Public Web Forms.
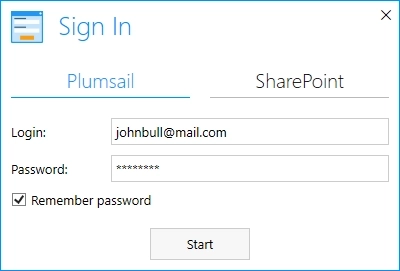
Once the designer is installed, login to your Plumsail Account in it.
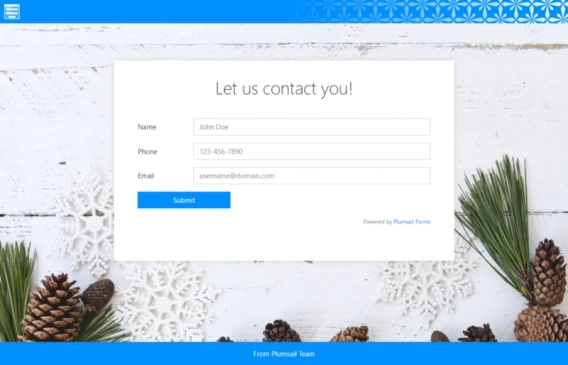
Here, you can fulfill all the requirements you have or let your fantasy run wild. Not only we offer a large selection of fields, controls and containers to add to your form — we also have a rich JavaScript API which will allow you to add any level of complexity and dynamics to your form.
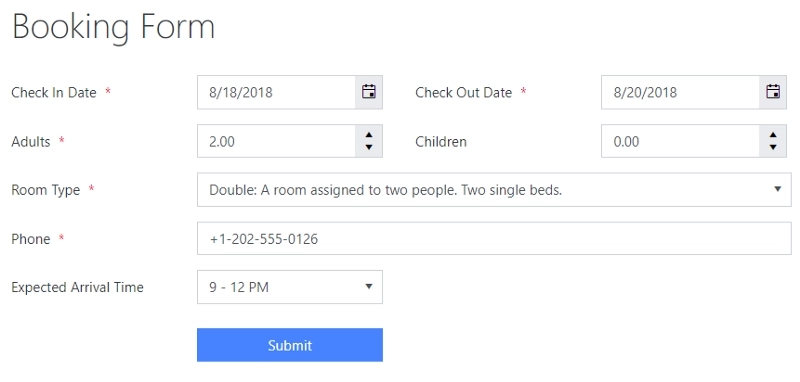
In this example, we’ll use a hotel Booking Form. You can download this template and customize it for your needs from our site.
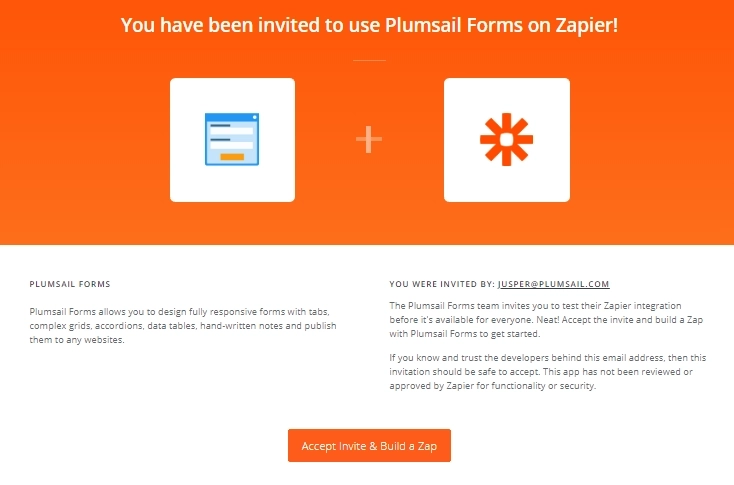
Finally, we’ll configure a Zap. For now, please, use this URL to get an invite to use Plumsail Forms app. In the future, our app will be publicly available and you’ll be able to find among other Zapier applications.
To start creating a workflow click on “Make a Zap!”:

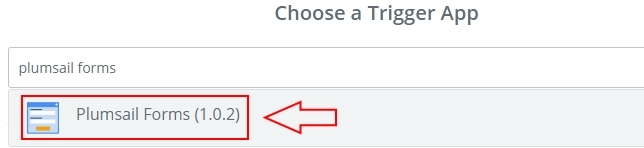
Search for “Plumsail Forms” application and select the latest available:
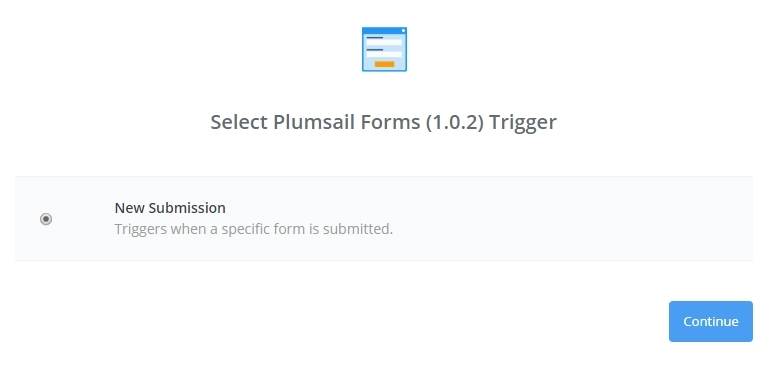
Select “New Submission” of a form as a Trigger and click Continue:
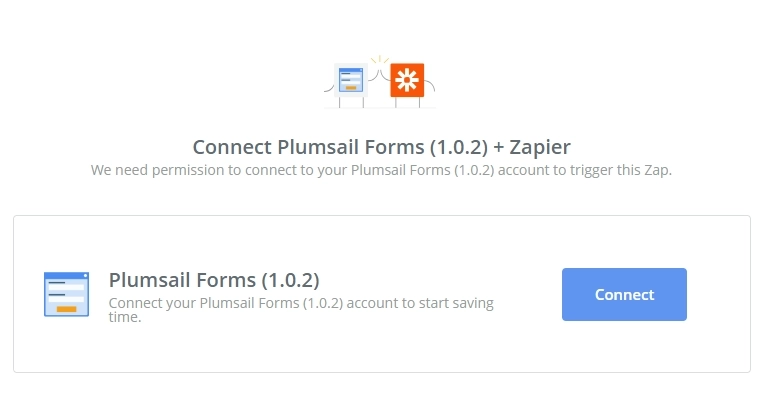
At this step, you’ll need to connect your Plumsail Account to Plumsail Forms application in Zapier:
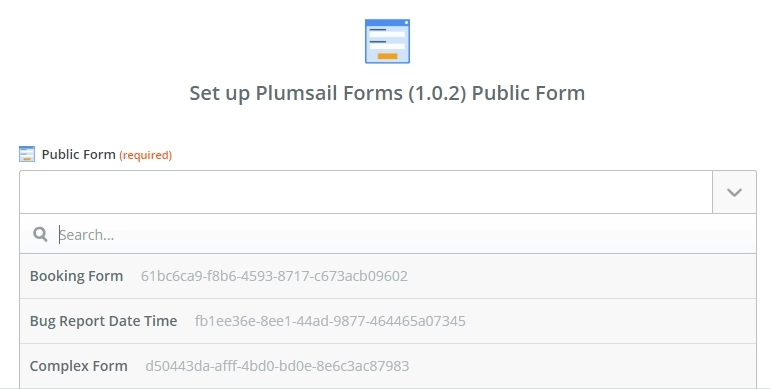
Then it will load a list of available forms for you to choose from:
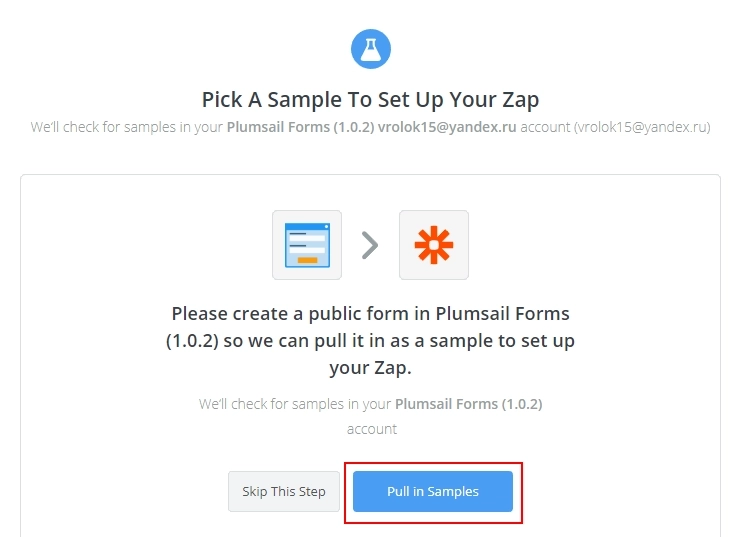
Next step is to Pull in Samples:
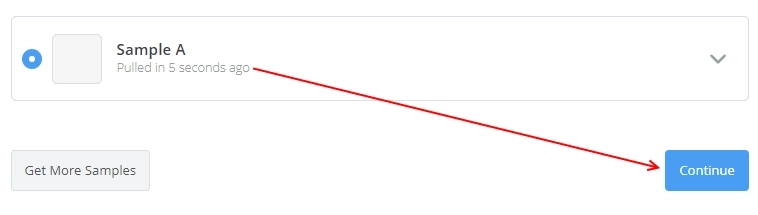
Select the Sample that loads, or if you update the form, reload the sample:
That’s it for Plumsail Forms app, on to the next step.
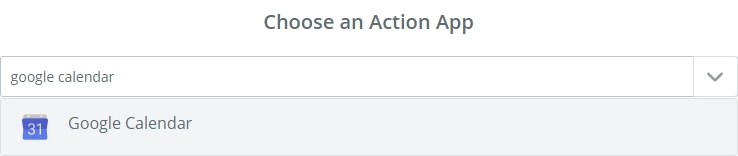
Let’s configure the Google Calendar app to make this example more useful as a demonstration. Search for “Google Calendar”:
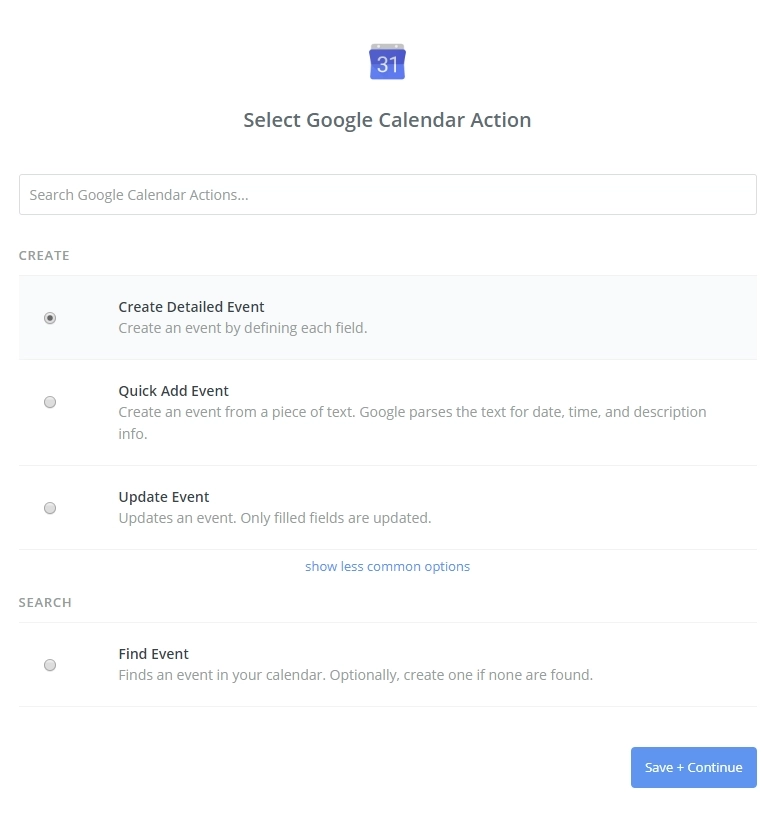
Now, pick an action, in this case we select “Create a Detailed Event”:
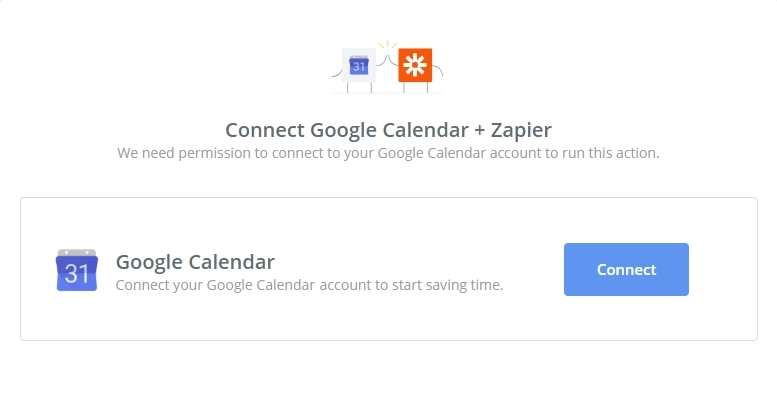
Now, connect your Google Account to Google Calendar app:
Next, select a Calendar and start filling in columns one by one with information from the form:

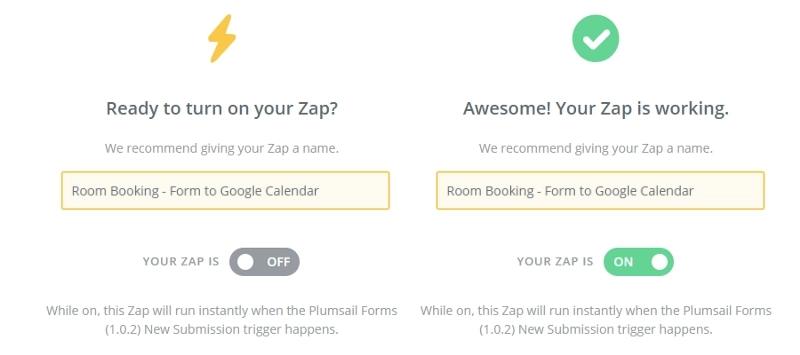
Finally, once this is setup, you can test and save the Zap:
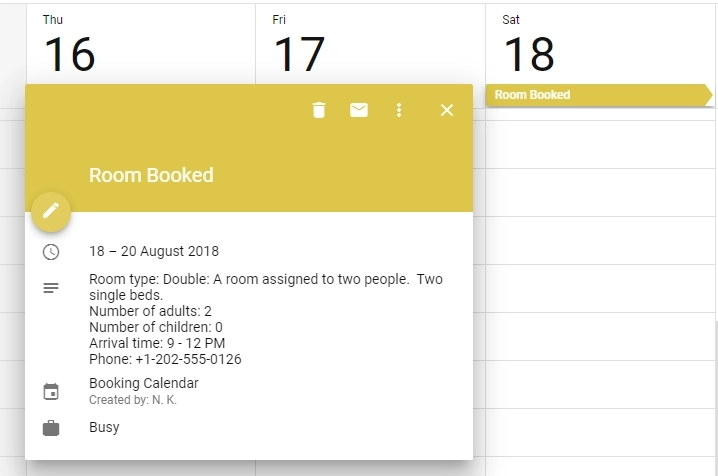
And here is the booking in Google Calendar:
This is just an example of one potential use of Plumsail Forms. The product can be used for a variety of purposes, starting from creation of simple and easy mobile-friendly forms to much more complex business forms which can still look good on all the devices.
We hope you check out our product here, it includes a free plan with limited amount of submissions. And we’ll be glad to answer any of your questions on our community forum.
Allow users to post data to your social media, or utilize our forms to improve your Social media posting process.
Public web forms for all your needs built quickly online
Embed a form? Why not just share it?