First of all, let’s define what the assets management is and what for it is? To keep things simple — it is the way to organize and coordinate activity of an organization and to understand the value from assets. In this article will be described how to bring ability to track assets in SharePoint Online and Microsoft 365 and how it fits into Plumsail HelpDesk.
Start tracking all information about assets and tickets related to them with three simple steps:
- Create an assets list;
- Configure lookup to provide easy to use interface for linking new tickets to assets;
- Configure ticket and assets forms to make it easier to manage assets and to link tickets to them.
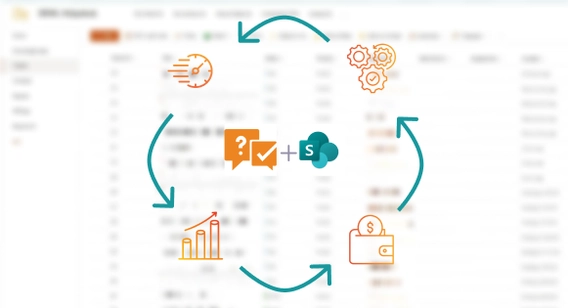
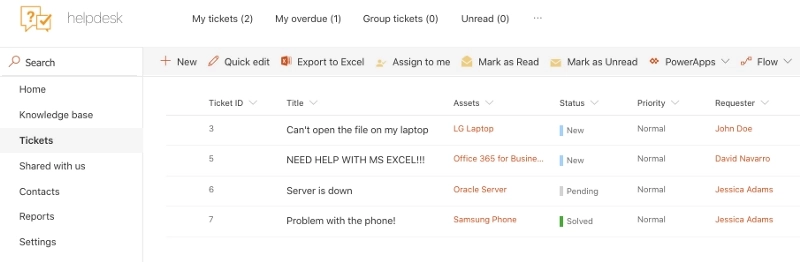
Before we start, I want to show what you will get in result. With configuring assets management you will be able to maintain all assets within your company without hustle. Link trouble tickets to the asset and track all information about it — it’s much easier to operate them when you see the full picture.
Also, with assets management it is really simple to plan purchases for all software and hardware. No more duplicating piece of equipment or spending money on some software that you are not using for years.
How to create an assets list
Assets list will be the SharePoint list where all assets have their place and all information about them could be found. To create it, navigate to Site Contents.
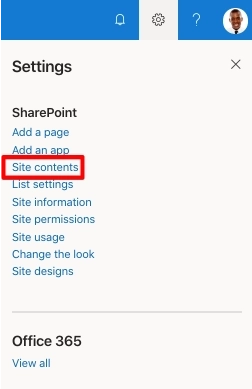
And click on the ‘New’ button. Choose a list option there. After you have provided a title and description of the list, you are ready to add new columns to the list.
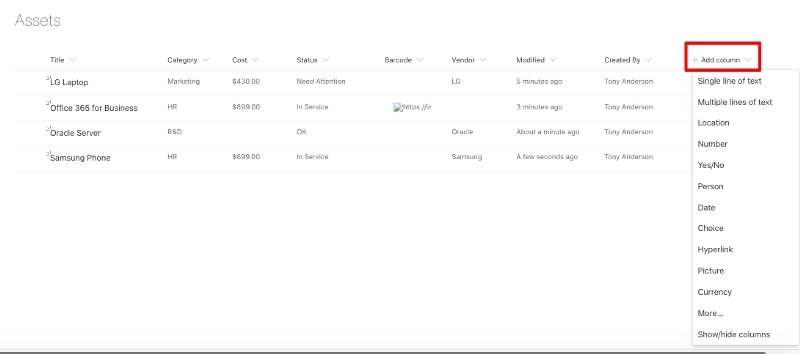
In this scenario, I will add columns which will help to get more information about an asset like who is the current user, is it in the service, does it need a maintenance and so on.
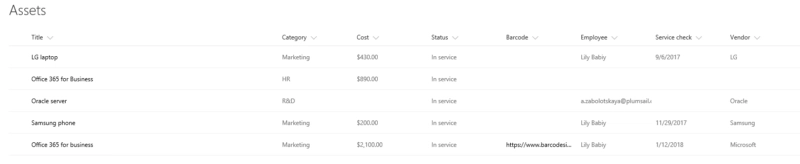
Create a column is quite simple — you can click on quick edit and add any columns you need. I added several columns and my Assets list looks like this:
How to configure lookup
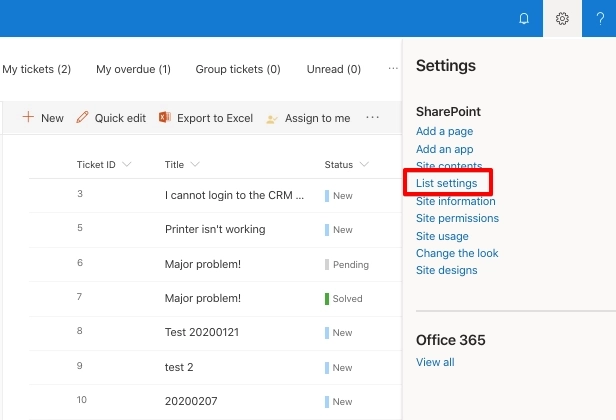
When you finished with the configuration of the assets list, everything is ready for configuration of look up. After configuring of lookup, you will be able to link tickets to assets. For that, navigate to Tickets list and choose list settings in the ribbon.
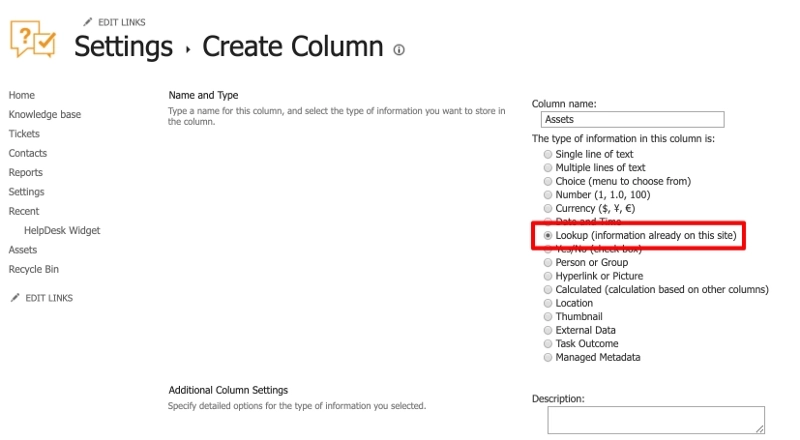
On the list settings page, choose ‘Create column’. I will call this column ‘Assets’ as it will contain information about them. The column’s type is lookup, so it will get information from Assets list (we will specify it later).
Then provide an additional information for the asset column:
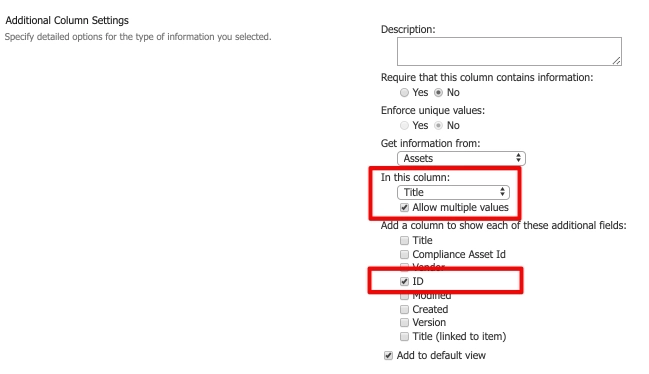
It’s better to allow multiple values as one ticket can contain more than one asset. Also, we need to create an additional column with asset ID to avoid clutter with assets with the same name. We will need ID field to display list of related tickets in the asset form. This column is only for internal use, that’s why you can remove it from the main view. Here is the tickets view with related assets column:
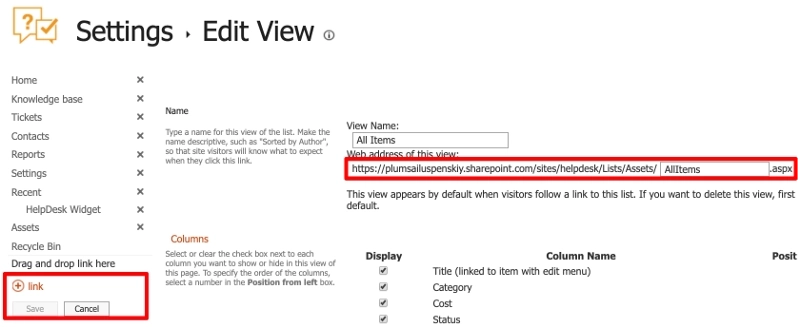
Also, I added Assets icon to the left navigation bar. You can customize it too, just copy the link of the “All items” vies of the “Assets” list and add it to the menu.
How to configure forms
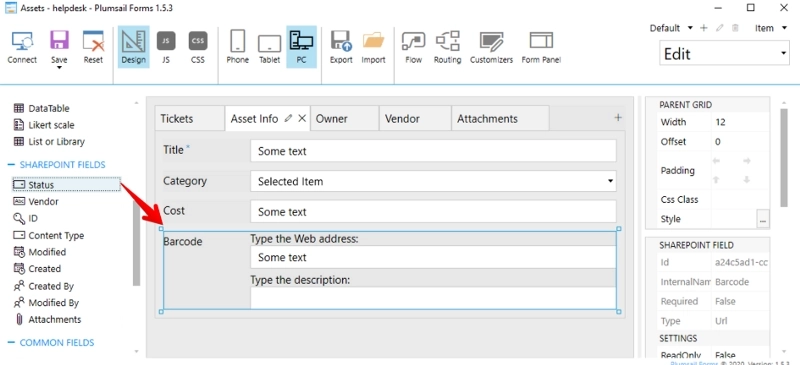
First of all, let’s create a form for display view of the asset. For that, we use Plumsail Forms, a tool for forms customization.
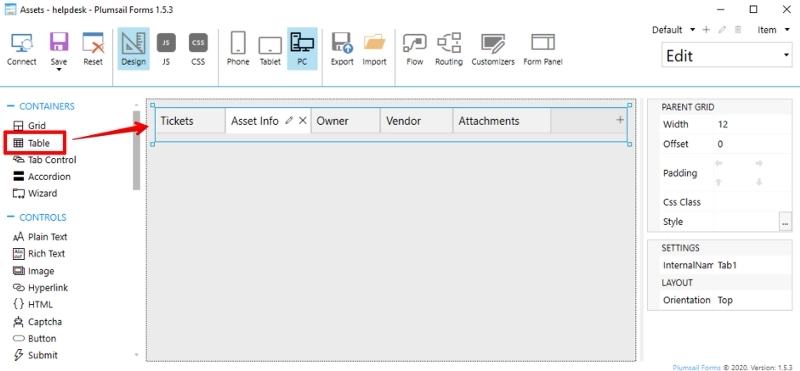
To present information about asset in more handy way, you can add tabs. For example, like on the screenshot below, I added tabs for Tickets associated with that asset, general information, owner, vendor info and attachments. You can do the same by choosing ‘Tab control’ option in the menu and dragging it to the form. If you’d like to add more tabs, click on the plus in the top right corner of the form.
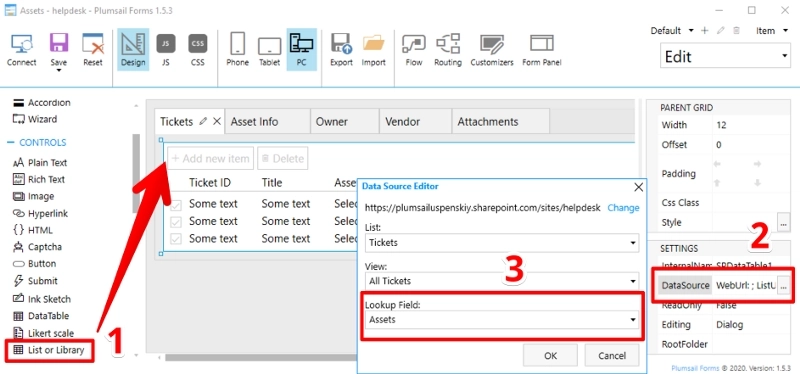
After you have finished with tabs, let’s add List or Library control to the tickets tab. With the help of the related items, you can link tickets list to assets list, so the tickets associated with the certain asset will appear on this tab.
Just drag ‘List or Library’ to the tickets tab and click on DataSource settings in the menu on the right. Here you need to specify a list from where you will get data, in this case it’s ‘Tickets’ list. Default value in the view is ‘All tickets’ view, I’m ok with that but if you need some more specific view choose it.
You then need to select the LookUp field and select the “Assets” lookup column to show tickets that are only related to the assets.
Then fill your form with fields — drag column from left-side bar to template of the asset form and that’s all.
Save this form and you finally got the assets list looking like this:
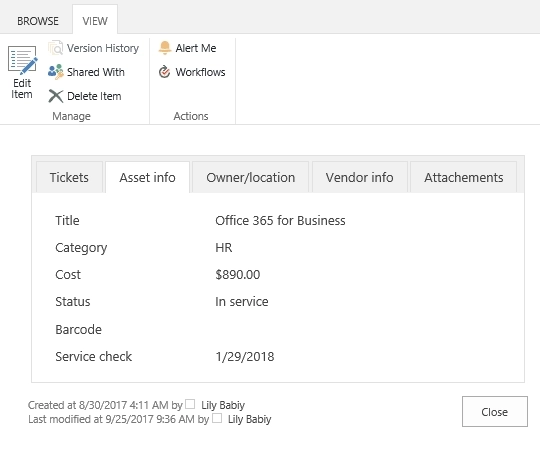
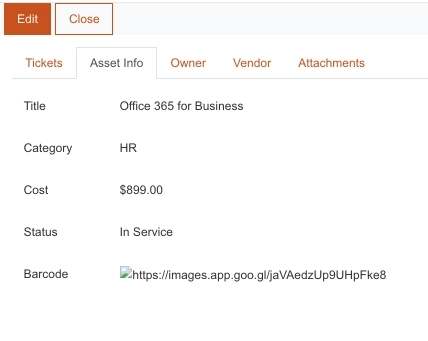
And when you open an asset, you get this view:
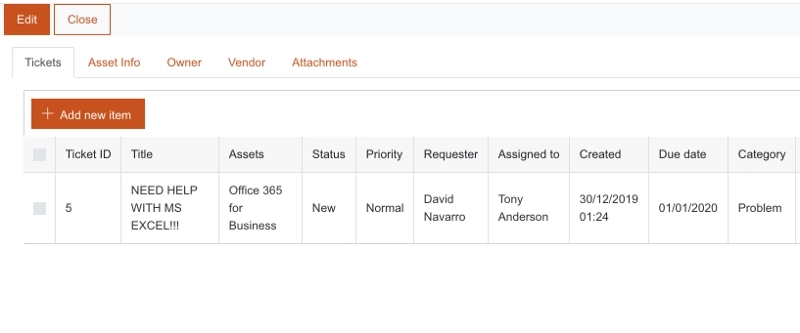
Last but not least, tickets tab of the asset. This is the view of related items control that we have just configured. It displays all related tickets. Thus, we can review all the issues and requests related to the current asset.
To sum up
This is the basic scenario on how you can implement asset management in your HelpDesk. You are welcome to go further and add more advanced logic with triggers or with Microsoft Flow. For example, how about configuring notification about asset expiration? Share your thoughts about it!