Track time spent to solve the ticket
Let’s say you provide paid support for your customers and want to charge them depending on the number of support hours. It may be helpful to have a detailed report with billed hours for this.
In this article we’ll slightly modify the default ticket forms, add a tracking tab where the agents will enter the number of support hours:
and create a report with information about support hours for each agent.
Creating a SharePoint list with billed hours
As a first step we create a SharePoint list called Timesheet. SharePoint list is a sort of container where you put data and where you can filter it with views. Creating a list is quite easy — just click Settings and then choose Site Contents. Then click ‘List’ in the drop-down menu under ‘New’ button.
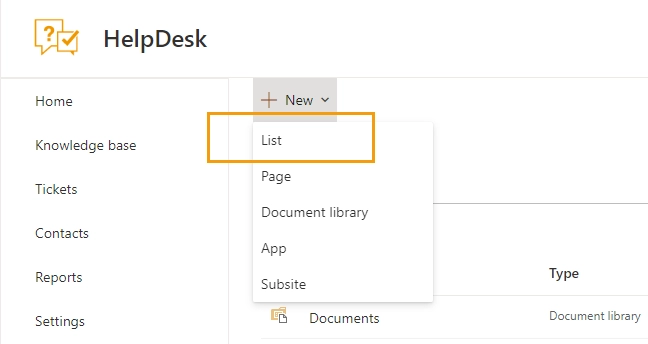
Type a name for the list and click Create.
For this case, you can create Timesheet list with the following structure:
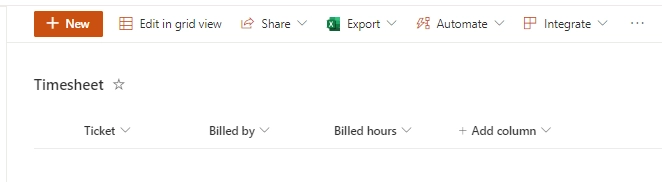
Let’s review the columns.
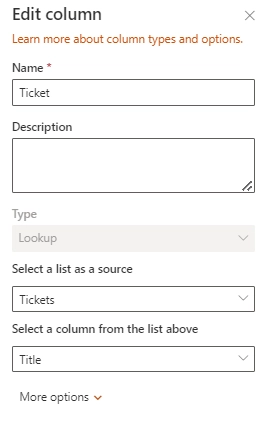
Ticket
This is a lookup column. It shows a ticket’s title from the source “Tickets” list.
Billed by
This is a renamed default column Modified by. I enabled showing the column in the Show/Hide columns settings. You can open the Show/Hide columns settings if you expand a drop down menu for any column and go to the column settings.
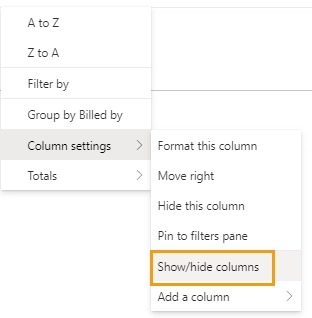
The select Modified by column, save the settings and rename it to Billed by.
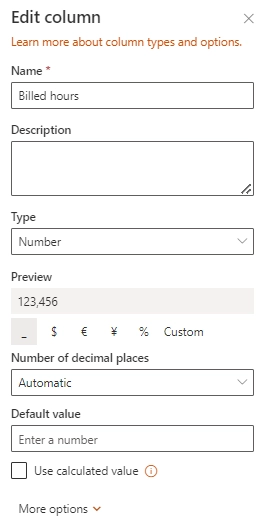
Billed hours
This is a number column. An agent will enter the value when closing a ticket.
Adding new elements to the ticket forms
After creating the Timesheet list we can bind it with the ticket form.
Plumsail Forms have a feature that allows you to insert related items into forms.
You can find a detailed description of the feature in the article How to create SharePoint form with associated items or documents and bind new ones automatically.
Let’s review how to use the feature in our case.
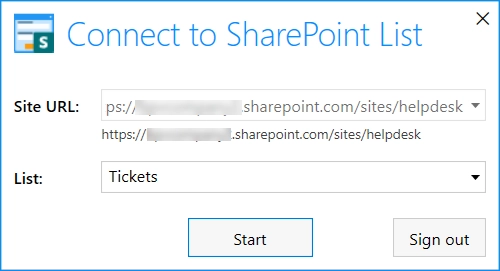
Firstly, connect to the HelpDesk site and Tickets list in Plumsail Forms designer desktop app:
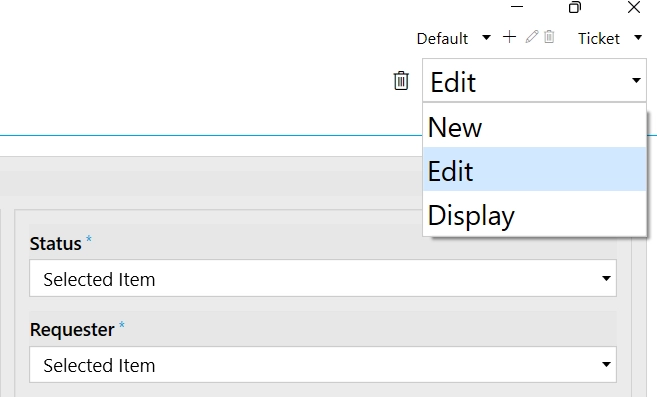
Add a new tab called Tracking to Edit and Display ticket forms:
![]()
Then add List or Library control to the tab:
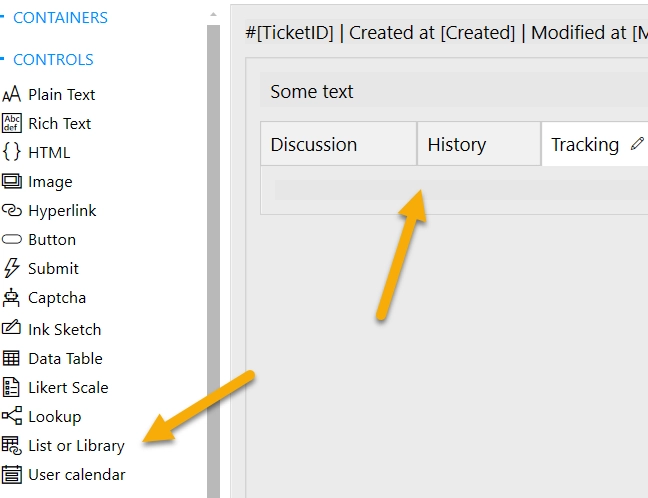
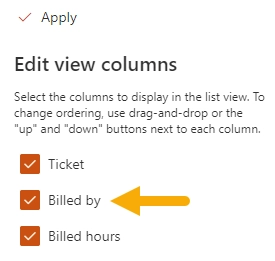
I want to show only Billed by and Billed hours columns in the Tracking tab.
To achieve this let’s create a view for our Timesheet list with these two columns.
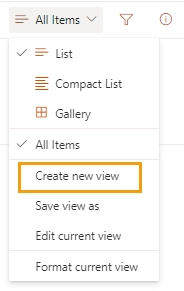
Open Timesheet list and select Create new view:
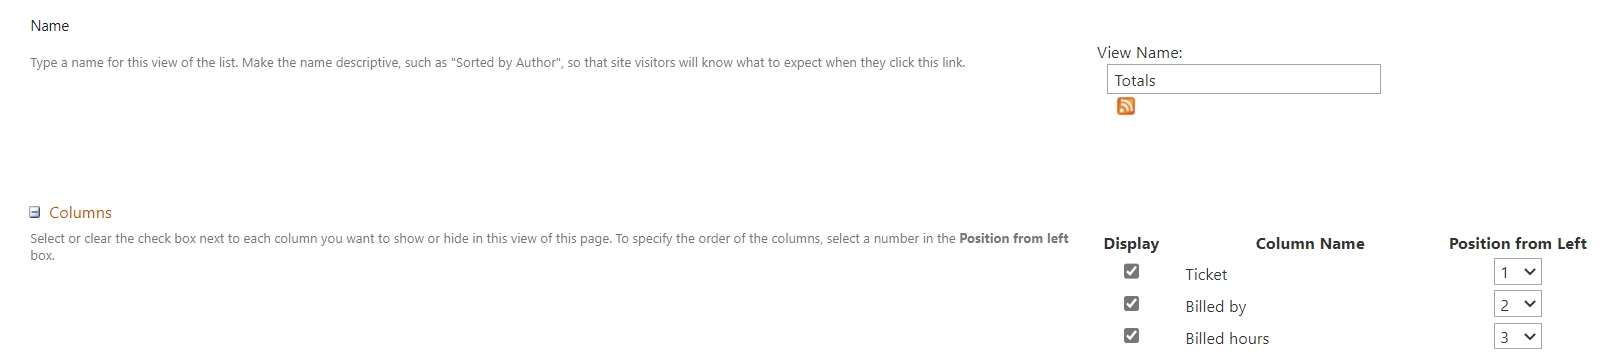
Select Billed by and Billed hours columns. Save the view.
![]()
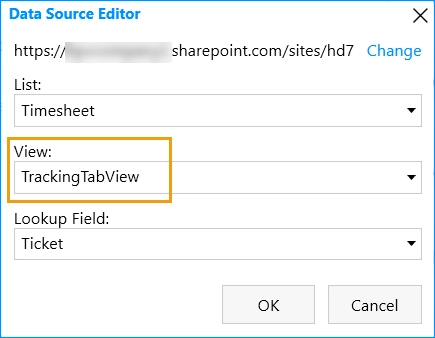
After that, go back to Plumsail Forms designer and select this view in the List or Library control settings:
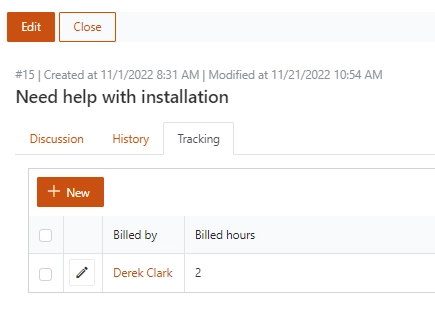
An agent will specify the number of billed hours for a ticket in the tracking tab. The data will go directly to the Timesheet list.
Creating report
After that, move back to Timesheet list. You can add another dimension to Timesheet with creating the view. This view will help you to find right data for invoice. Just click ‘Create view’, choose a view type and select columns you would like to display. More about views here.
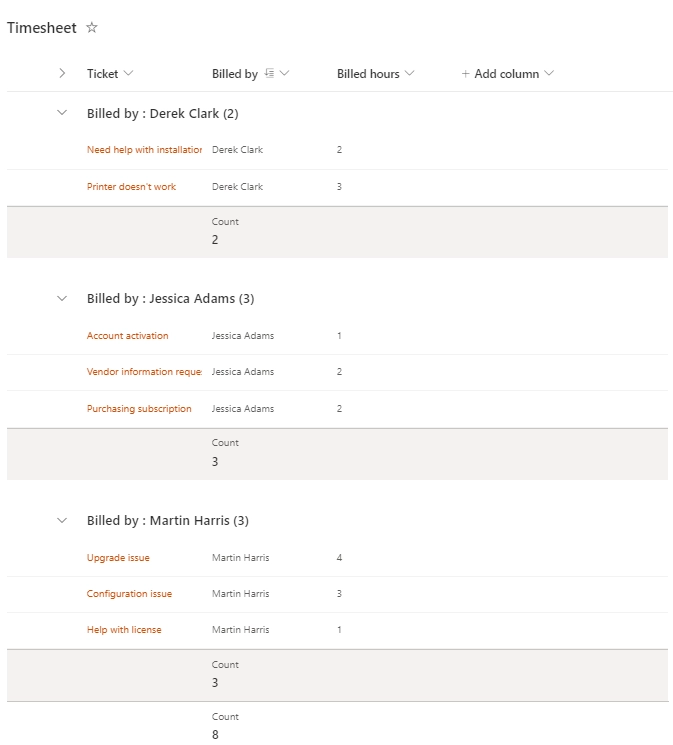
I want to know totals for each agent. So, I group the view by Billed by column

and count totals

This is the result view with statistic for each agent:
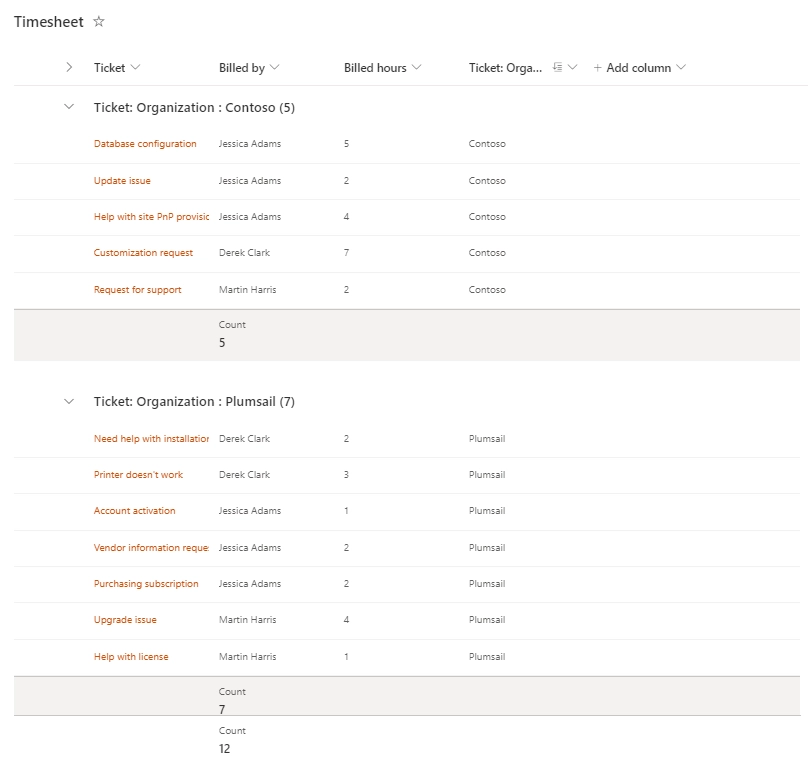
Report grouped by organizations
Let’s consider a more complex case: creating a report grouped by organizations of requesters.
Firstly, we add a string column to the Tickets list.
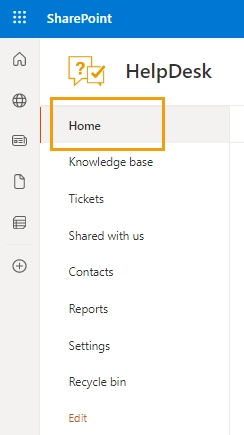
Click on the Home button and open the Tickets list:
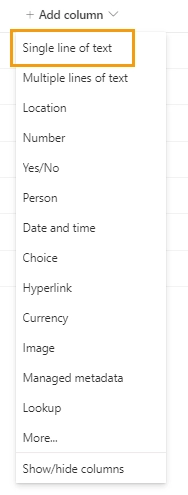
Click +Add column and select Single line of text:
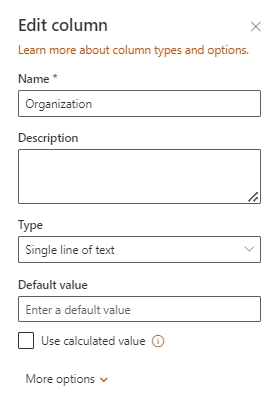
Specify the column settings:
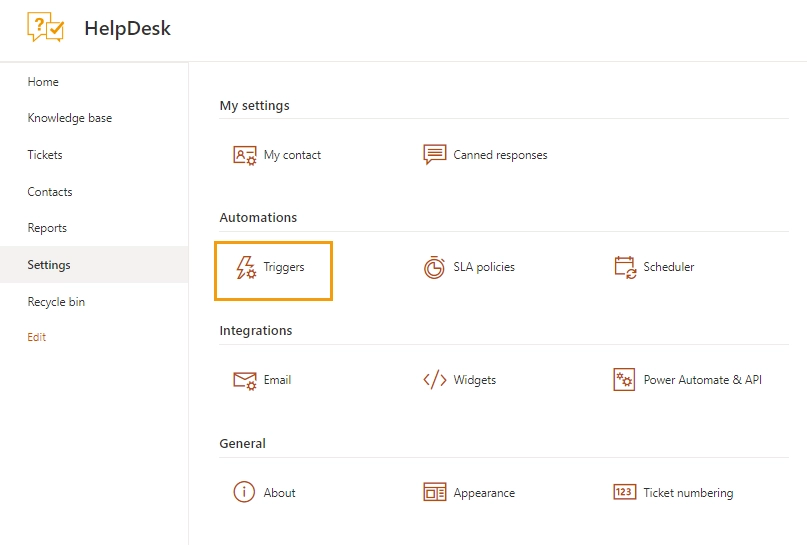
Open HelpDesk settings and select Triggers:
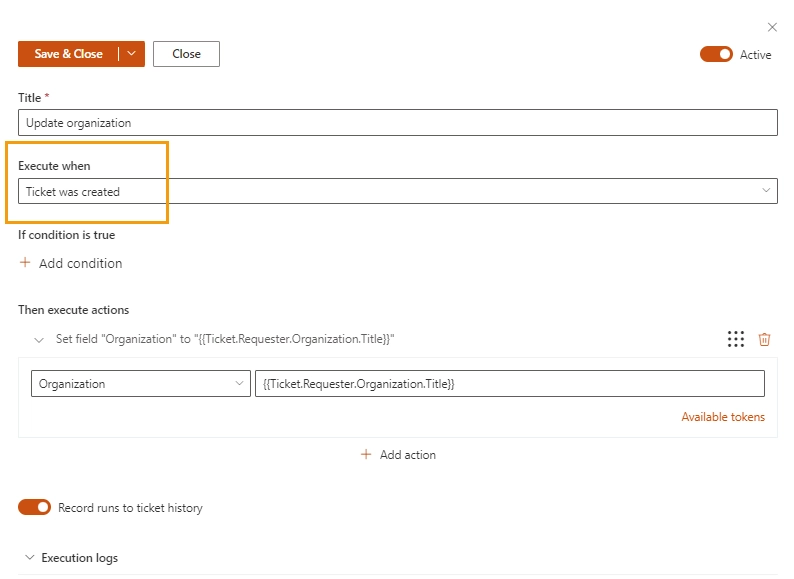
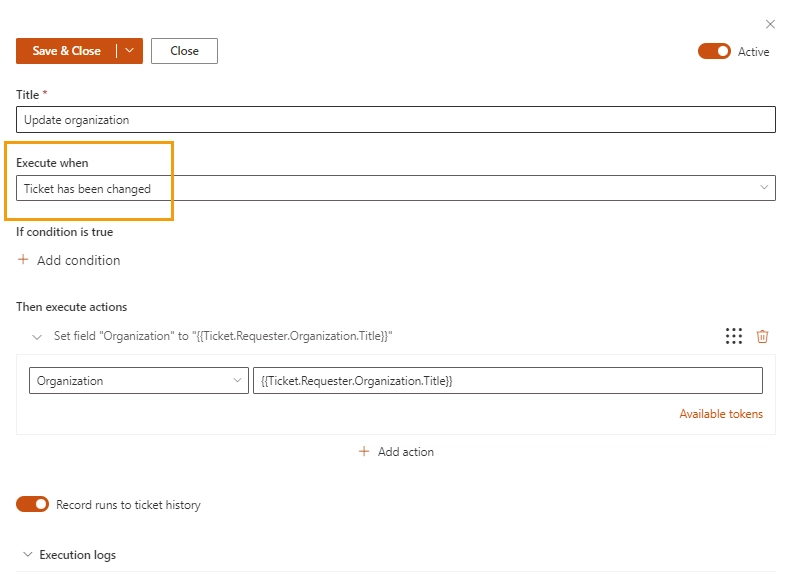
Add triggers that sets field Organization to
{{Ticket.Requester.Organization.Title}}
when a ticket was created:
and when a ticket has been changed:
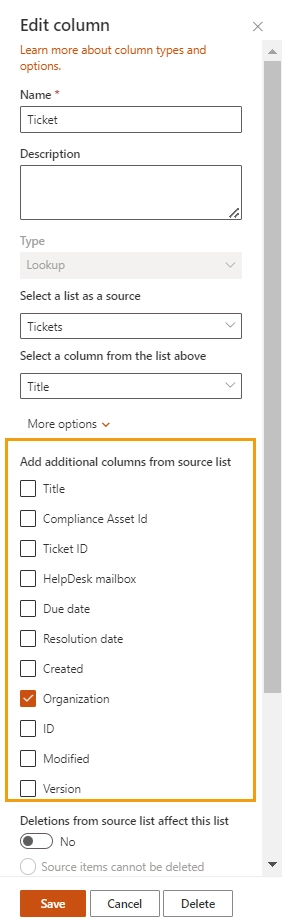
On the next step we add Organization column to our Timesheet list created previously.
We already added a lookup column from the Tickets list. The Organization column we add as an additional column from the source list Tickets.
Click on the Ticket column in the Timesheet list and select Column settings - Edit:

Expand More options and select Organization. Save the settings.
Finally, let’s create a new report (view) grouped by the Organization column
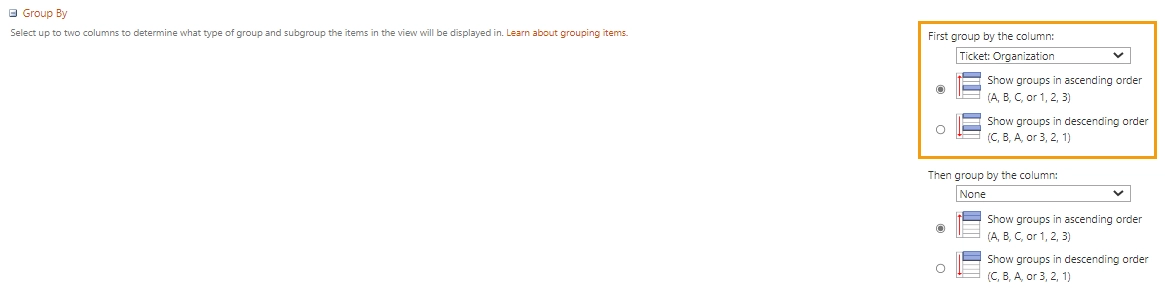
with this result.