Create a new view
Views are essential for organizing work in your ticket list, allowing you to quickly sort and find the data you need.
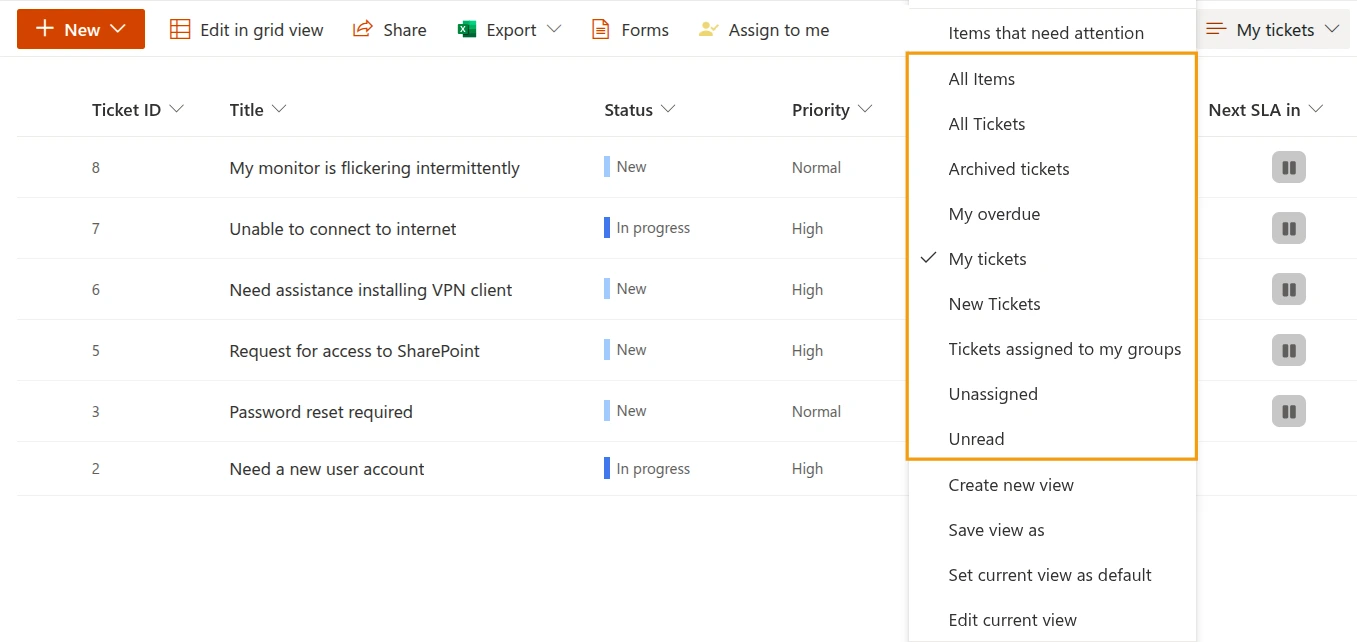
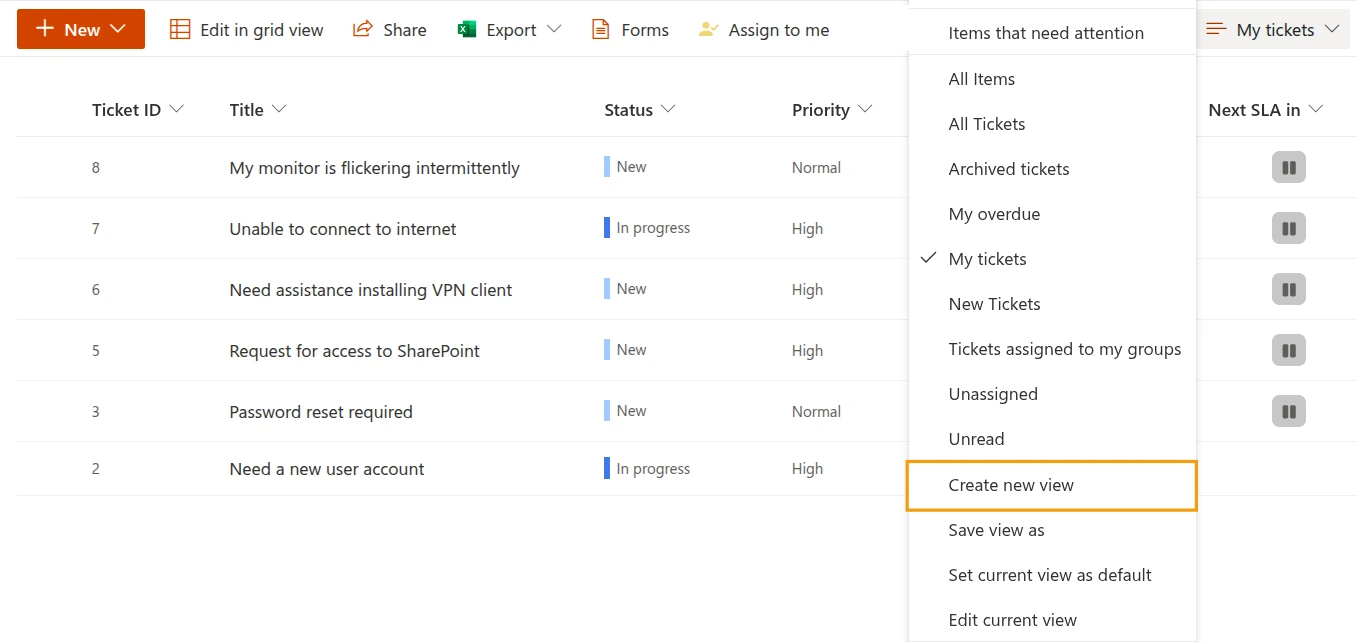
To add a new view, navigate to the view options and click Create new view.
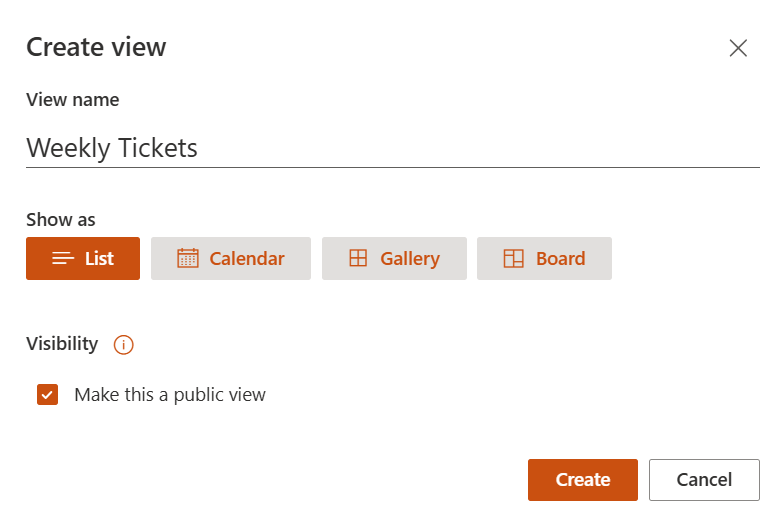
A pop-up window will appear, prompting you to name your new view and choose whether to make it public (visible to everyone) or private (visible only to you).
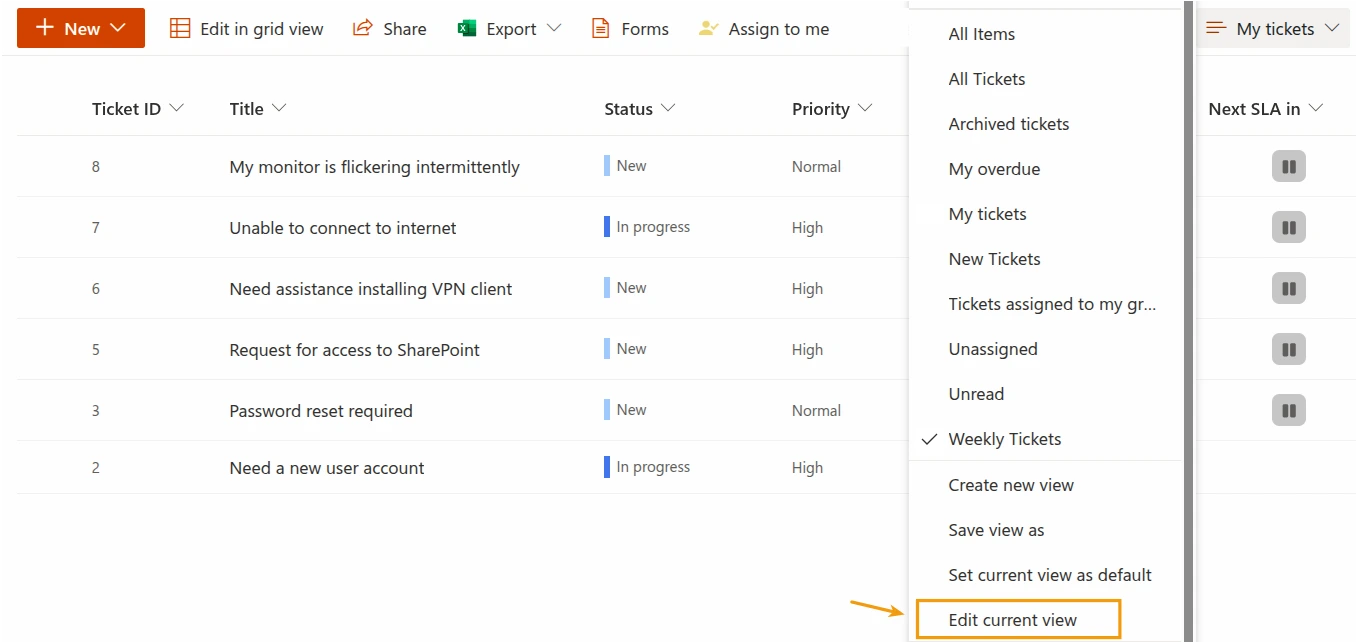
Once the view is created, you can edit its content and apply filters to show only the necessary and relevant tickets.
In the Columns section, select the fields you want to display in your view.
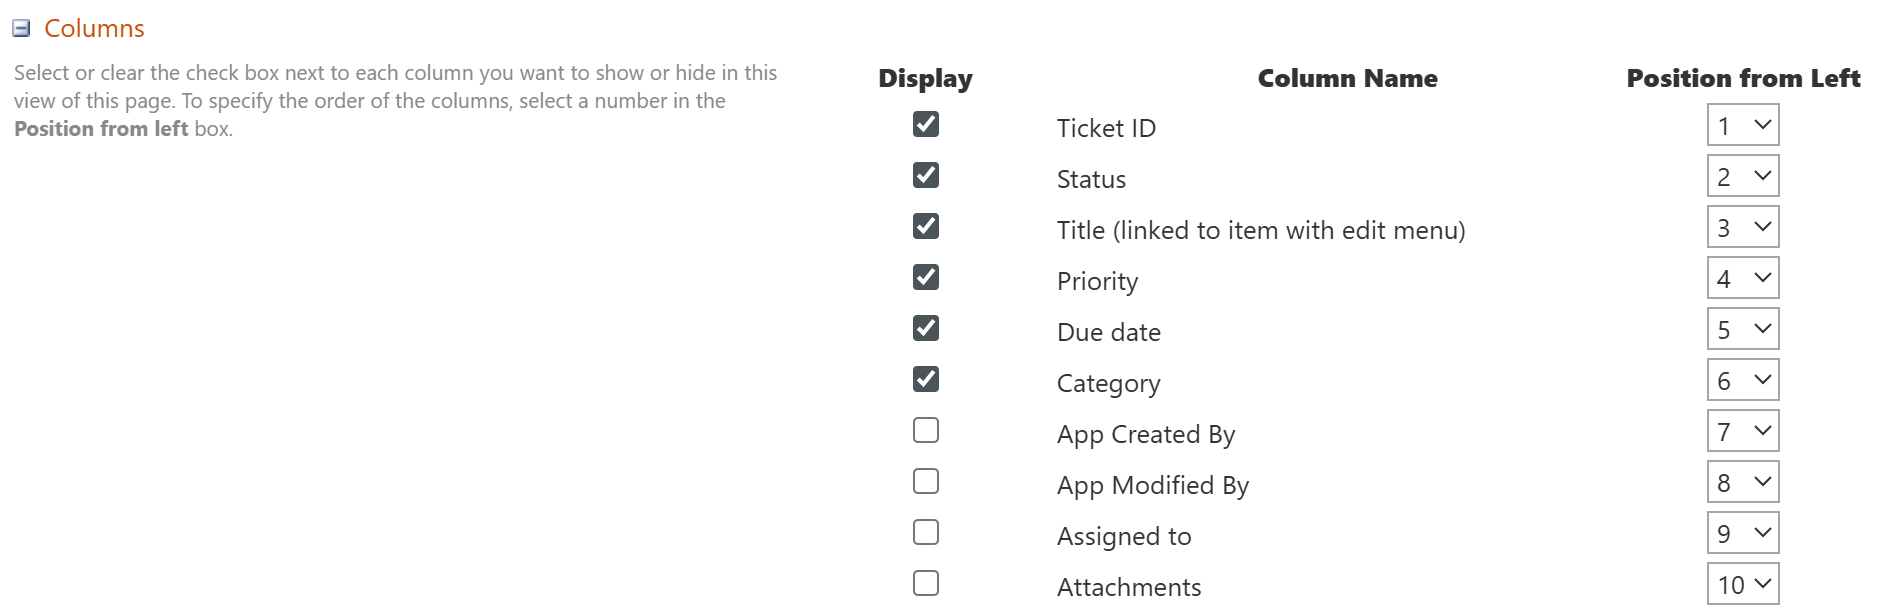
Combining it with filters makes working with your data much more productive, since you view only tickets matching certain conditions.
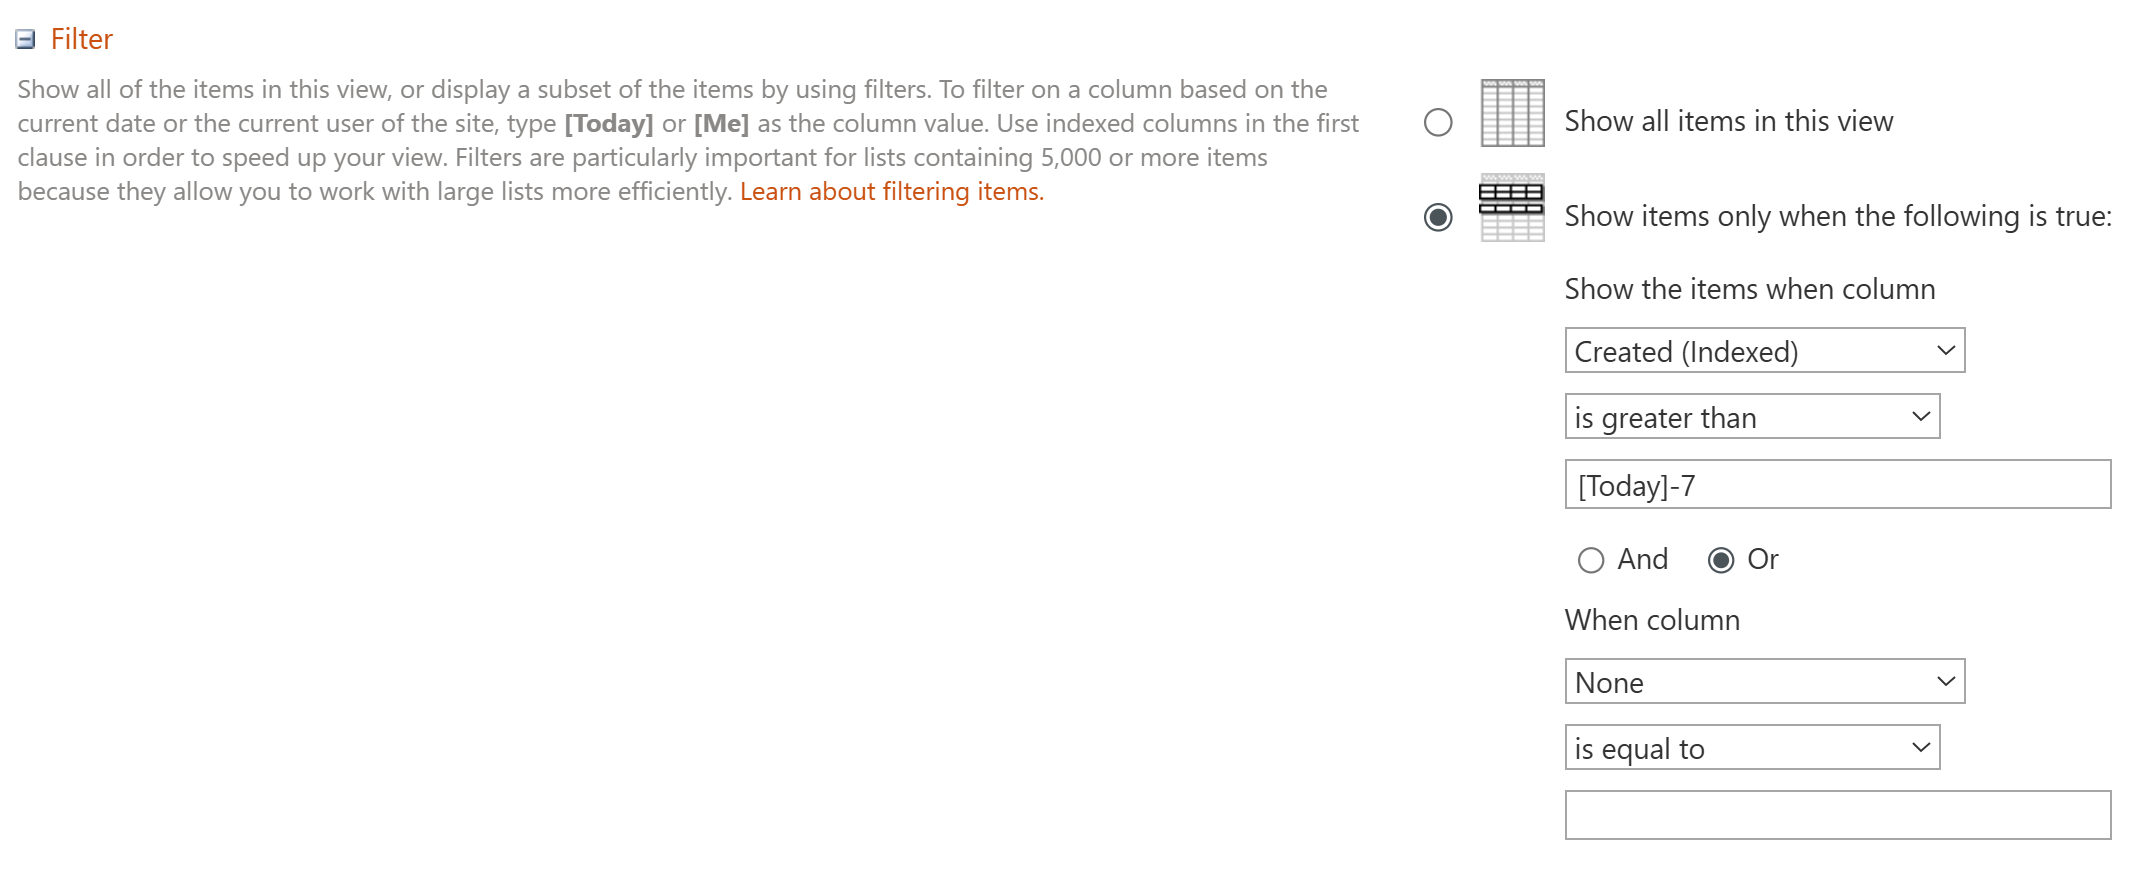
For example, let’s create a filter to see all tickets created less than 7 days ago:
Select the “Created (Indexed)” column
Choose the operator “is greater than”
In the value field, type [Today]-7
Save your changes and now you have a new public view that shows only tickets created in the last week!

You can also play around with the filters and settings of any existing view and then save it as a new one to quickly create a custom template.
