Site settings
To be able to declare SharePoint document as a record you need to enable the feature on the site level.
Go to Site settings - Site collection features and enable “In place records management” feature

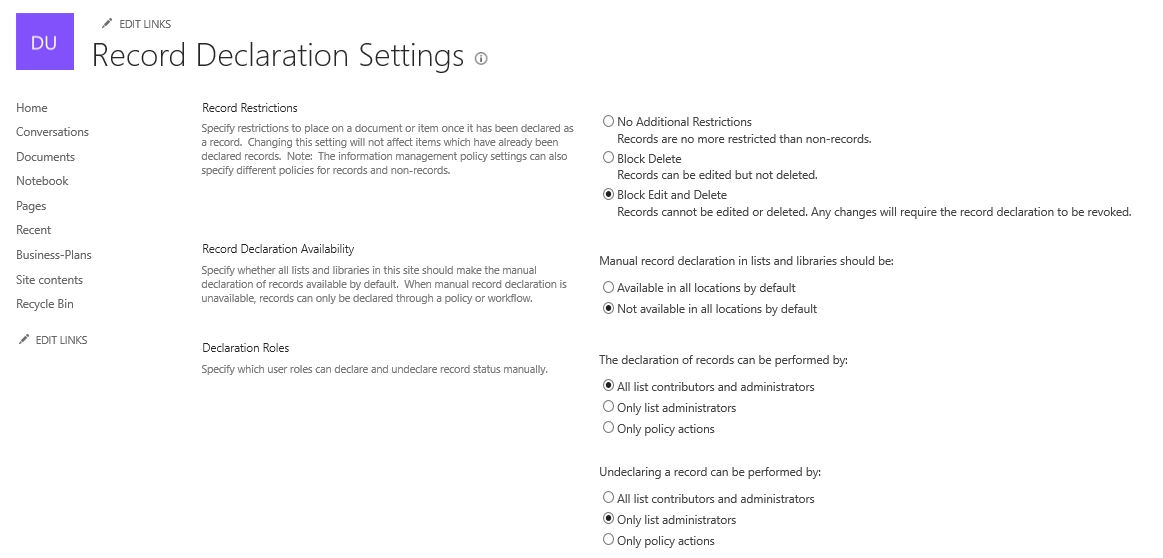
Then if you go to the site settings again you’ll see option “Record Declaration Settings”,
These are the default settings. You can change it if it’s needed
Example
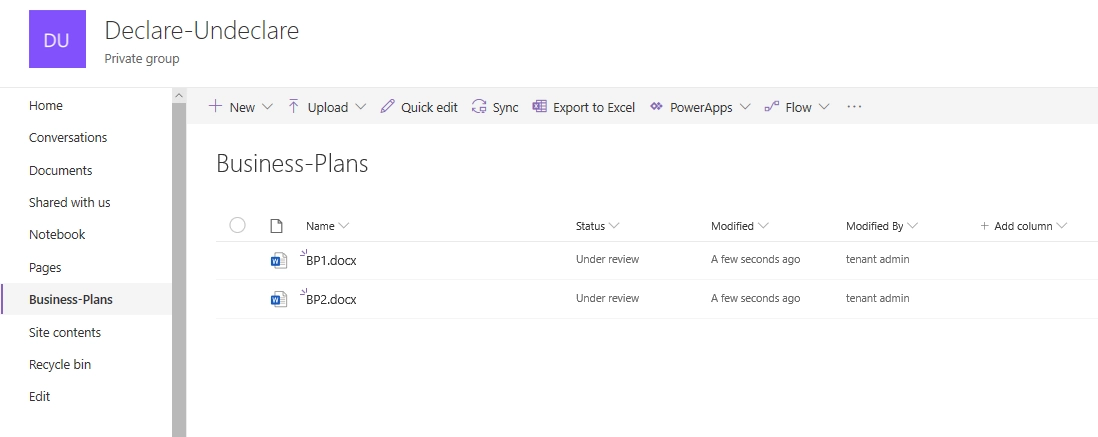
Let’s says we have a document library with business plans. When a user upload the plan the status is set to “Under review”. I want to declare the document as a record after changing the status to “Approved”.
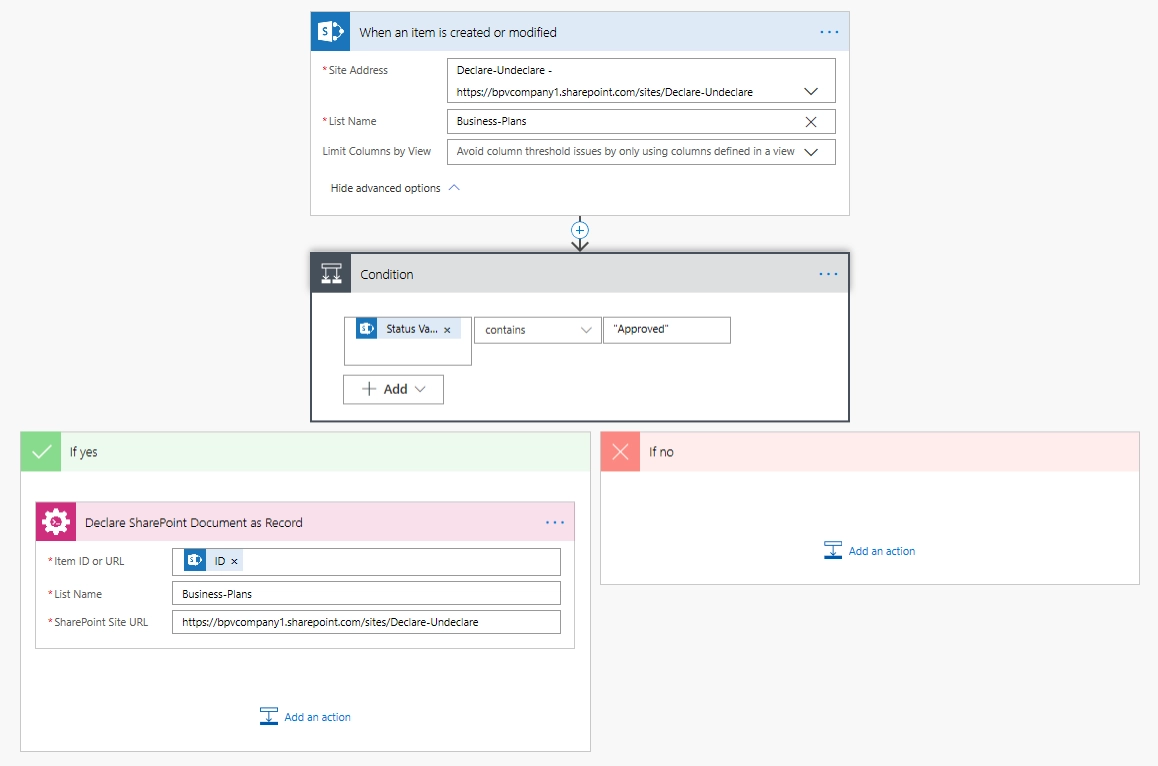
I made the flow and it’s started automatically when an item’s status in the Business Plans library changed to “Approved” I added ‘if’ condition to declare the item only if the status is changed to approved. It won’t declare the item if some other changes are made or if new item is created.
Adding the Plumsail action for the first time, you’ll be asked for a Connection name, API Key, and Data center location.
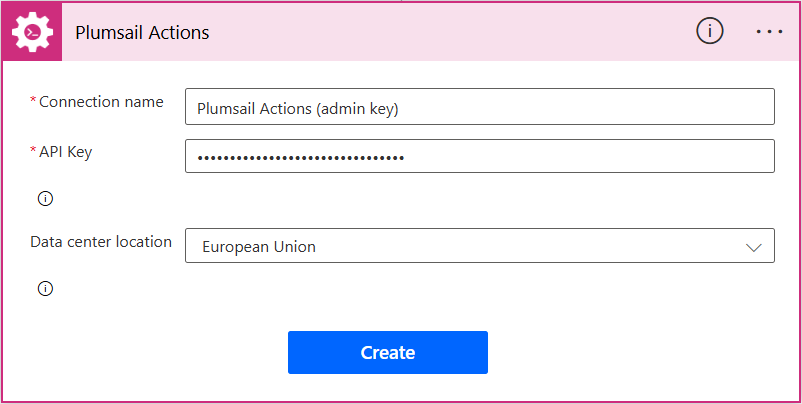
You can type any name for the connection, for example Plumsail Actions (admin key). Next create an API key on your Plumsail account page, copy, and paste it to the API Key field. Ensure that the selected data center location matches one of your account.
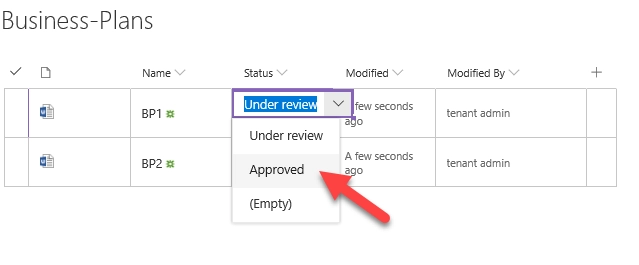
Now, let’s change the status of the first document to “Approved’.
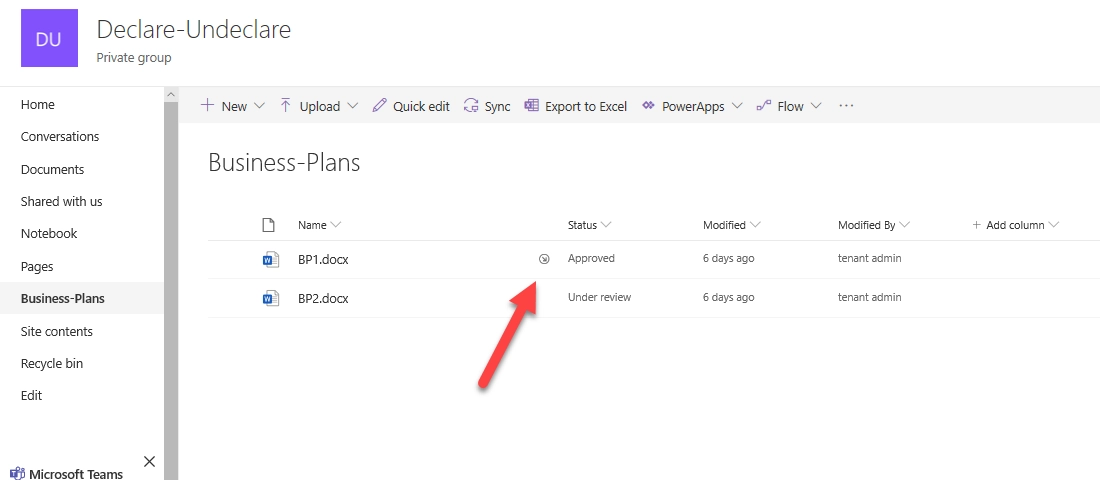
And after the flow we can see that the document now has this symbol
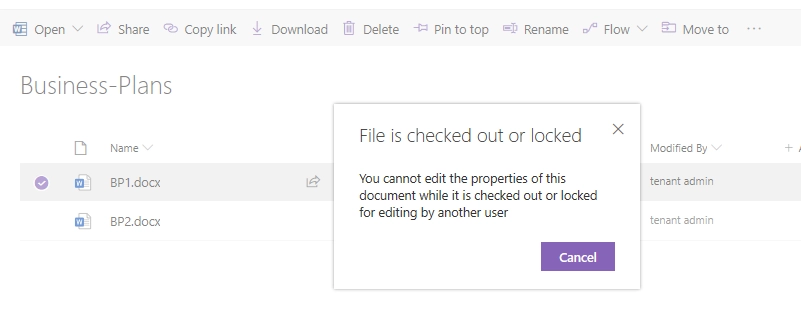
If I try to delete it I see this notification
Note
You can also Undeclare document using Undeclare action
Conclusion
Now you should have an idea how to use Declare action from Plumsail Actions package. If you haven’t used it yet, registering an account would be the first step. It is quite easy to get started.