In cases where you want to protect your PDF files which might contain sensitive information. Let’s say, you have a legal document that contains personal data of your employees. You can secure PDF by setting a password, but you probably don’t want to do it manually every time so automate the process. You can use Microsoft Power Automate or Azure Logic Apps and Protect PDF document action from Plumsail Documents connector.
This article describes how to work with this action and some use cases, where this action can be very useful. After reading this article you will know how to set a password on a pdf file, how to disable printing, prevent the file from being modified or extracting the data which it contains, etc.
This may be helpful in automating your business processes in Microsoft 365, SharePoint or any other system that is integrated with Microsoft Flow.
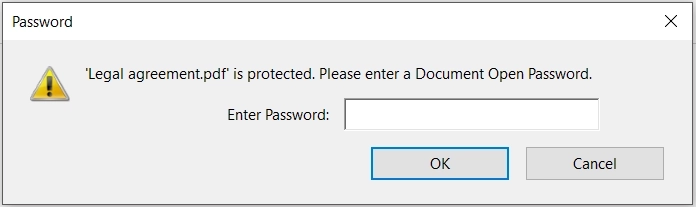
Let’s suppose you want to implement the case from the beginning, this is how the password request window looks in Adobe Reader:
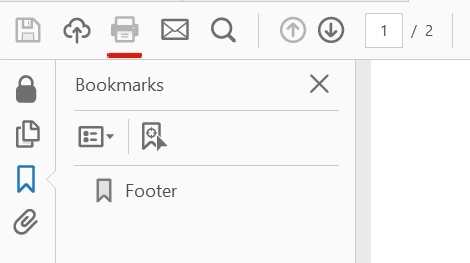
You can also disable printing option so no one could print the pdf document:
How to use the action in your flow
This is how the flow might look with all the options are being applied:
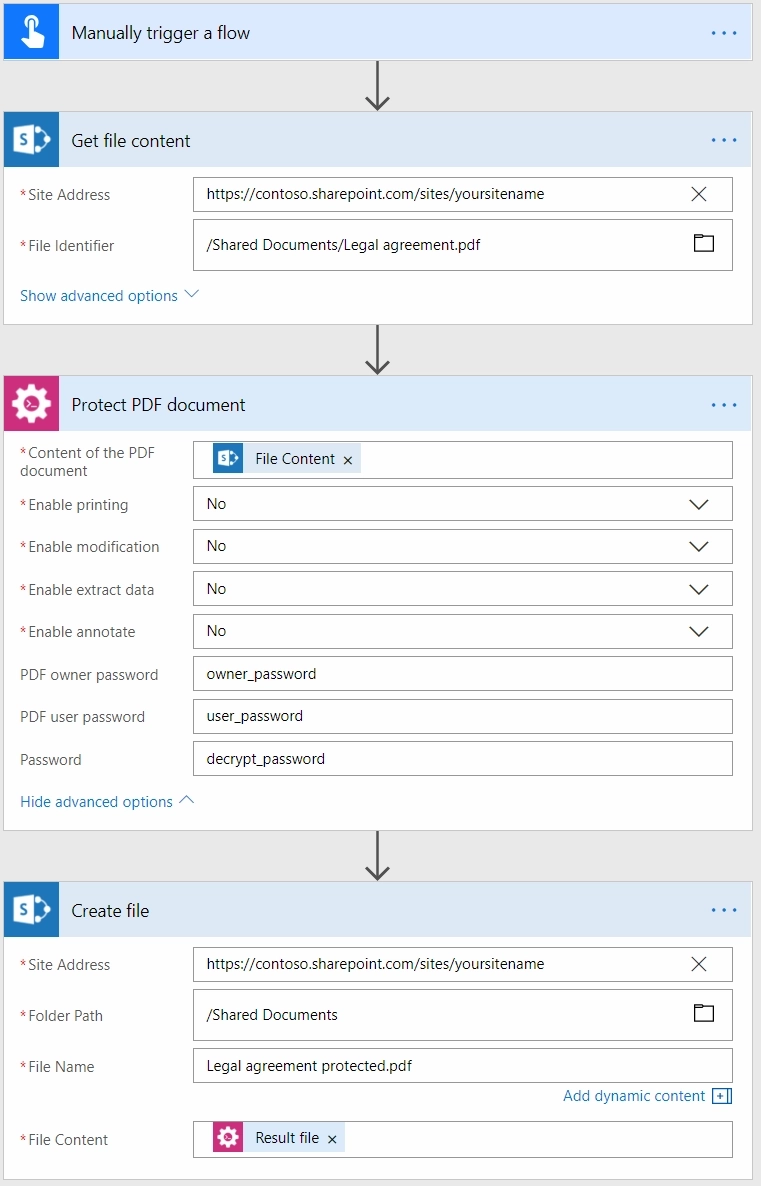
We are getting the content of the pdf file using standard SharePoint action. Then we are applying all the options to the document using Protect PDF action and then we are saving it as a new file on our SharePoint site.
Options that you can use and their benefits
Enable Printing allows you to protect your PDF document from being printed out. If you disable printing then this will prevent your documents from being readily photocopied (or scanned) and then shared.
Using Enable Modification option you can prevent your PDF documents from being edited. It might be useful if you know that your PDF document will go through a lot of people and you don’t want to it be changed at any point.
In case if you don’t want the information in the PDF file to be extracted you can use Enable Extract Data option. Let’s suppose you have a text in the PDF file that you don’t want to be copied, for example, some unique article that you wrote by yourself, then this option can help you.
You can use Enable Annotate to disable annotations (e.g. comments, form fill-in, signing) in your PDF file. If you have a form in your PDF document and you want to prevent it from being changed by other people you can use this option.
You can set PDF Owner Password, this password can be used to disable document restrictions. Let’s suppose you want to have some restrictions for most of the people that will be reviewing your PDF, but for one of them, for example, head of a department, you want him to bypass all the restrictions, he can enter this password and gain full access to this file.
You can also set PDF User Password, each time a user opens the PDF he will be asked for this password. The screenshot and the use case at the beginning of the article demonstrate how this option works.
If your source file was encrypted before, you can use Password option to specify the password so the action could decrypt it first.
Conclusion
Now you should have an idea how to use Protect PDF document action from Plumsail Documents connector for Microsoft Power Automate. If you haven’t used it yet, registering an account would be the first step. It is quite easy to get started.
If you have any questions do not hesitate to leave a comment or to drop us a message to support@plumsail.com.