In this article, we will explore two different ways to populate Excel template using Power Automate. One way is using Office Scripts, and the other one is using Plumsail Documents. We will walk you through the step-by-step process for each approach and highlight the main benefits and limitations.
In this article:
What are Office scripts in Excel
Office Scripts represent a scripting language within Microsoft Office applications, such as Excel and PowerPoint. It allows users to automate repetitive tasks, create custom functions, and enhance productivity by writing code directly within the Office application. With Office Scripts, users can record their actions as a script and then modify the recorded code as needed.
You can find more information in the Microsoft Office Scripts documentation.
Populate Excel Template using Power Automate and Office Scripts
After a short introduction, let's see how to populate excel template using Power Automate and Office Scripts. Below you will find step-by step instructions with an example:
Step 1: Create an Excel Template
We need to create an Excel template and upload it to our SharePoint Library.
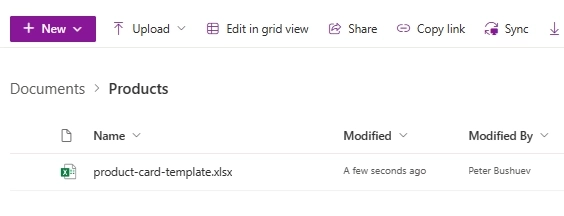
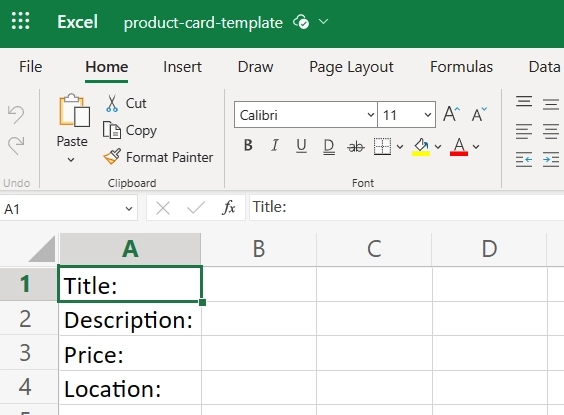
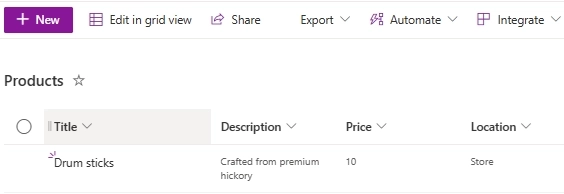
I created a simple template with some product description.
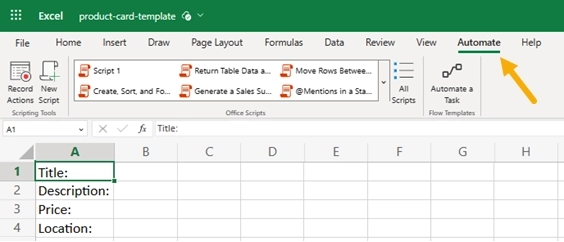
Step 2: Enable Office Scripts
We need to open Excel Online to enable Office Scripts. Open the uploaded file in the browser and click Automate.
Step 3: Write a Script
Now we can either write a script or use the Excel function Record Actions to generate the script.
This is my script:
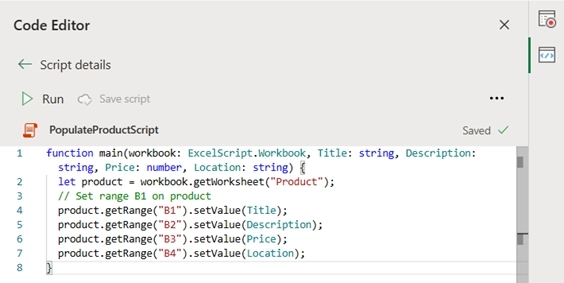
The script includes a main function, which receives values for Title, Description, Price, and Location.
function main(workbook: ExcelScript.Workbook, Title: string, Description: string, Price: number, Location: string) {}
Then it switches to the Product worksheet.
let product = workbook.getWorksheet("Product");
And applies the provided values to the specific cells: Title to B1, Description to B2, Price to B3, and Location to B4.
     product.getRange("B1").setValue(Title);
	 product.getRange("B2").setValue(Description);
	 product.getRange("B3").setValue(Price);
	 product.getRange("B4").setValue(Location);
Check out the article on how to Record, edit, and create Office Scripts in Excel.
Step 4: Create a Power Automate flow to populate Excel template
The last step is to create a Power Automate flow. This is how the entire flow looks:
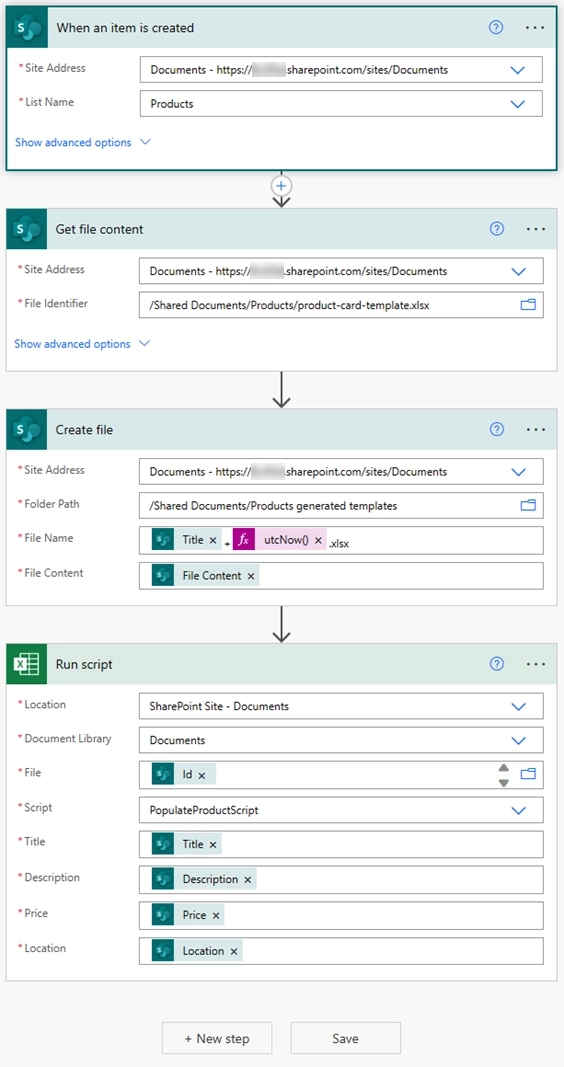
The automation process begins whenever a new item is added to the Products SharePoint list. This will trigger a Power Automate flow which will populate a predefined Excel template.
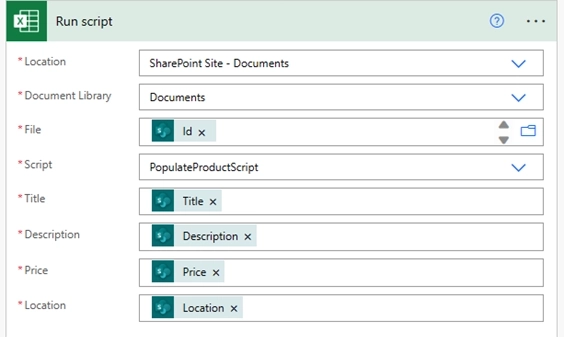
Then it creates a copy of our Excel template and populates it using the Run Script action from Excel Online (Business) package.
Limitations of using Office Scripts
While Office Scripts can be a powerful tool for automating tasks in Microsoft Office applications, they have certain limitations you may need to consider. Some of the limitations of using Office Scripts to populate Excel template with Power Automate include:
-
The complexity of template creation: Even with a simple scenario it requires some coding skills. Creating an advanced template becomes a real challenge for people who don't have a coding background.
-
Limited external integrations: Office Scripts work within the cloud environment provided by Microsoft and integrating with external systems may require additional workarounds or custom solutions.
-
Limited Application Support: Office Scripts are currently supported in a few Microsoft Office applications, such as Excel and Power Automate. If you are working with other Office applications like Word or PowerPoint, you won't be able to use Office Scripts.
How to populate Excel template with Plumsail Documents
Plumsail Documents is a service that can help to overcome some of the limitations associated with Office Scripts. Let’s see how Plumsail Documents battle the limitations mentioned above, one by one.
The complexity of template creation
Unlike Office scripts, you don't need coding skills to create a template with Plumsail Documents.
It uses placeholders which are special tags within the template that work as dynamic fields. They are replaced with actual data during the document generation process.
Let's redo our Excel template to use it with the Documents service. This is how it looks now:
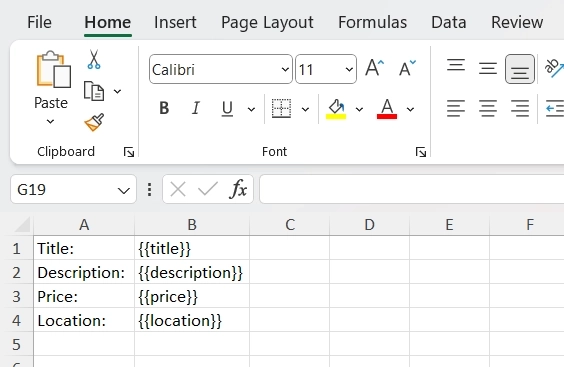
We also don't need to use Office Online to create the template. The desktop version works as well.
Limited external integrations
To overcome the issue let's use Processes for generating documents from templates. These are the steps.
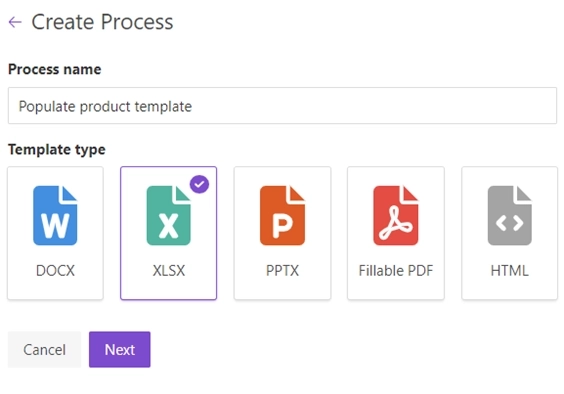
Step 1: Create a new process, give it a name, and select XLSX.
Step 2: Upload our Excel template

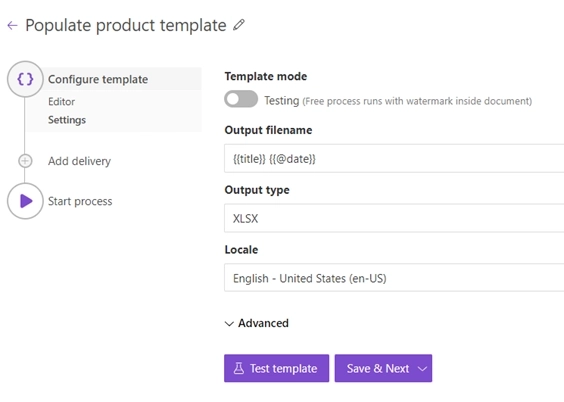
Step 3: Specify the output file settings
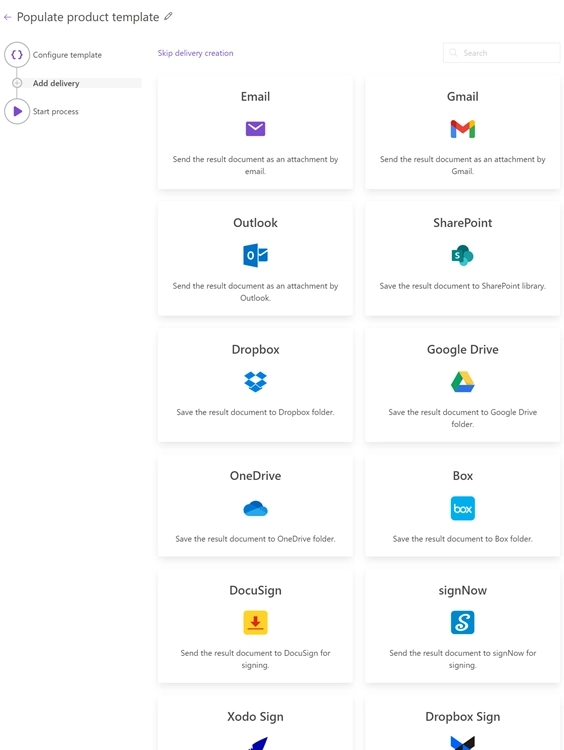
Step 4: Select a delivery. There are a lot of possible delivery options. We'll pick the Email delivery.
Step 5: Specify recipients, subject and other email delivery options.

And that's it. The process is done.
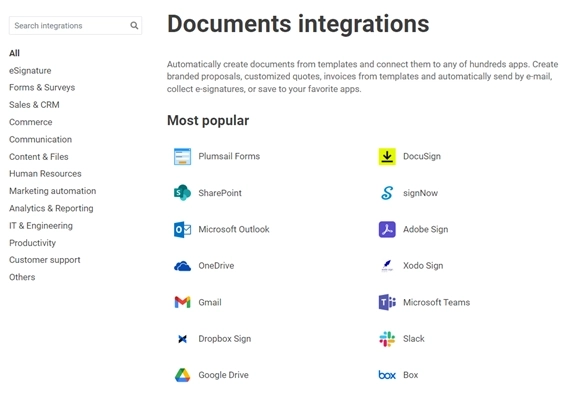
Now we can start the process from anywhere! Plumsail Documents offers a wide range of integrations.
In the next step we'll use Power Automate to create a flow which will automatically populate excel template. This is how the flow looks when using it with Plumsail Documents.
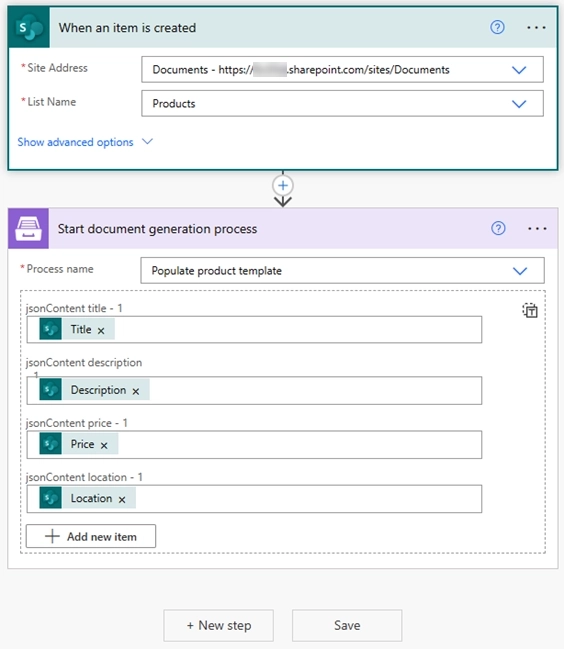
In case we want to change from Power Automate to Zapier or any other system, we will just need to select the process in the new platform, and it will be ready to run.
Limited application support
Plumsail Documents overcomes the limitation. It supports various document formats, including DOCX, PDF, HTML, XLSX, PPTX and more. You can choose the appropriate template format based on your requirements and the output format you want to generate.
Get started
Register an account to test how to populate excel template with Power Automate using Plumsail Documents.
If you have any questions, feel free to send a request to our support team or leave your question in our community portal.