Update email message template
Here you can find how to modify message templates in HelpDesk for Microsoft 365 with adding information from custom columns to message body.
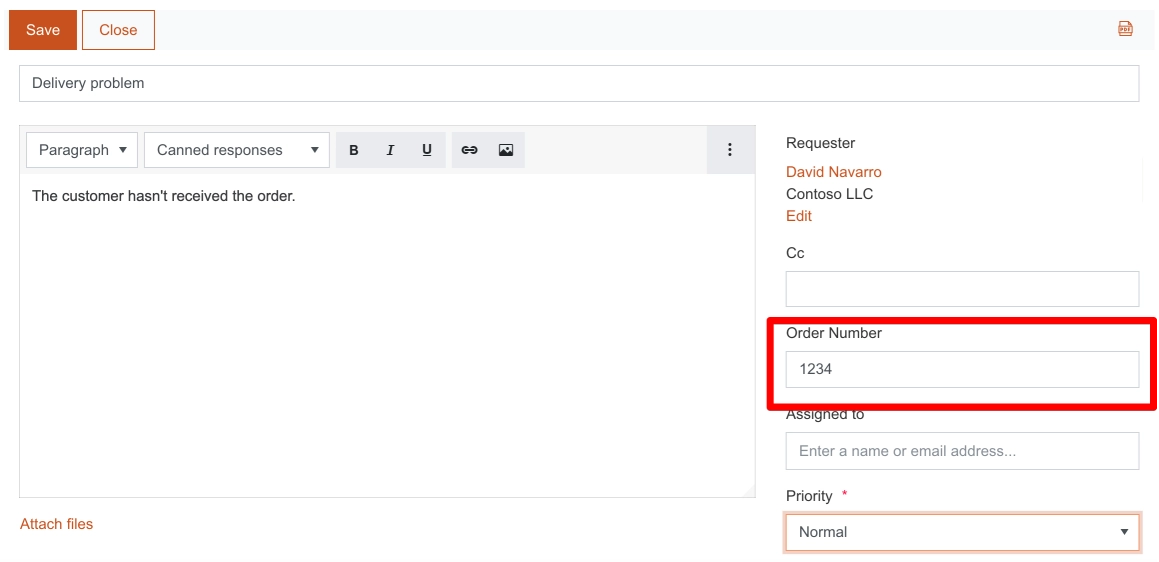
Let’s say you’ve added a custom ‘Order Number’ column to a ticket and now you want to have access to this additional column in notification messages.
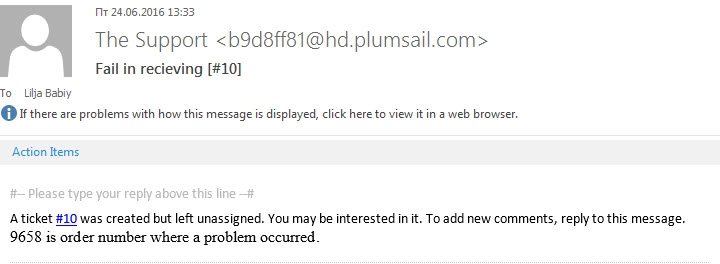
Thus your message templates will look like this.
First of all, create a new column in help desk Tickets list and place it on the ticket form using Plumsail forms.
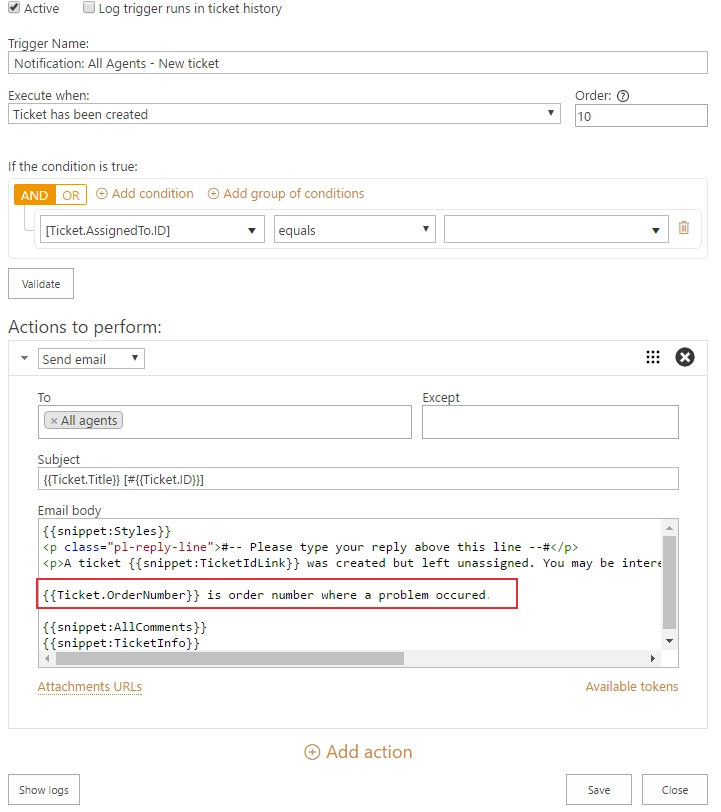
After creating this custom column, switch to Triggers. Triggers are used for notification in help desk, just choose the one which fits your task and go to message templates. In message templates, you can use tokens to access different help desk entities. For example, {{Ticket.FieldInternalName}} token gives you access to field values of the current ticket.
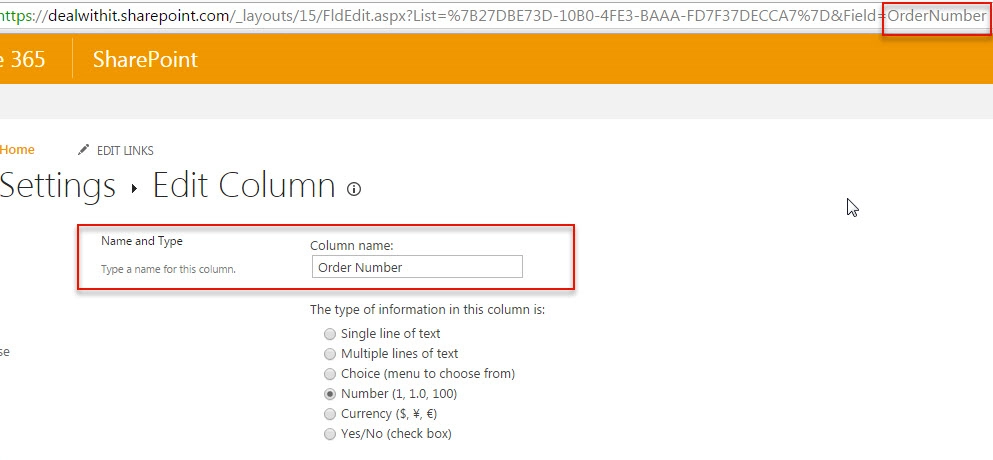
Note that in order to access the value of a custom column, you need to write column internal name inside token like this {{Ticket.OrderNumber}} where ‘OrderNumber’ is an internal name of a custom column. If you don’t know the internal name for your column, you need to navigate to Settings –> Edit Column and copy the last part of URL.
Then go back to Triggers. Now to reference custom field you need to use {{Ticket.OrderNumber}} token. Paste it in a message template and that’s it. You can also insert any text you like after or before this token. For example, like this:
After saving this message template you will receive e-mails with order numbers in there.