Customize ticket and contact forms (before 2.1.1)
In order to customize ticket and contact forms you need to install Forms Designer. It is available for free for HelpDesk customizations. Forms Designer allows to design SharePoint forms with tabs, complex tables, and accordions among other UI elements.
Important
Forms Designer is included into “Yacht” and “Ocean liner” plans. You have to purchase it separately for “Jet boat” plan.
Using Forms Designer
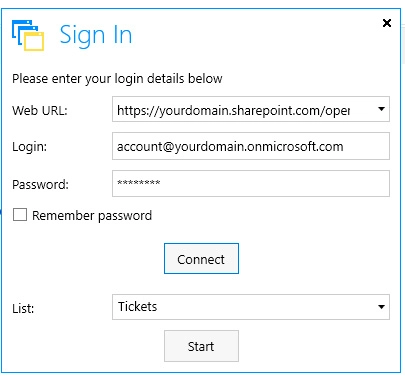
To start using Forms Designer please download a desktop app and run the installation file on your computer. To connect to HelpDesk please run the app and enter your login details. Once it’s connected to HelpDesk please choose a list you want to work with:

You can find more information on how to use Forms Designer in the documentation.
Create custom forms
In order to customize a form with Forms Designer navigate to the list the form is based on and select List or Library tab in the ribbon. There you will find a new button called “Design Form” under the “Customize List” section:

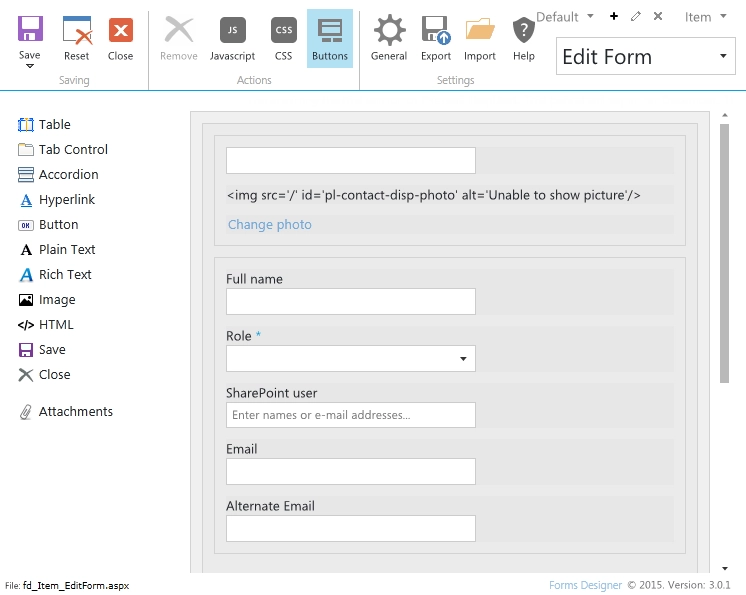
Clicking the button will load Forms Designer where you can edit your form in a simple drag-and-drop fashion:

Restore default forms
You can easily roll back any changes applied to the form and return to the default form.
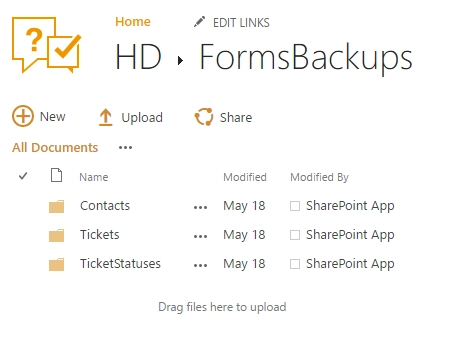
Default form layouts you can find in <your HelpDesk site>/HD/FormsBackups/ folder.

All layouts are split by three folders:
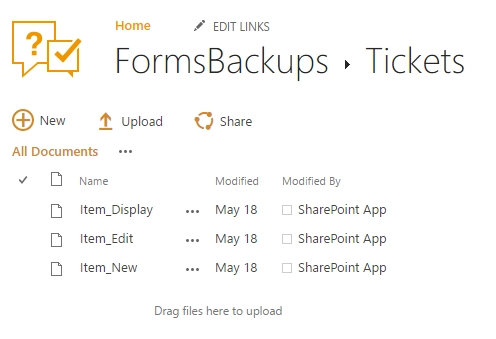
- Tickets
Contains backups of the tickets forms.
- Contacts
Contains backups of the contacts forms.
- TicketStatuses
Contains backups of the ticket statuses forms.

For example, to restore ticket edit form you need to do following steps:
Download file from
<your HelpDesk site>/HD/FormsBackups/Tickets/Item_edit.xfds.Navigate to any tickets list view (for example click on “Home” button on navbar).
Click on “Design Forms” button in the ribbon.
Select “Edit Form” in Forms Designer.
Click on “Import” button.
Select downloaded file “Item_edit.xfds”.
Save the form.