How to forward incoming email messages to HelpDesk address in Office365 Outlook
Enable automatic external forwarding
Firstly, You need to do some steps to enable automatic external forwarding for individual mailboxes.
Open the Anti-spam settings page here: https://security.microsoft.com/antispam
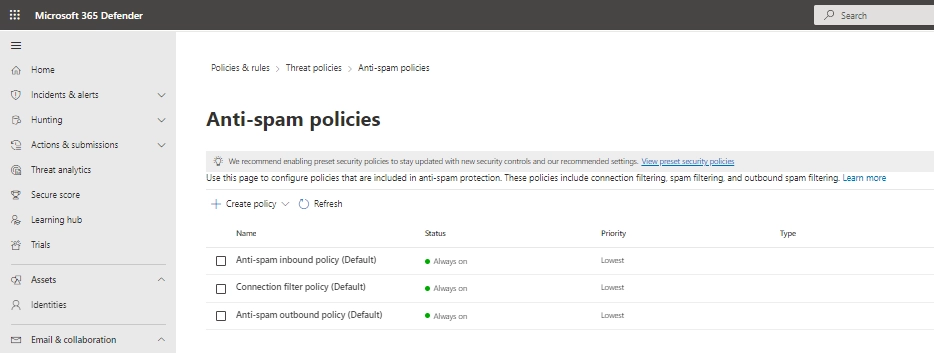
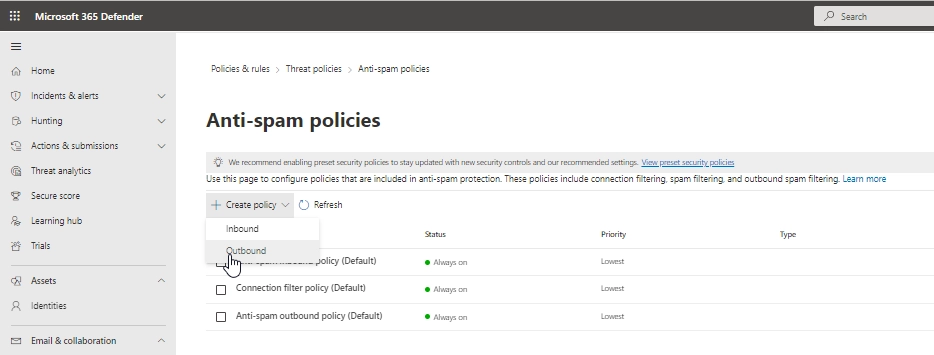
Click + Create policy -> Outbound policy.
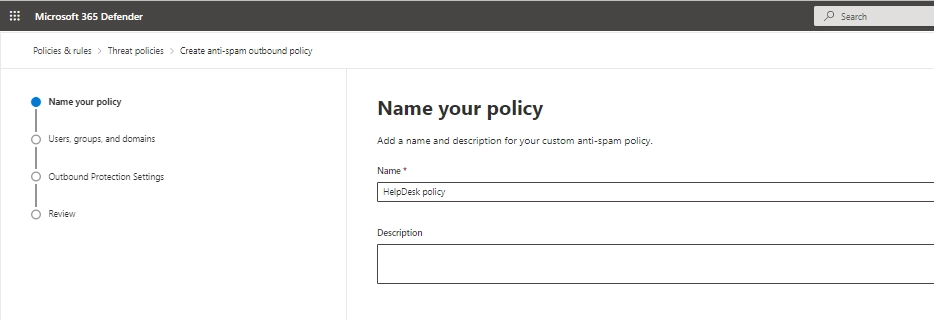
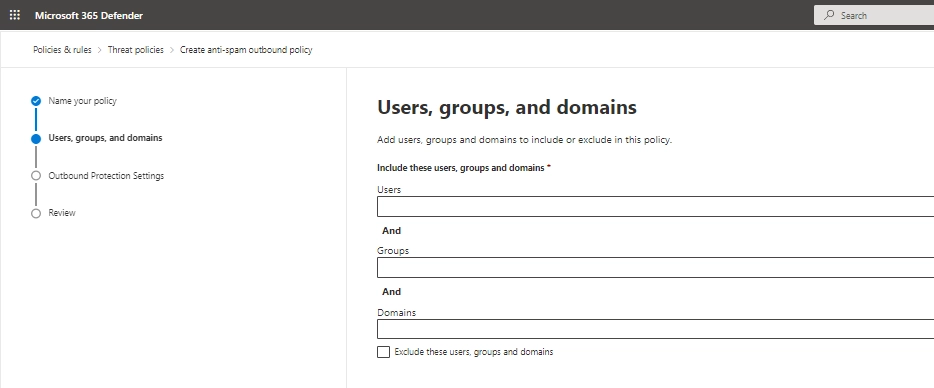
Enter the Name and Description. Click Next.
Add Users, Groups and Domains in the policy. For example, it may be you support mailbox support@contoso.com.
On the next step expand Automatic forwarding rules section. Choose On - Forwarding is enabled from the dropdown. Save the settings.

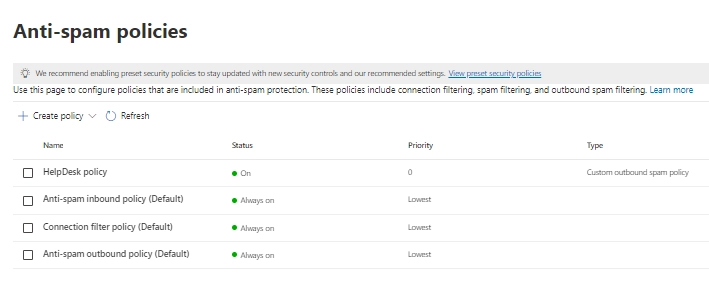
Then you’ll see the new policy in the Anti-Spam policies list with status On.
Note
You may have other transport rules or spam policies in place at Microsoft 365 that block external forwarding in addition to the outbound spam filtering we’ve covered here. If automatic external forwarding is still blocked after adjusting these policies, you will want to reach out to your Microsoft 365 support for assistance in finding any further blocking that has been set up in your Microsoft 365 account.
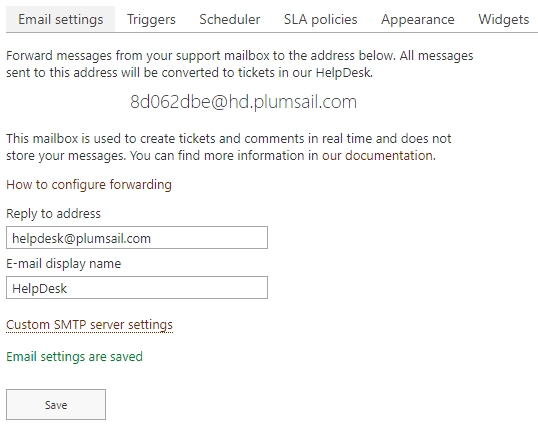
Configure forwarding
Then, you can use rules in Outlook Web App to automatically forward messages to another account . In case of Helpdesk the account is the Helpdesk auto-generated email address.