How to grant admin permissions for selected SharePoint site
When you install Plumsail HelpDesk on existing site you may see a warning that your account doesn’t have enough permissions to access the site.
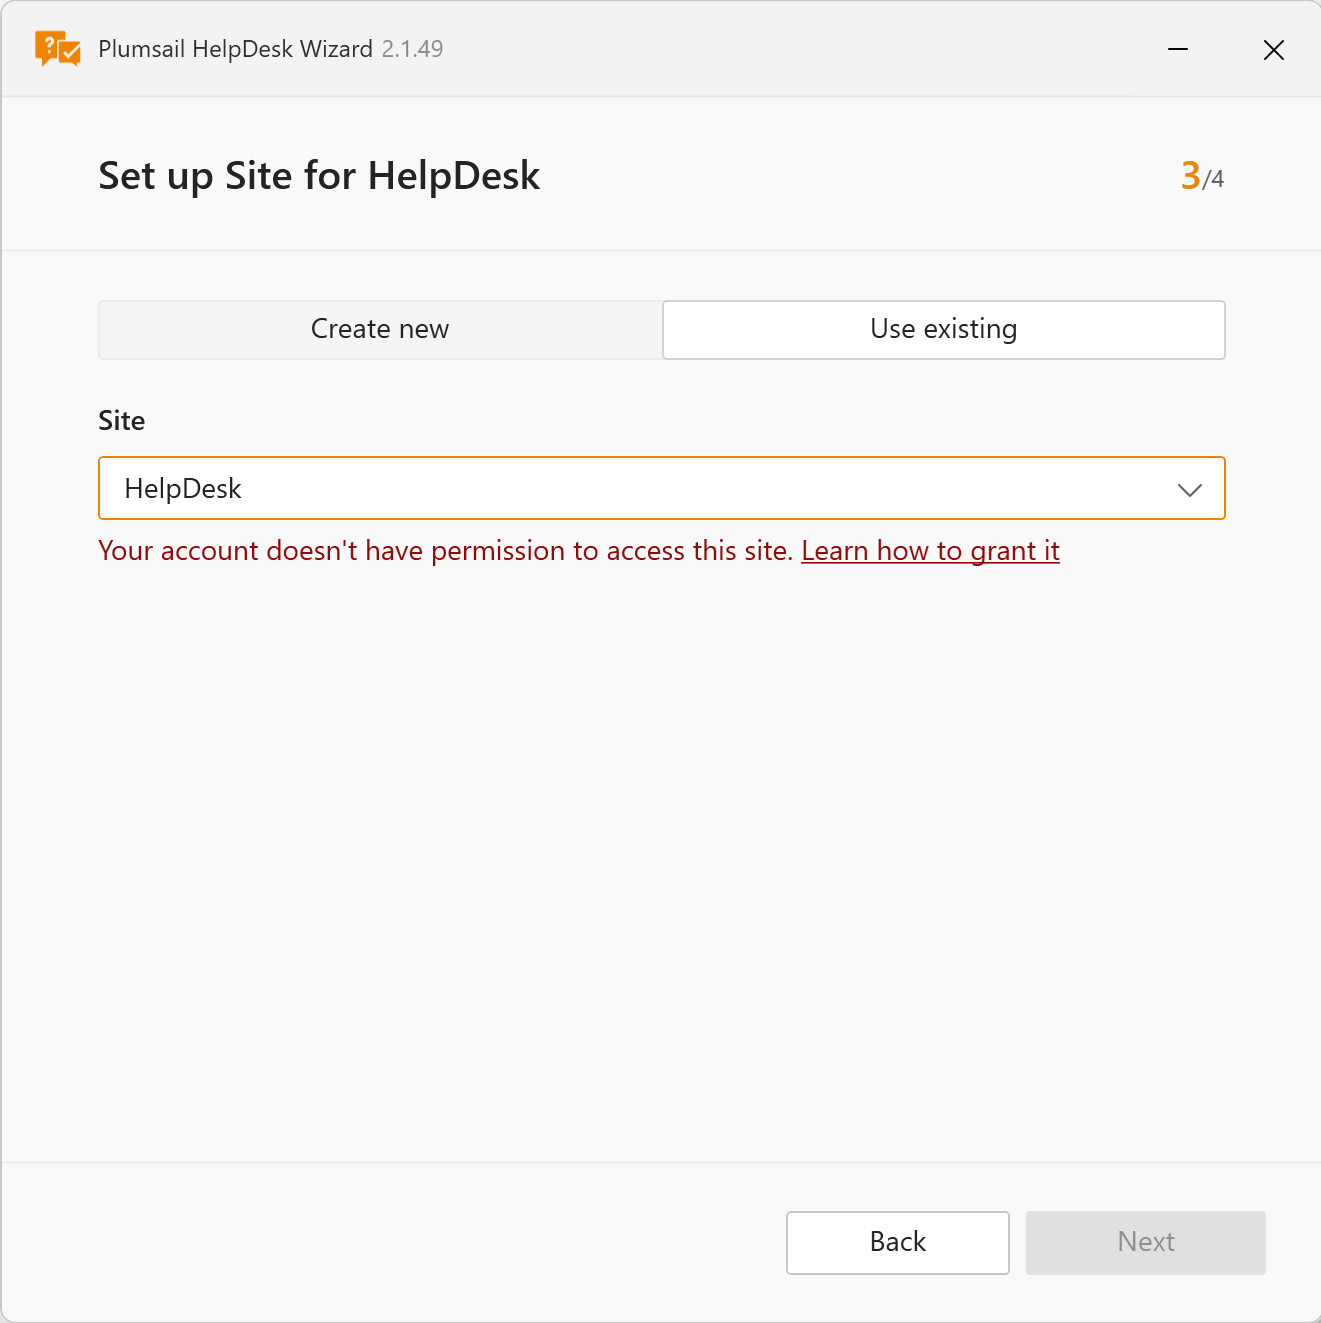
This article explains why these permissions are required and how to grant them properly.
Note
If you have questions or need help with the installation, feel free to contact our support team at support@plumsail.com.
Why admin access is necessary
The HelpDesk installer needs elevated permissions to:
Deploy site-level components and scripts,
Create or configure SharePoint lists (such as Tickets, Contacts, Settings),
Apply site features and customizations.
Without site collection administrator rights, the installation process may fail or not complete fully.
How to grant admin permissions
There are two methods to assign site admin permissions: from the SharePoint Admin center and from the site itself.
Note
You should have SharePoint administrator permissions to use these methods.
From SharePoint Admin center
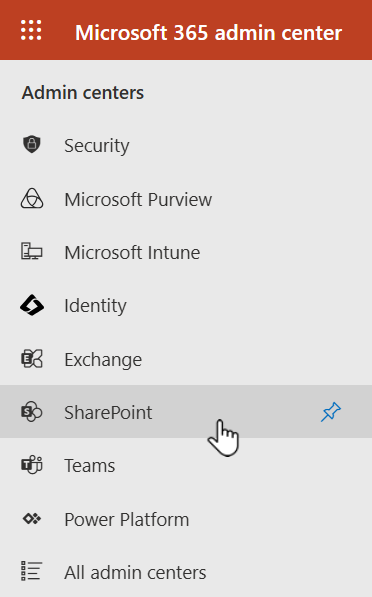
Go to the SharePoint Admin Center.
https://admin.microsoft.com → SharePoint (under Admin centers)
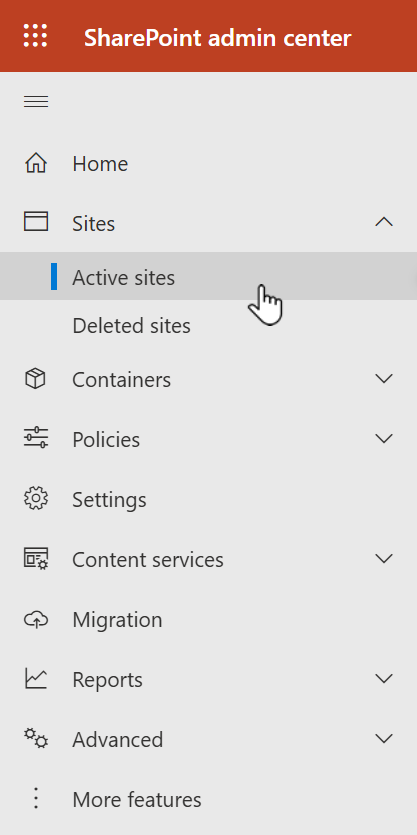
In the left menu, select: Sites → Active sites
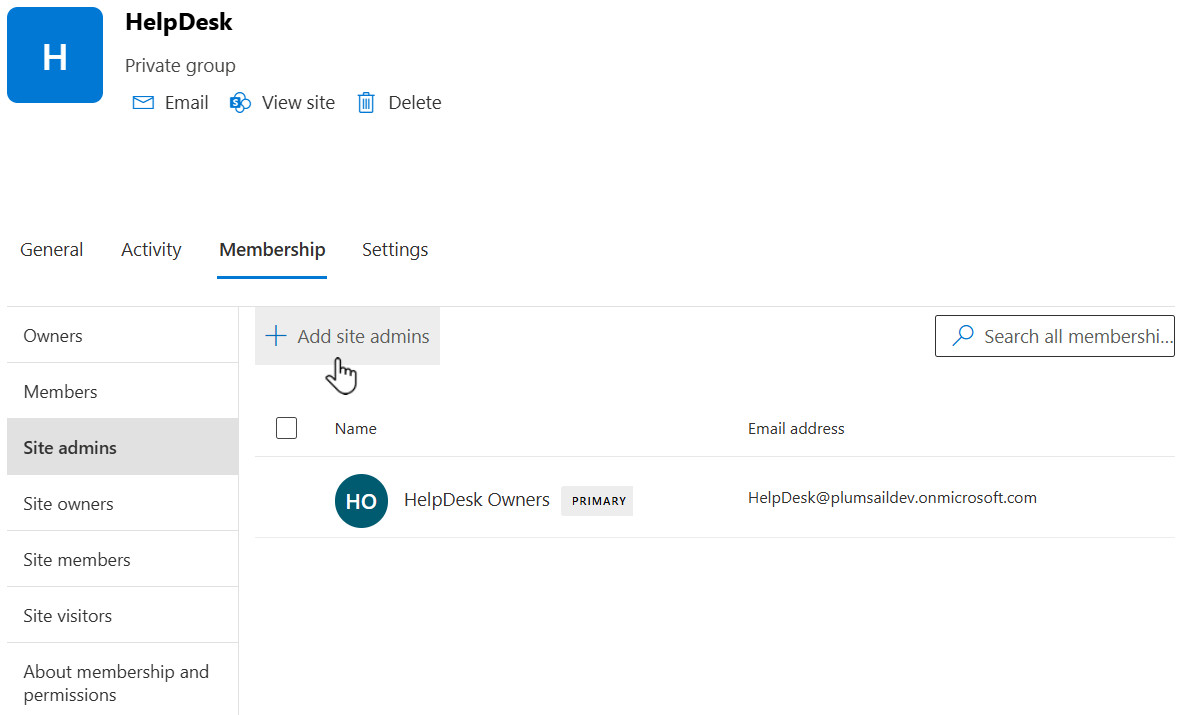
Find and select the SharePoint site where you plan to install HelpDesk.
In the site details panel, click: Membership → Site admins.
Add the user running the HelpDesk installer to the site admins list:
From site itself
Open the SharePoint site in your browser.
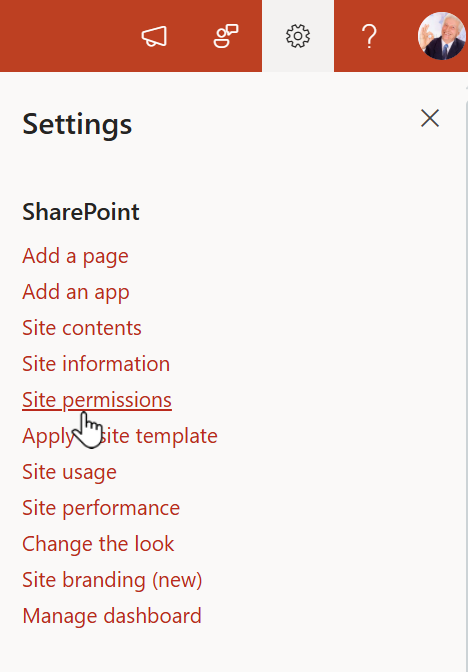
Click the gear icon in the top right and then Site permissions:
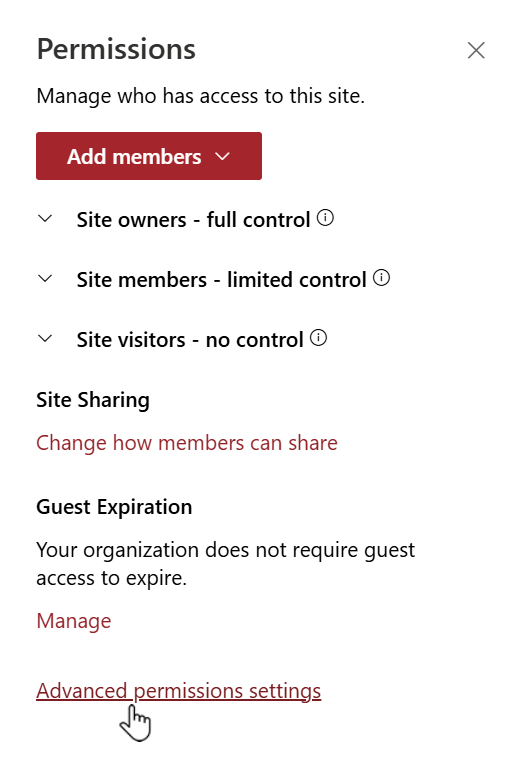
Select Advanced permission settings at the bottom:
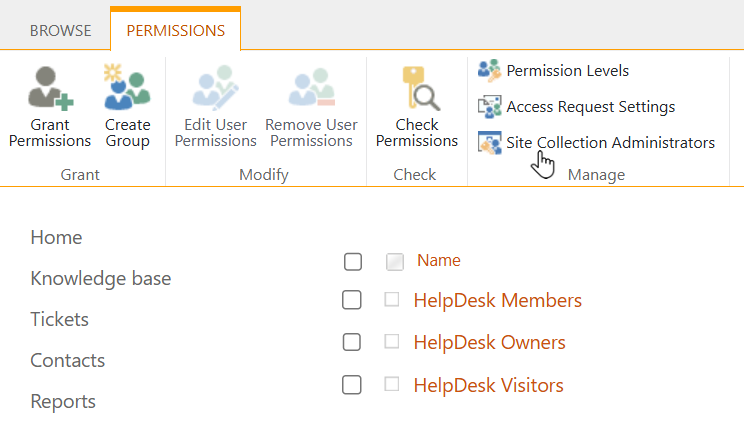
In the ribbon, click Site Collection Administrators:
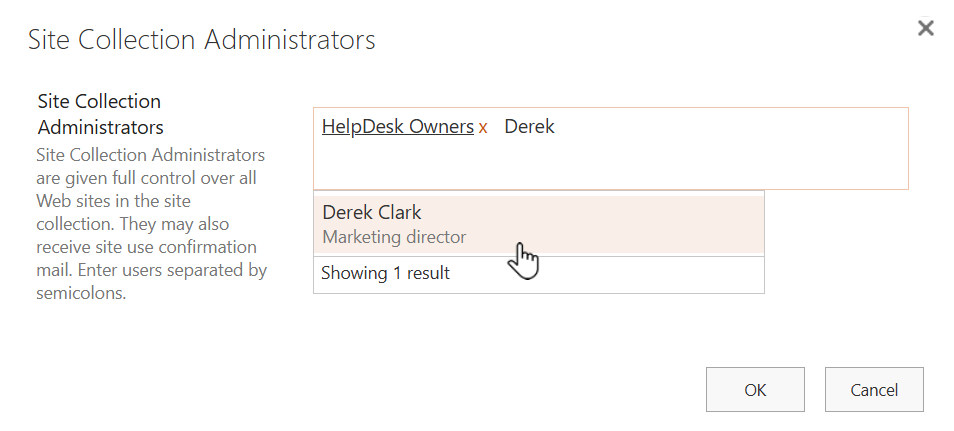
Add the user’s name or email address and save the settings:
After granting permissions
Once the user has been added as a Site Collection Administrator they can run the HelpDesk installer without errors.
After installation, you can remove the user from the site administrators list, if needed.