Email settings
You can configure HelpDesk to create new tickets or ticket comments with email messages as well as specify some custom settings for the email address used for notifications.
Navigate to settings using the icon on the navbar:

You will see “Email settings” section.
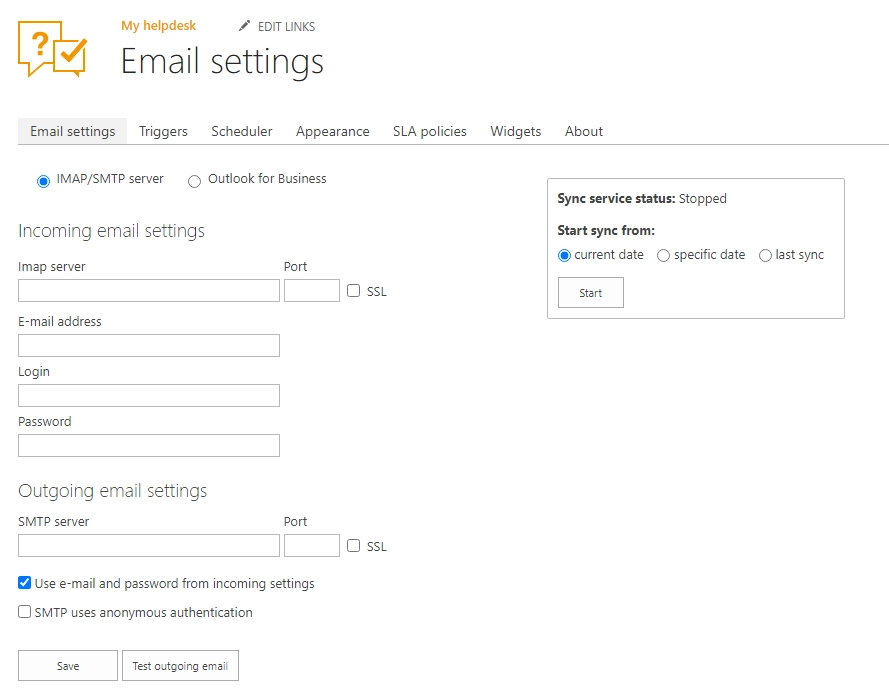
You can choose how to receive or send emails:
Select “IMAP/SMTP server” mode to use IMAP and SMTP server.
Select “Outlook for Business” if you want to use Outlook Online mailbox. When this mode is selected, “IMAP/SMTP server” settings are ignored.
IMAP/SMTP
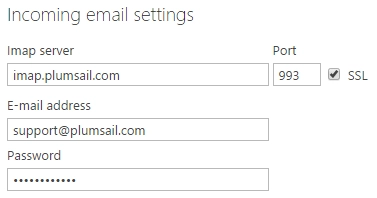
Incoming email settings
If you want to receive new tickets from your support email address you need to configure incoming email settings:
Outgoing email settings
To send notifications HelpDesk needs SMTP server settings. Fill in SMTP server settings:
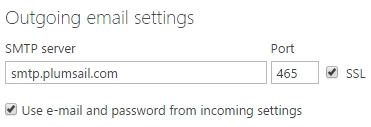
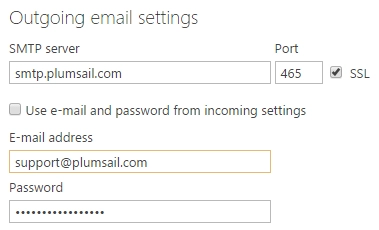
By default HelpDesk uses the same address and password as you specified in incoming settings. But you can uncheck this option and specify them manually:
Outlook for Business
“Outlook for Business” mode uses Microsoft Graph REST API. To call Microsoft Graph, your app must be registered with the Microsoft identity platform and be authorized by either a user or an administrator to access the Microsoft Graph resources it needs. By registering the application, you do not give any external service access to your mail. Only HelpDesk installed on your server will use these rights to read/send email messages. Please follow steps below to register your app and grant necessary permissions.
Prepare Azure AD application
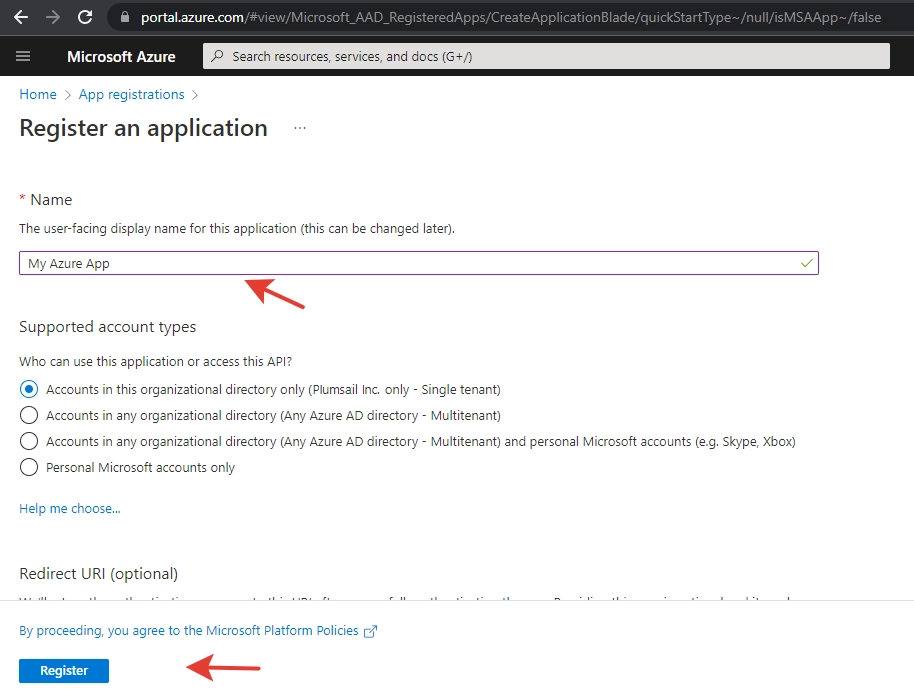
Go to https://portal.azure.com/ and open “App registrations” section. Click “New registration”.

Enter name and click “Register”
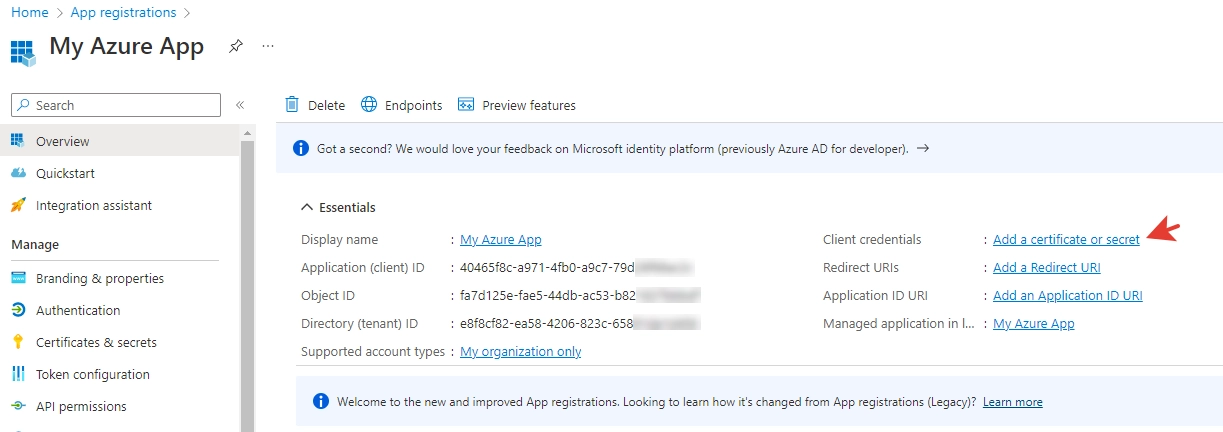
Click “Add a certificate or secret”
Click “New secret”, fill description, select any expiration time and click “Add”
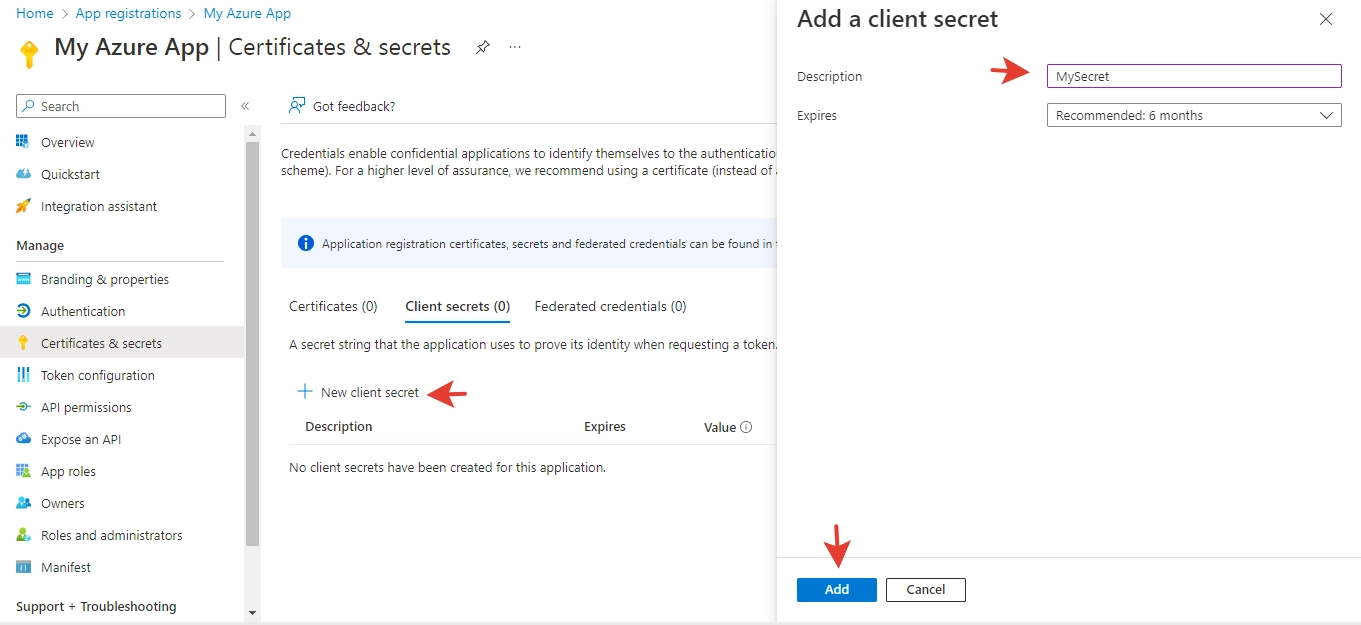
Client secret values cannot be viewed, except for immediately after creation. Be sure to save the secret when created before leaving the page.

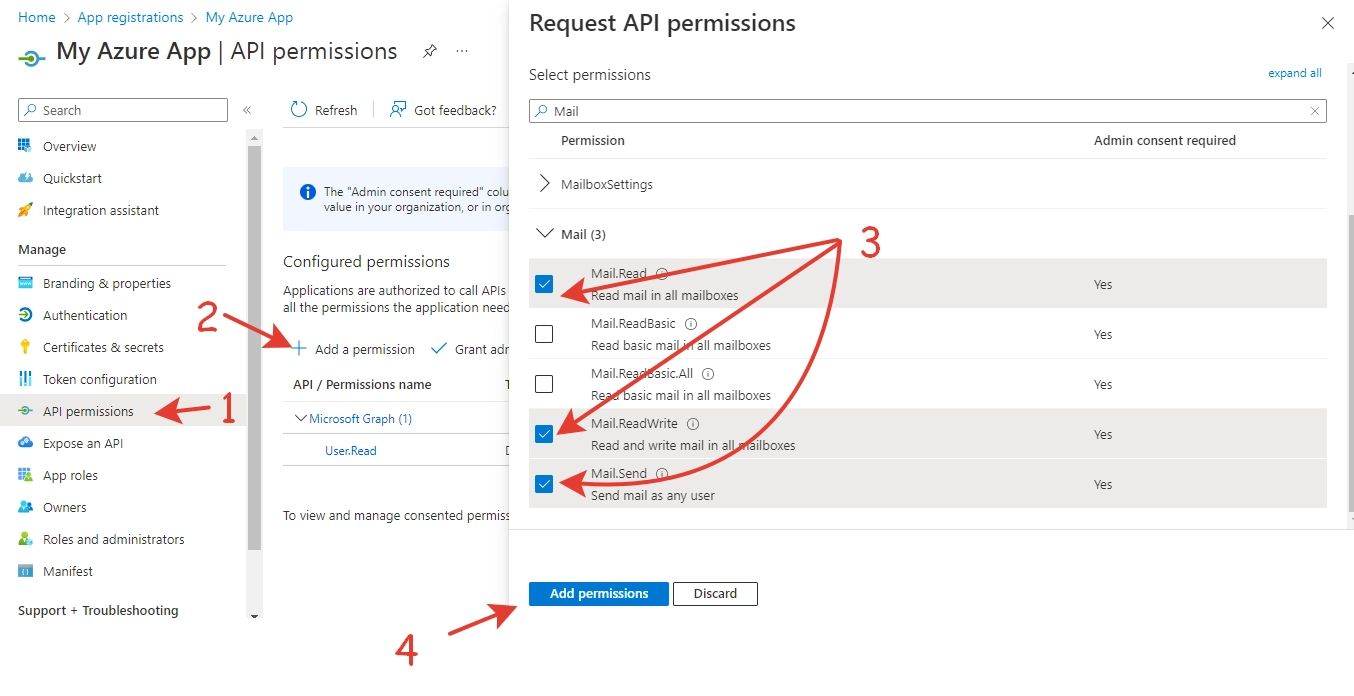
Go to “API Permissions” section. Click “Add permission”.
Find and select the following permissions:
Mail.Read
Mail.ReadWrite
Mail.Send
Make sure to select “Application permissions” for them:
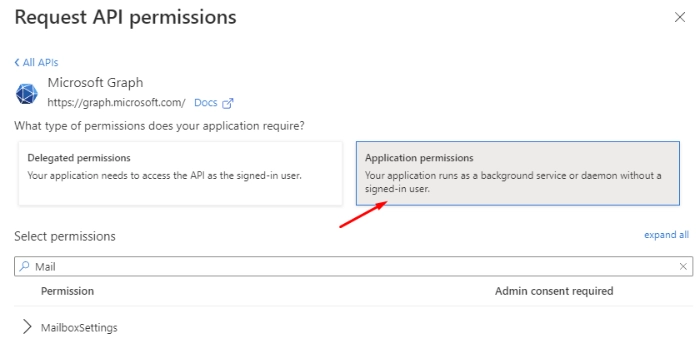
Click “Add permissions”.
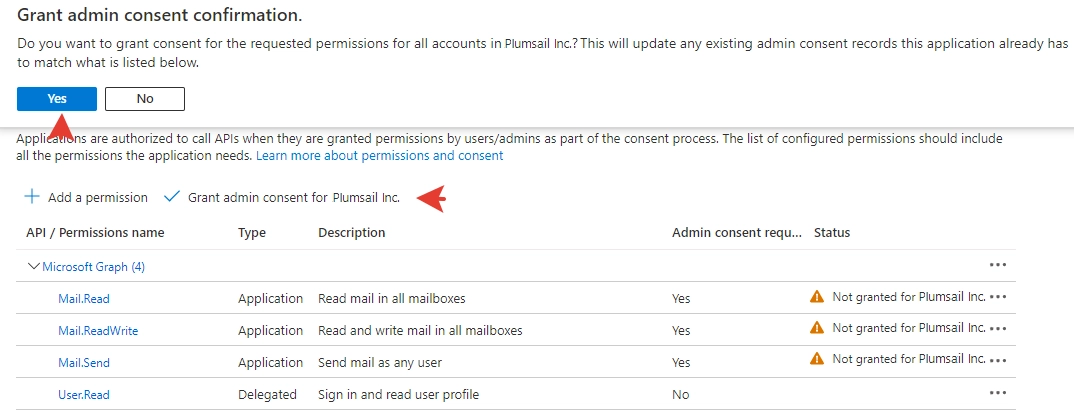
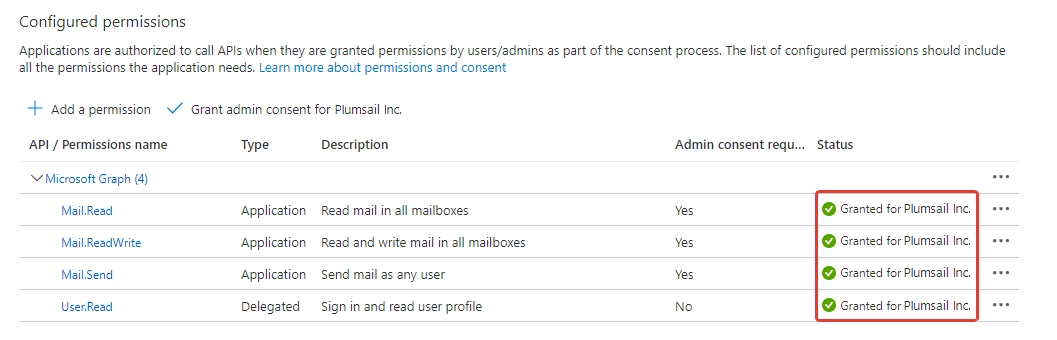
Grant permissions.
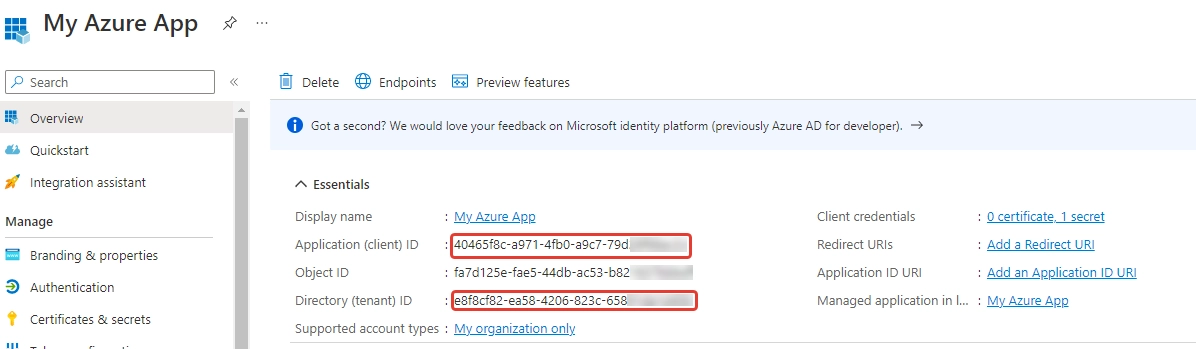
Your app is ready.
Now you can fill “Outlook for Business” parameters and click “Save”.
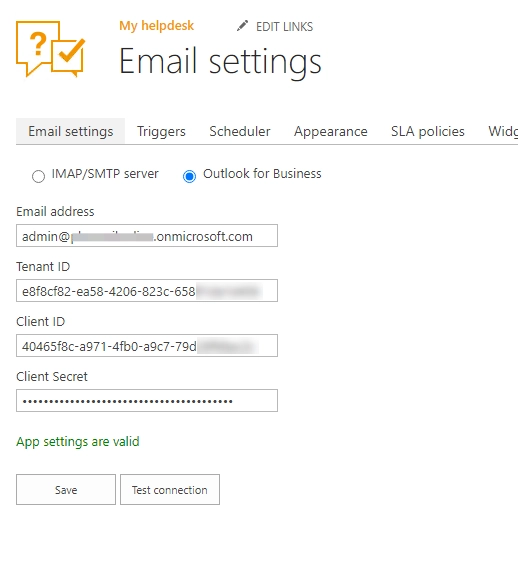
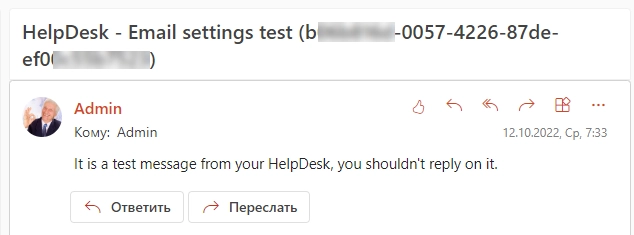
Click “Test connection” to check if everything is correct. Helpdesk will check ability to send and receive emails by sending a test message, you can safely delete it.
Email messages synchronization
You can notice small widget “Sync service status” at the first picture. It is responsible for conversion of incoming email messages into tickets. Click “Start” to enable synchronization:
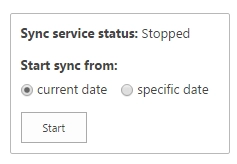
You can choose “Sync from current date” or “Sync from specific date”. Second option is especially useful if you have a lot of messages in your inbox and want to start synchronization from current date without conversion of old messages to tickets.
Once you started sync service, it will run synchronization periodically (5 minutes interval). If you want to sync messages right now, click “Sync now”:
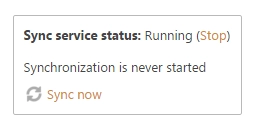
You can interrupt synchronization any time by stopping the service.