How to send email notification after submitting SharePoint form with Power Automate
You can send a customized email with form data using Power Automate (MS Flow).
Here you will find instructions on how to create an automated flow from scratch with the default SharePoint connector and Plumsail Forms connector.
SharePoint connector
Follow these instructions to create an automated flow using the SharePoint connector.
Alternatively, leverage a Microsoft Power Automate template and jump directly to the Send an email step.
Flow trigger
Open Microsoft Power Automate and create a new automated flow:
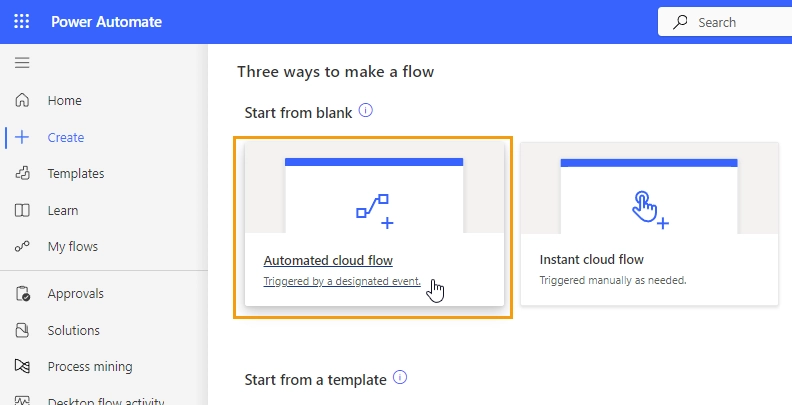
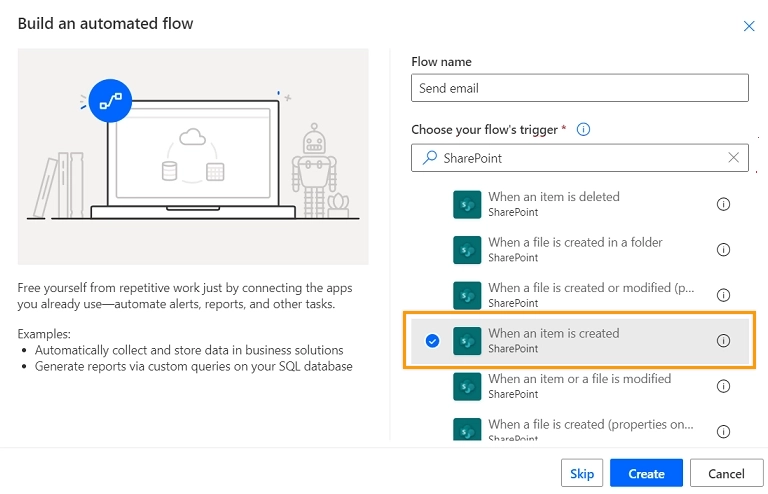
Select the trigger that will start the flow. In the search box, type SharePoint to view all triggers associated with SharePoint.
For instance, select the When an item is created trigger and click Create:
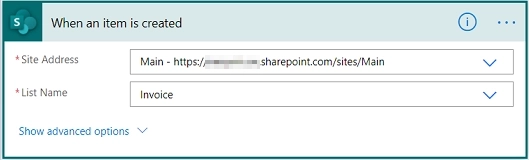
Select the site and list from the dropdowns:
Send an email
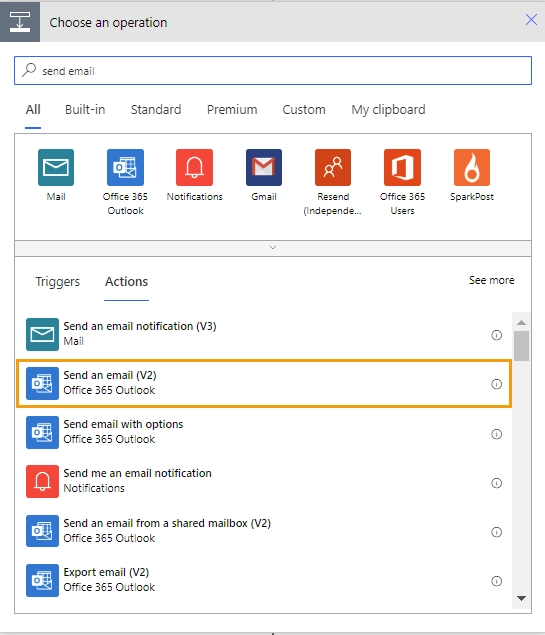
Add the Office 365 Outlook - Send an email (V2) action:
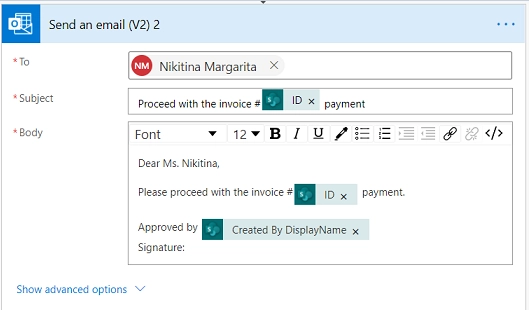
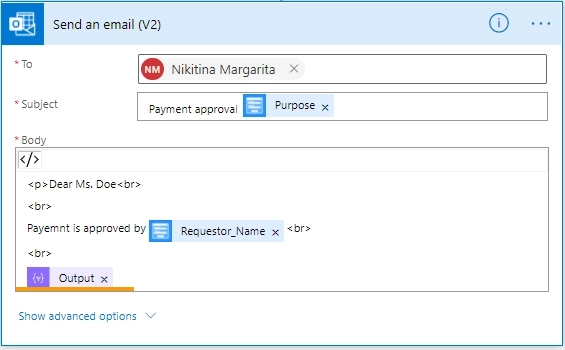
Fill in the information for the email.
Tip
You can personalize the subject and email body by using dynamic content from your SharePoint list.
For instance, add an invoice ID and the name of the user who created the item:
Add Ink Sketch to email body
The Ink Sketch control image is stored as a base64 string.
To insert this image into the email body, follow these steps:
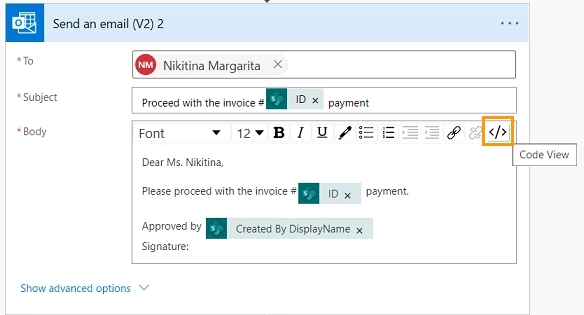
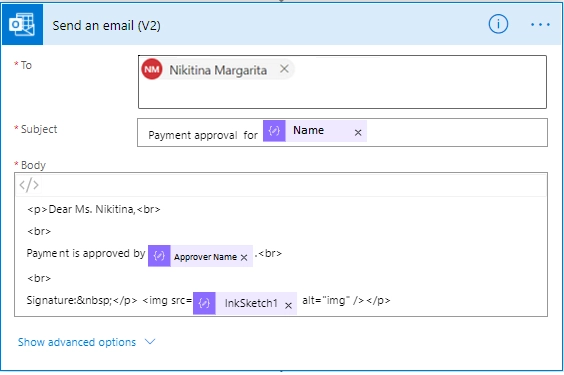
Switch the body input to code view:
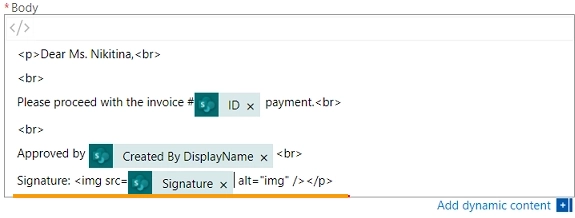
Paste the following HTML code snippet into the email body:
<img src={BASE64_STRING} alt="img" />
Replace {BASE64_STRING} with the field that stores the Ink Sketch data:
Add DataTable to email body
The DataTable control is stored as an array of objects.
To include this data in the email body, follow these steps:
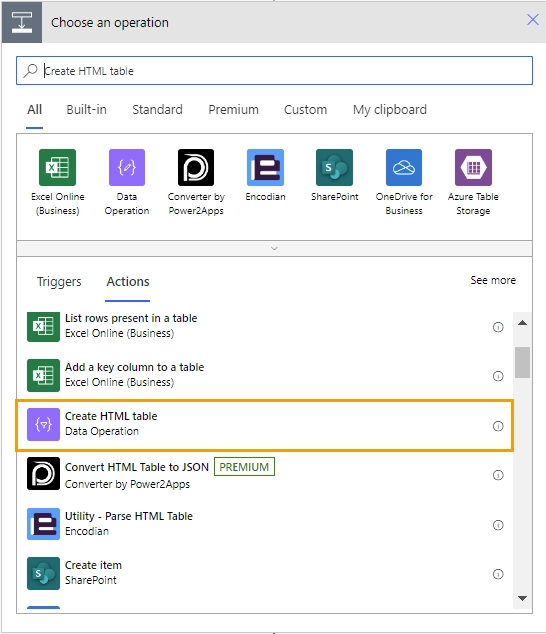
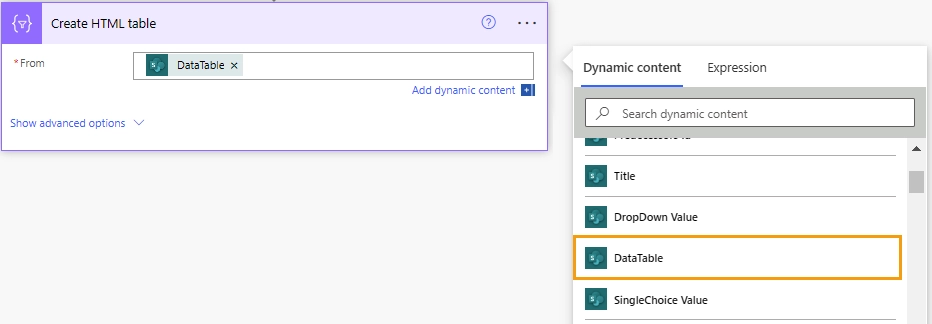
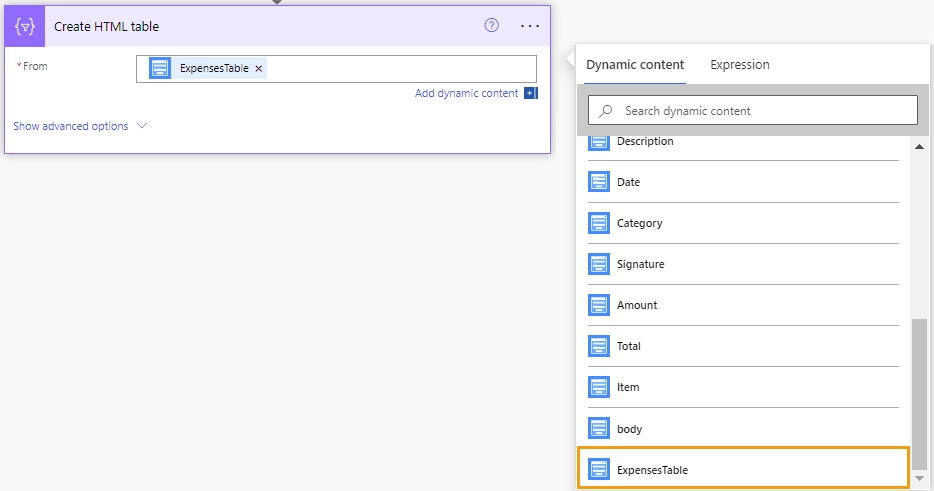
Add the Data Operations - Create HTML table action:
In the From box, add content of the Data Table control from the Dynamic content list:
Switch the body input of the Send email action to code view.:
Add the output of the Create HTML table action into the email body:
Add attachments to email
To send an email with multiple attachments, create the flow with these actions:
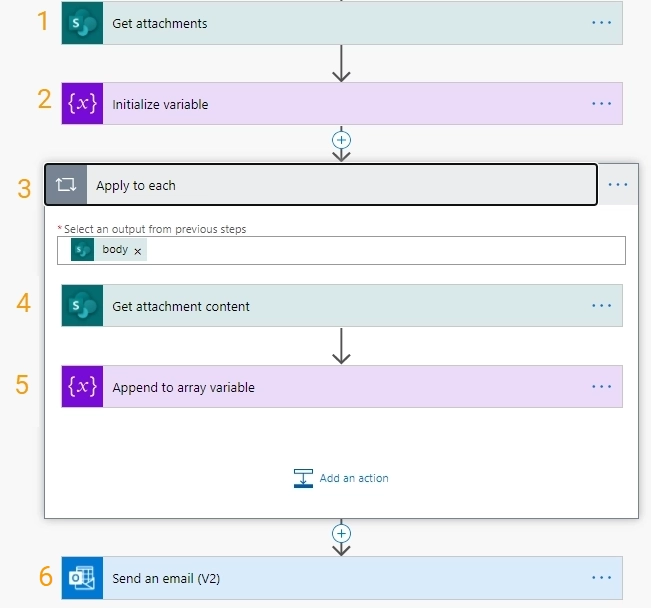
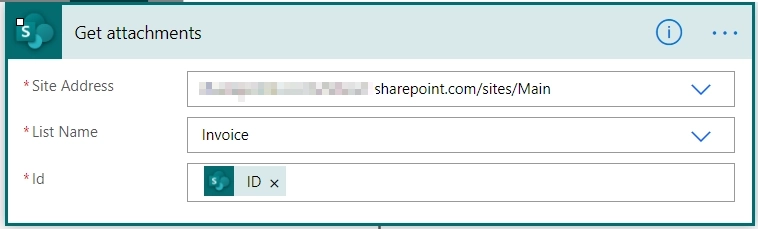
1. Get attachments
This action retrieves a list of attachments associated with a specific list item.
Specify the site address, list name, and add the current item ID from the Dynamic content list:
2. Initialize variable
Create a new variable and set its type to Array:
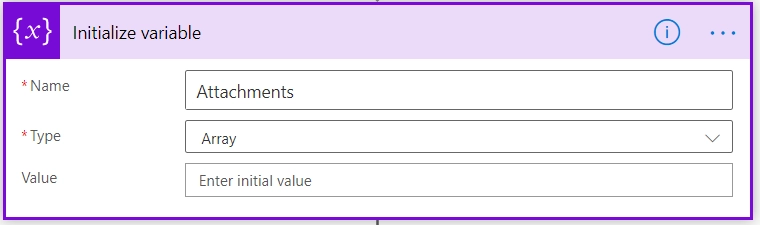
This variable will store the attachment data.
3. Apply to Each
Add an Apply to Each action to iterate through each attachment.
Add the body—the output of the Get Attachments step:

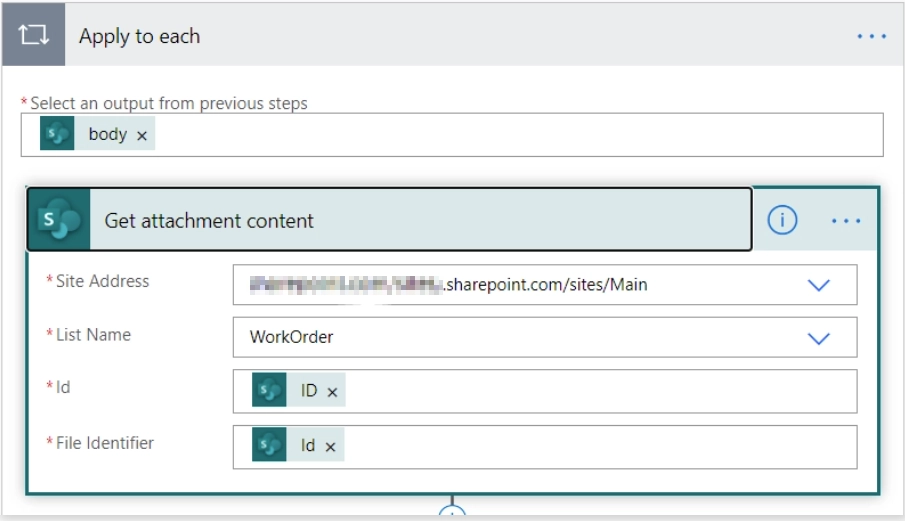
4. Get attachment content
Inside the loop, add the Get attachment content action. Specify site address and list name.
In the ID box, add ID—the output of the When an item is created trigger; in the File identifier box, add the id—the output of the Get Attachments action:
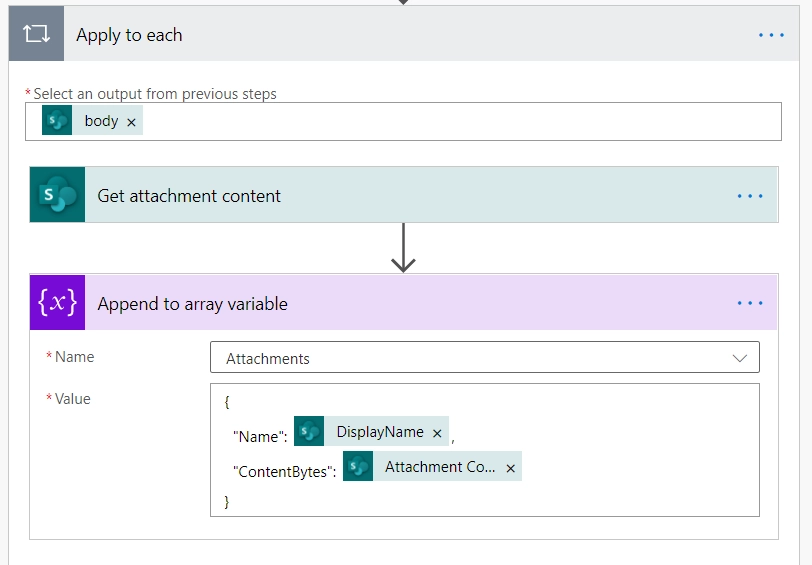
5. Append to array variable
Inside the loop, add the Append to array variable action. In the Name box, select the variable name you created in step 2 from the dropdown. In the Value box, map the file name and content using the following format:
{
"Name": {FILE NAME},
"ContentBytes": {FILE CONTENT}
}
Replace {FILE NAME} with the actual file name and {FILE CONTENT} with the file content retrieved from the Get Attachment Content action:
6. Send an email
Add the Send an email (V2) action. Fill in the information for the email.
Go to Advanced options to see the Attachments section and switch to accept the entire array. Then, add the variable from step 2 to the Attachments box:

Plumsail Forms connector
If you want to send an e-mail with common fields and do not want to save them to a SharePoint item, use Plumsail Forms connector.
Important
Plumsail Forms connector submissions are licensed under Public Web Forms license, not SharePoint Forms license.
Follow these instructions to create an automated flow using the Plumsail Forms.
Alternatively, leverage the Microsoft Power Automate template and jump directly to Send an email step.
Flow trigger
Open Microsoft Power Automate and create a new automated flow:
Select the trigger that will start the flow. In the search box type Plumsail.
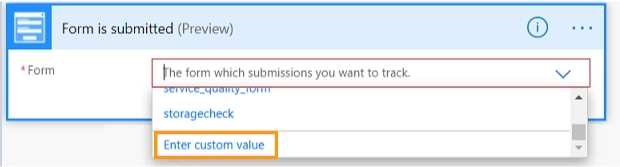
Select Form is submitted trigger and click Create:

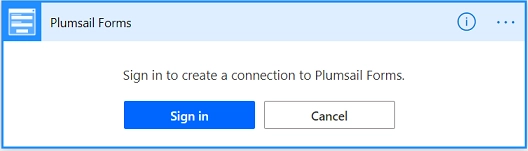
If this is the first time you are using Plumsail Forms connector, you will be asked to sign in to your Plumsail account to create a connection. Click Sign in and enter your Plumsail account credentials:
In the dropdown, select Enter custom value:
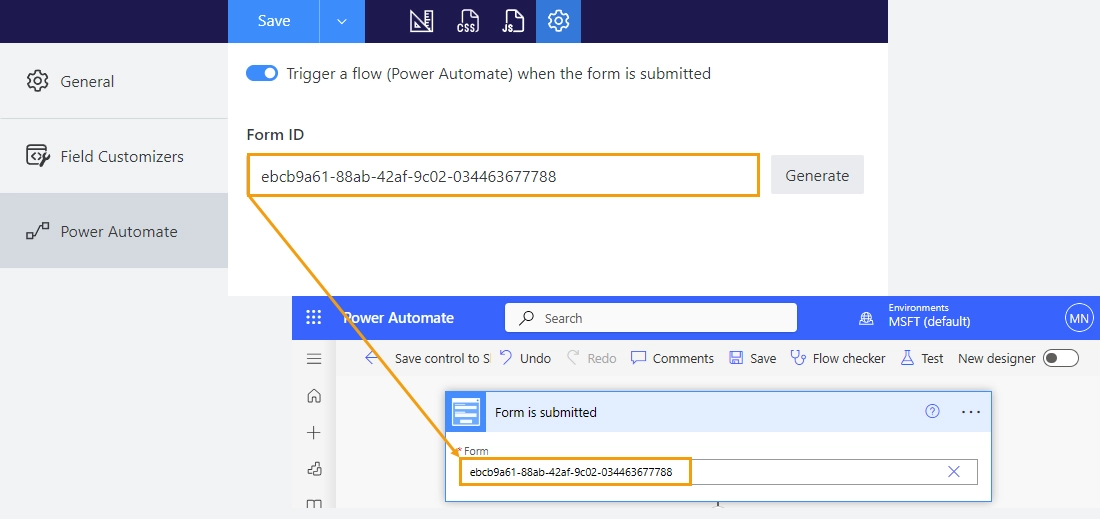
To get the Form ID, open the form in the Plumsail Forms designer. Go to form’s settings, Power Automate tab.
Important
Make sure that Trigger MS Flow when the form is submitted option is turned on.
Copy the Form ID and paste it to the Form box in the Form is submitted trigger:
Learn more in Settings in Plumsail Forms for SharePoint article.
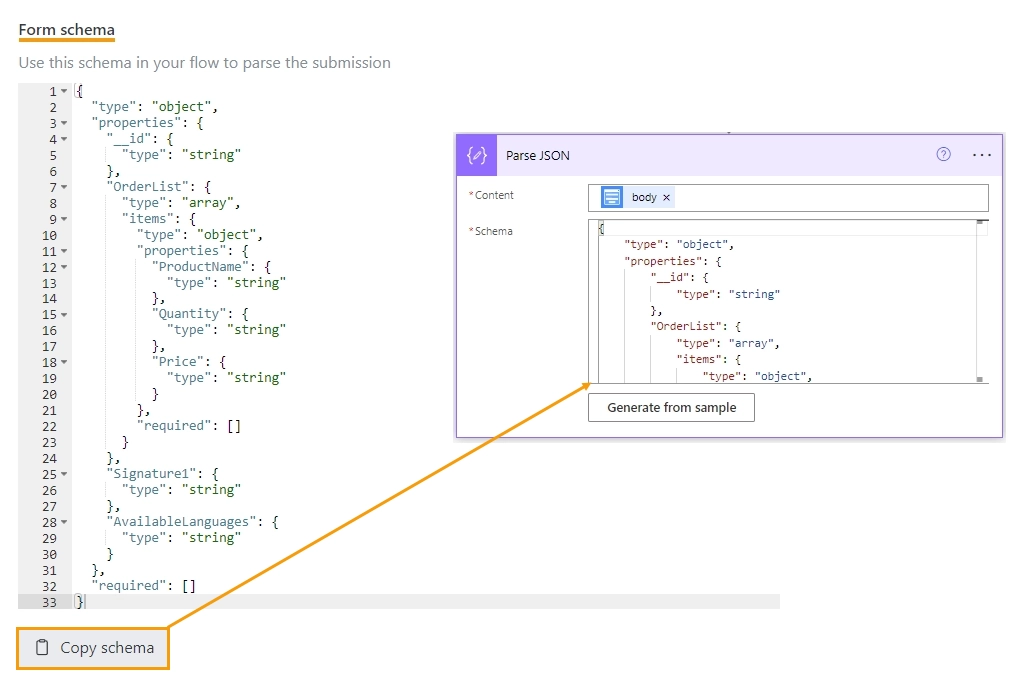
Add the Data Operations - Parse JSON action:
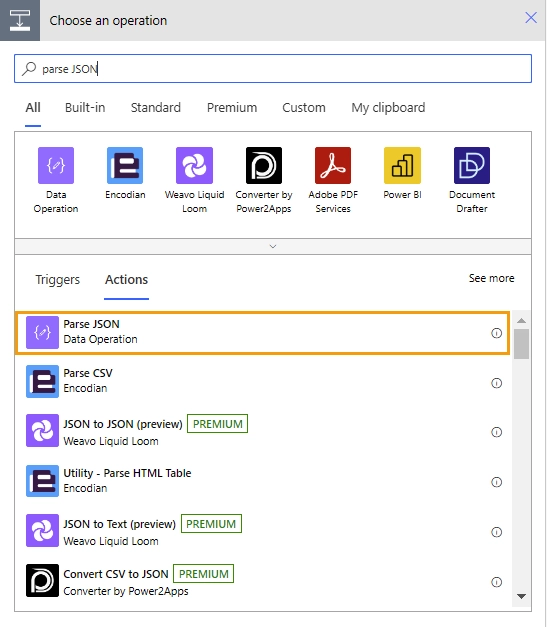
This action is required as the Plumsail Forms connector submits form data as JSON.
In the Content box, add Body from the Dynamic content list:
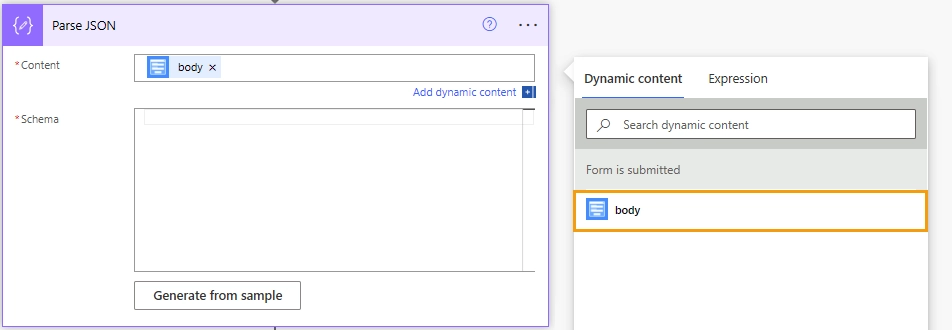
In the Form Schema box, paste Form Schema from the form’s settings, Power Automate tab:
Send an email
Add the Office 365 Outlook - Send an email (V2) action:
Fill in the information for the email.
Tip
You can personalize the subject and email body by using dynamic content from the form:
Add Ink Sketch to email body
The Ink Sketch control image is stored as a base64 string.
To insert this image into the email body, follow these steps:
Switch the body input to code view:
Paste the following HTML code snippet into the email body:
<img src={BASE64_STRING} alt="img" />
Replace {BASE64_STRING} with the field that stores the Ink Sketch data:
Add DataTable to email body
The DataTable control is stored as an array of objects.
To include this data in the email body, follow these steps:
Add the Data Operations - Create HTML table action:
In the From box, add content of the Data Table control from the Dynamic content list:
Switch the body input of the Send email action to code view.:
Add the output of the Create HTML table action into the email body:
Add attachments to email
To send an email with multiple attachments, create the flow with these actions:
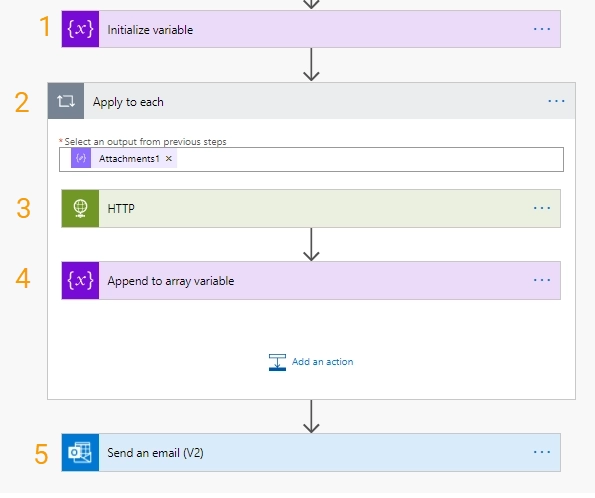
1. Initialize variable
Create a new variable and set its type to Array:
This variable will store the attachment data.
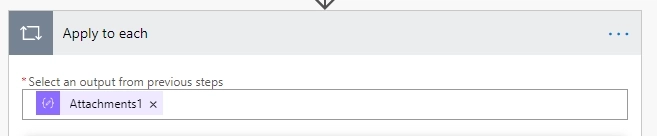
2. Apply to Each
Add an Apply to Each action to iterate through each attachment.
Add the Attachments1—the common field output:
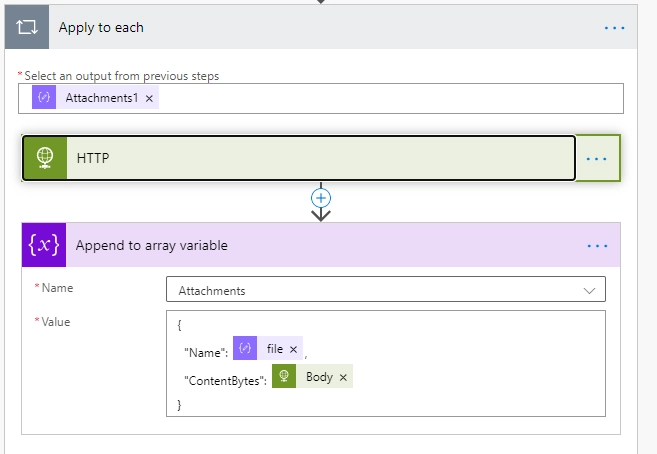
3. HTTP
To get the content of the attached files add HTTP action inside the loop.
In the Method dropdown box, select GET; in the URI box, add the url from the Dynamic content list:

4. Append to array variable
Inside the loop, add the Append to array variable action. Select the variable name you created in step 1 from the dropdown. In the value box, map the file name and content using the following format:
{
"Name": {FILE NAME},
"ContentBytes": {FILE CONTENT}
}
Replace {FILE NAME} with the actual file name and {FILE CONTENT} with the Body—file content retrieved with HTTP action:
5. Send an email
Add the Send an email (V2) action. Fill in the information for the email.
Go to Advanced options to see the Attachments section and switch to accept the entire array. Then, add the variable from step 1 to the Attachments box: