Create cascading SLAs
You can create multiple SLA policies and configure cascading execution of different SLAs based on conditions.
For example, you may want to implement a scenario like this: if the first reply or next reply SLA is breached, the ticket priority is increased and another SLA with a shorter response time is applied.
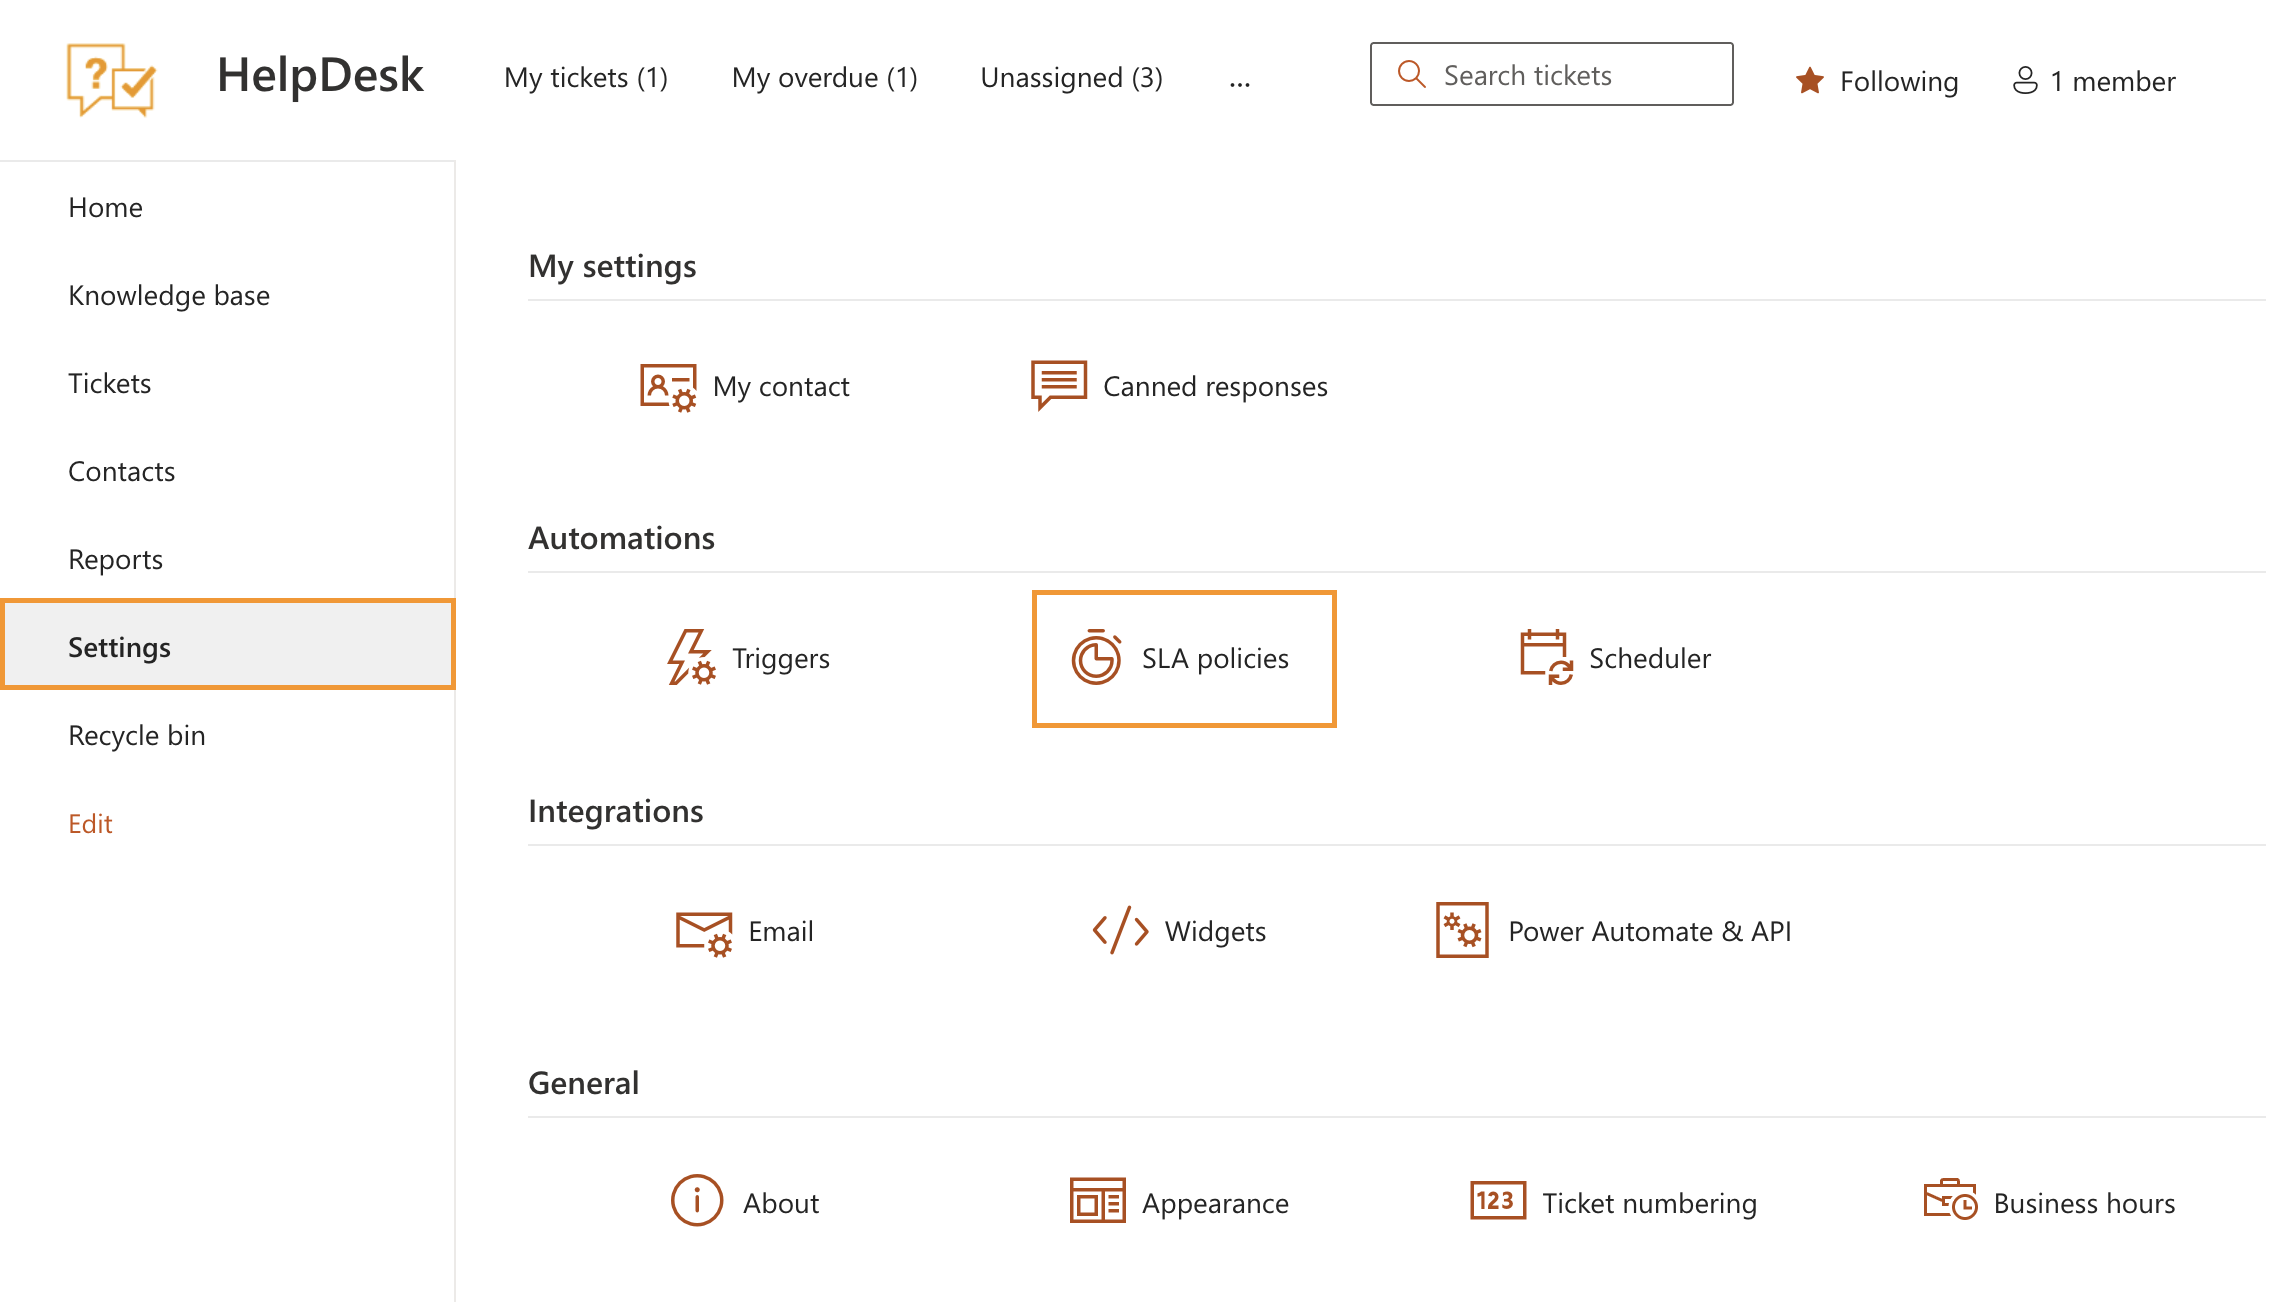
To create a new SLA, navigate to Settings and click SLA policies.
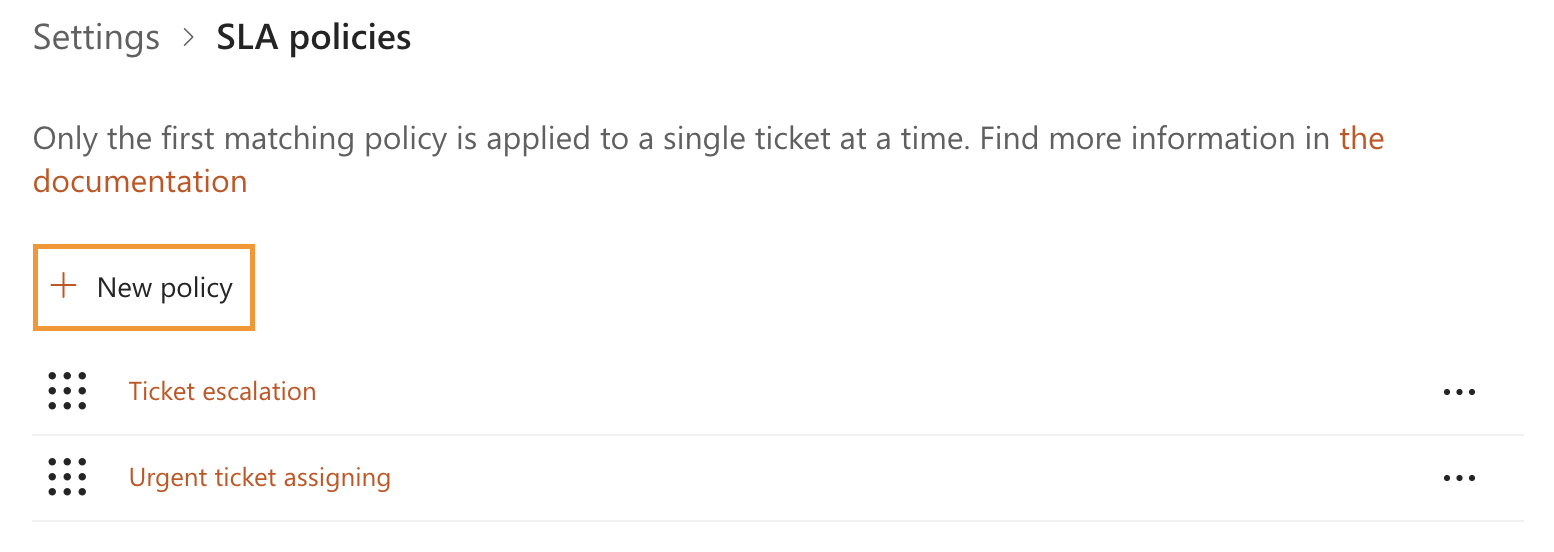
Click the New policy button.
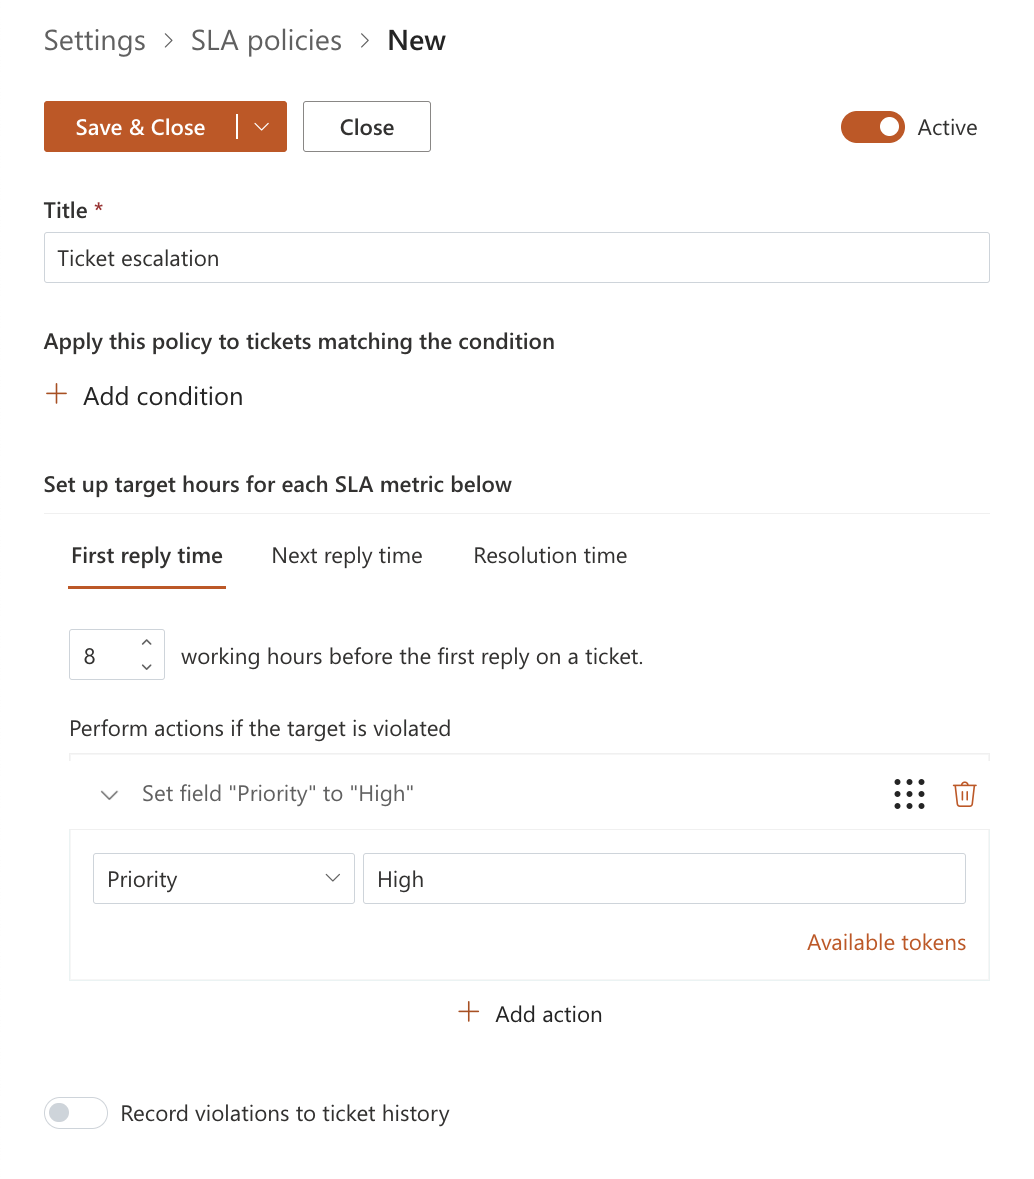
Enter a name for the new SLA policy.
You can specify conditions for the policy, but they are not required in this scenario, so you can proceed directly to defining the target and action.
In this example, if the requester does not receive a response within 8 office hours, the ticket priority is escalated.
Note
Learn how to set up Business hours and holidays for your company.
To configure the escalation, click Add action, choose Set field from the drop-down menu, select the Priority field, and set a value such as High or Urgent.
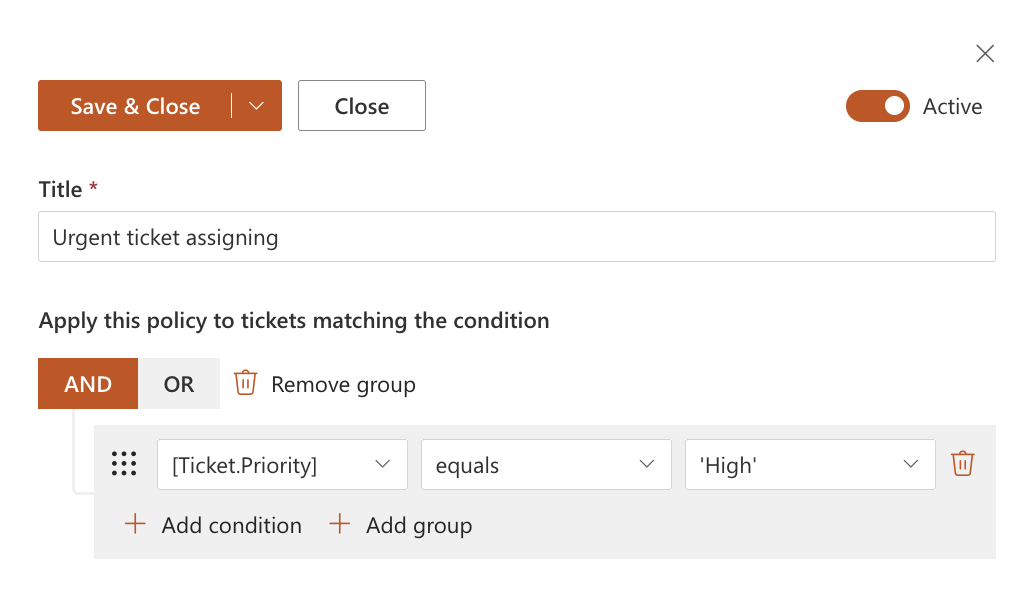
Next, create another SLA policy with a condition that applies only when the ticket priority is High.
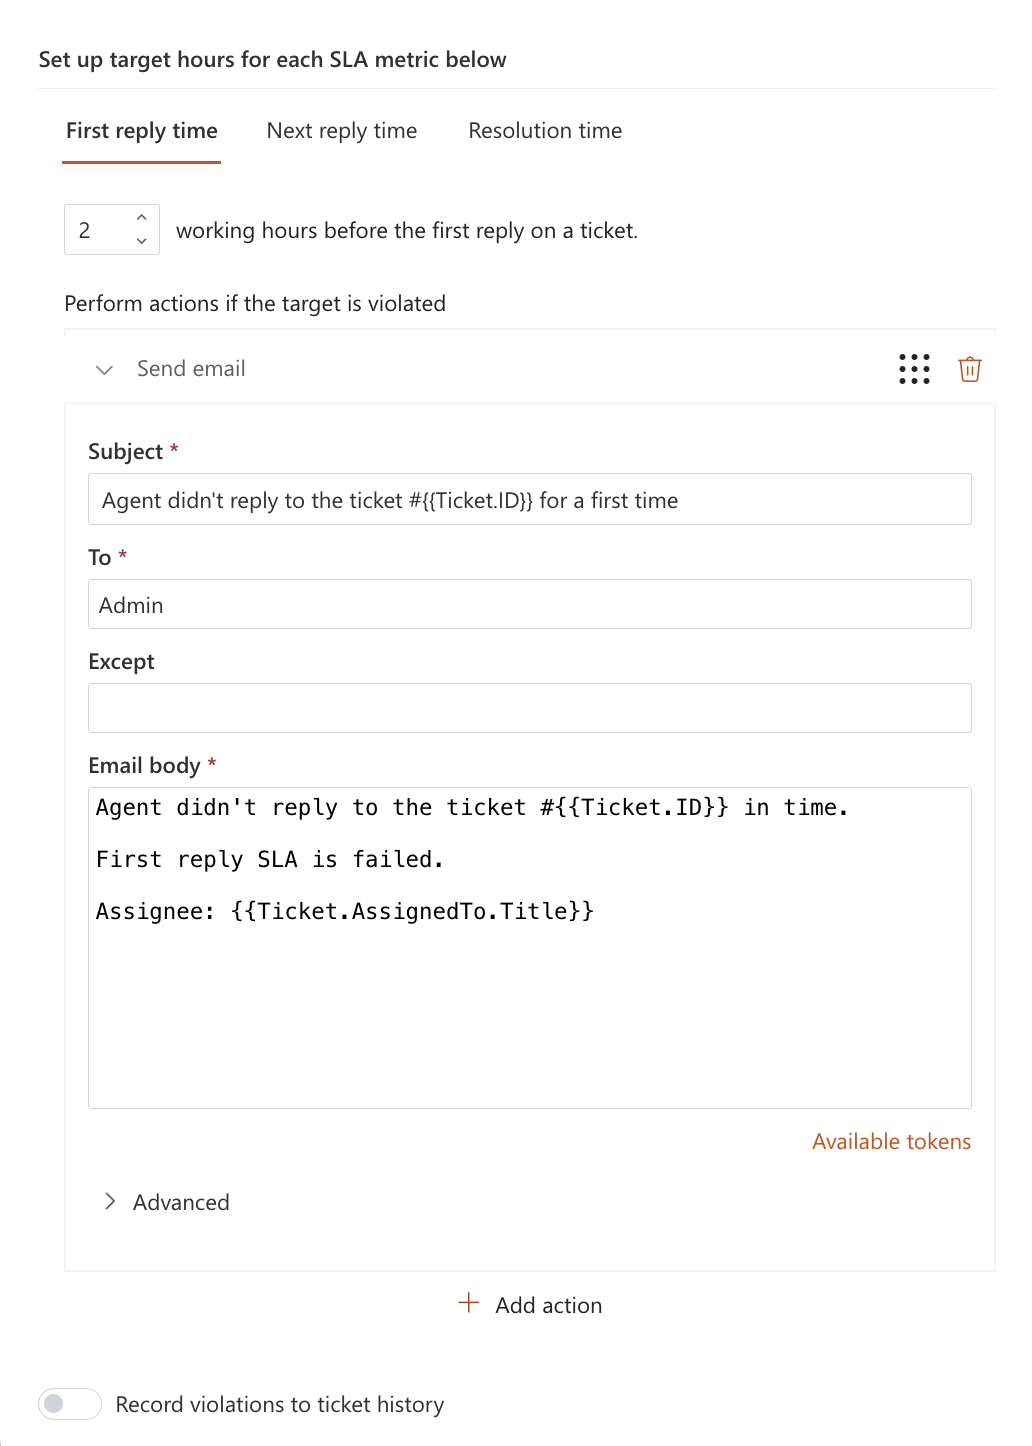
For high-priority tickets, set a target time of 2 working hours. If this target is not met, an administrator is notified.
Note
The order of SLA policies is important. Only the first SLA policy with matching conditions is applied. Make sure the strictest SLA rules are placed at the top of the list.
Related articles:
