How to design modern SharePoint forms for Microsoft 365 or SharePoint 2019/SE on-premises
Connect to a SharePoint list or library
SharePoint Online
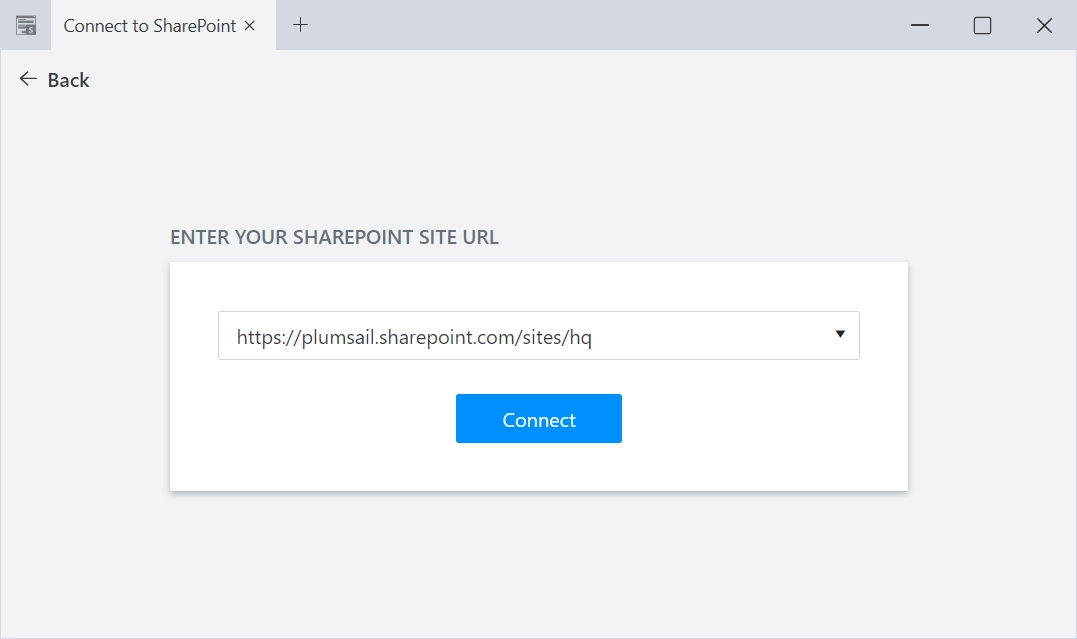
After following all the steps of SharePoint installation instruction (Office 365), download and run the designer application. Simply enter the URL of the site that you want to modify forms for:
You’ll then need to go through standard SharePoint authentication. Make sure to use login with Full Control permissions on the site.
Note
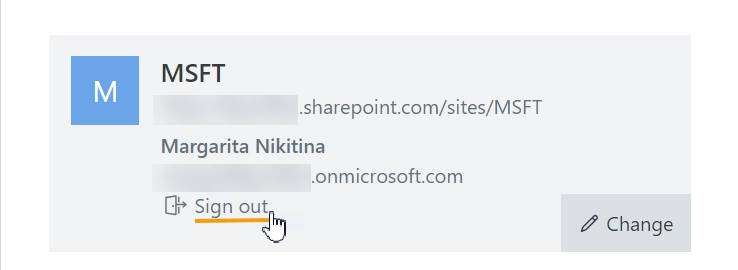
If you want to logout from the previously selected user, just connect to the site once again and press the Sign Out button:
SharePoint On-Premises
After following all the steps of SharePoint installation instruction (SharePoint 2019/SE), you can launch the designer app from desktop or use Design Forms button in the ribbon (make sure to activate Site Collection feature first):

Enter the exact URL of the site for which you want to create forms. Unless your Windows desktop login is the same as your SharePoint login, you’ll need to remove the mark from Login as current user and use your SharePoint credentials instead:
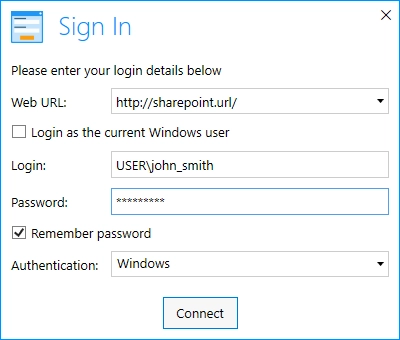
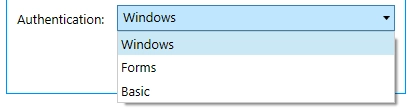
Depending on the type of authentication you have on your site, you might need to try different types:
New, Edit, and Display forms
Once you connect to a SharePoint List, you can select which form you want to edit in the upper right corner of the editor:
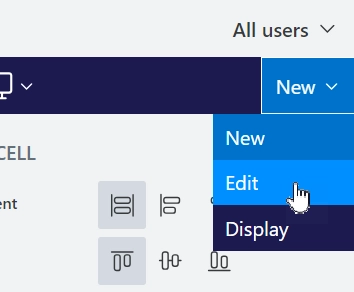
New Form - available for SharePoint Lists only. Not available for SharePoint Libraries. This is the form that opens when you click +New Item.
Edit Form - form that allows you to edit values stored in a list item or properties of a file in a library.
Display Form - form that only allows you to see what values are stored in an item or check the properties of an uploaded file.
Save a form or multiple forms
Saving a form is easy - just click the Save button. Once the button is pressed, it gets grayed out, and you’ll see a message that says that the form is saving. Please, wait until the process is complete. Meanwhile, you can continue working in the designer, but if you want to see the results in SharePoint, you need to wait until you see Layout has been successfully saved message:
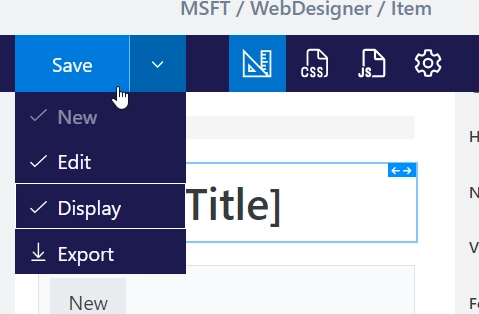
You are also able to save multiple forms at once if you want them to share functionality. For example, if the form has no custom logic, it’s often easier to save New, Edit and Display form at the same time. Just click the arrow symbol on the Save button and select which forms you want to replace with the current one:
Be careful when saving more than one form, it’s easy to forget that two forms might have different JavaScript attached to them and overwrite existing code.
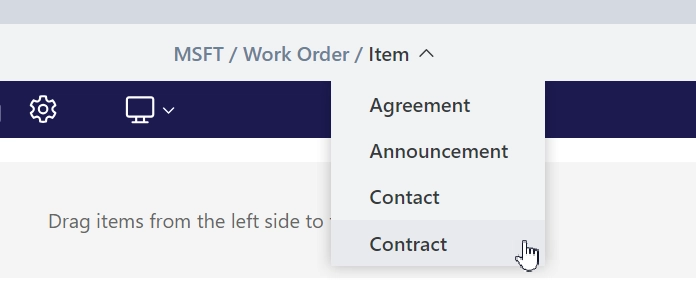
Content Type
You can select which Content Type you want to customize forms for - each Content Type has its own forms:
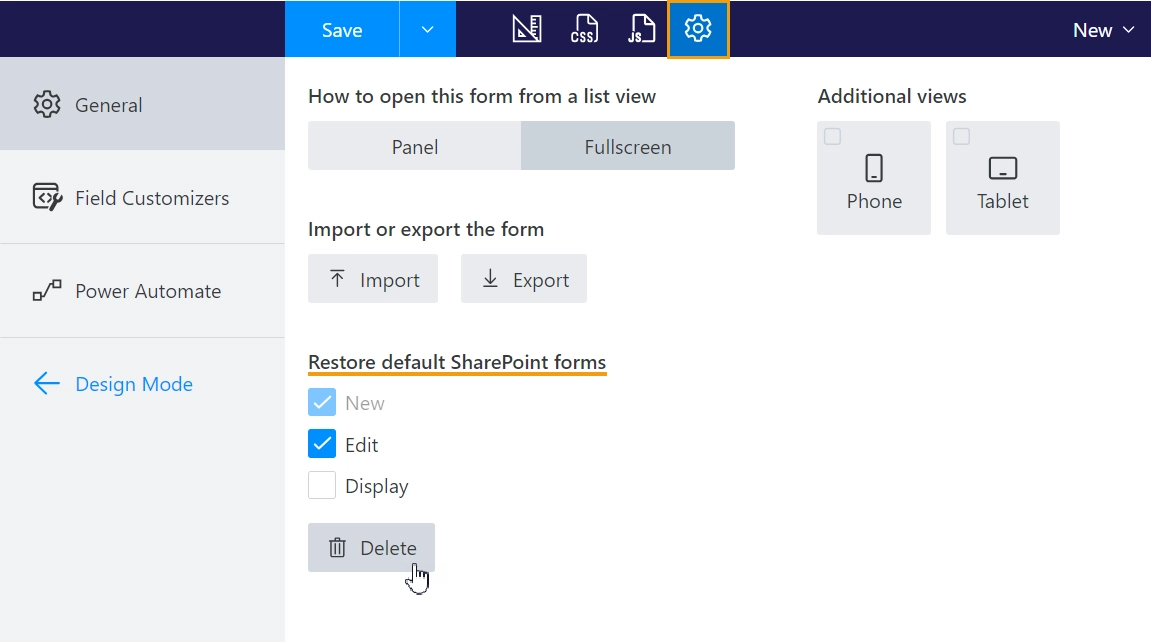
Restore default forms
If you decide that you no longer want to utilize a specific form, open it in the editor, go to settings, select the forms you want to reset, and click the Delete button:
If you ever want to go back and revert some changes, you can always restore a previous version of a form.
Create layouts: PC, Tablet, Phone
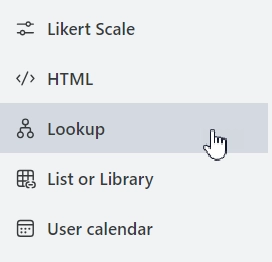
In the designer, on the left, you have Containers, Controls and Fields that you can use on the form:
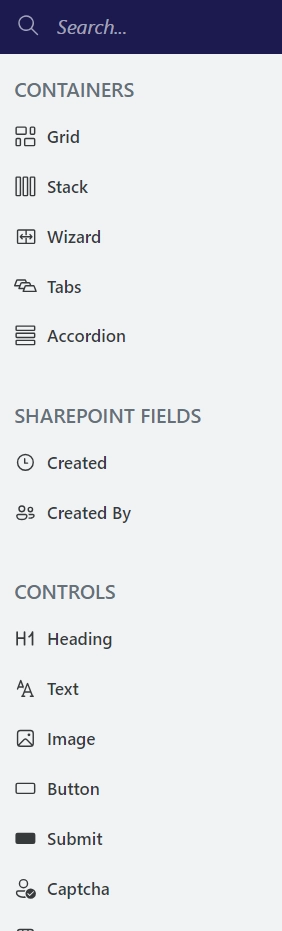
Adding them to the form is easy, just drag and drop the desired elements to the form. You can change individual configuration of each Field, Control and Container by selecting it with a click and then adjusting its properties:
By default, each element is placed inside a Grid container. By adjusting PARENT GRID properties of each element, you adjust element’s layout in regard to all other elements. You can learn more on how to work with form layout.
Note
We do not recommend adding Common Fields to SharePoint forms unless you know what exactly you want to do with them. By default, only SharePoint Fields store data when Item is saved. Common Fields lose all the data. If you want, you can use Common fields to perform some calculations on the form or submit certain data to MS Flow using Plumsail Forms connector.
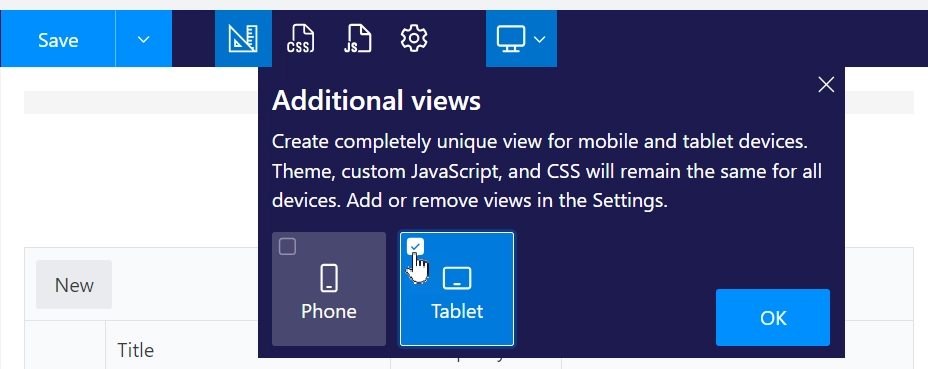
Mobile Layouts
You can customize the layout for mobile devices by selecting device type in the Additional views. Uncheck the device to delete the view.
To find more about various buttons and options available in the editor, check out our Settings article.
CSS and JavaScript
If you want to change the appearance of elements on the form, you can either edit Style property of the elements or apply custom styles with CSS editor. Don’t forget that you can give each element a class and then use it in CSS editor to apply styles by class.
You can find more information inside of CSS customization article.

Another thing that you can alter on any form is JavaScript and with our rich JavaScript API there is a lot that can be done with it.
Please, make sure that you are familiar with the events present in JavaScript API, as these events need to be used in order to get access to all form’s elements. You can check out the practical examples of using JavaScript API to make forms more dynamic:
Form sets for user groups
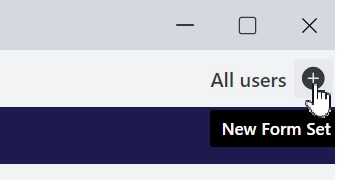
You are not limited to three Forms per Content Type. In fact, you can create many Form sets as necessary. Add a new one by clicking the + sign:
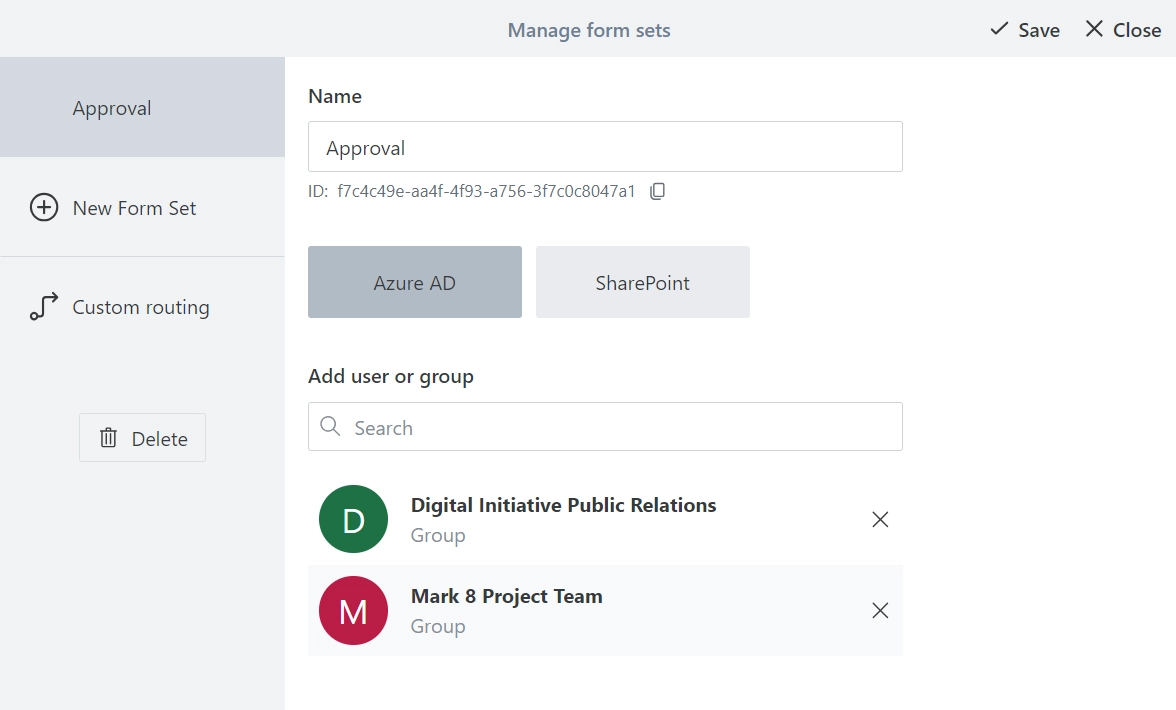
Common use for Form sets is to provide unique forms for members of certain groups, which are easily configured in the menu when you create a new Form Set:
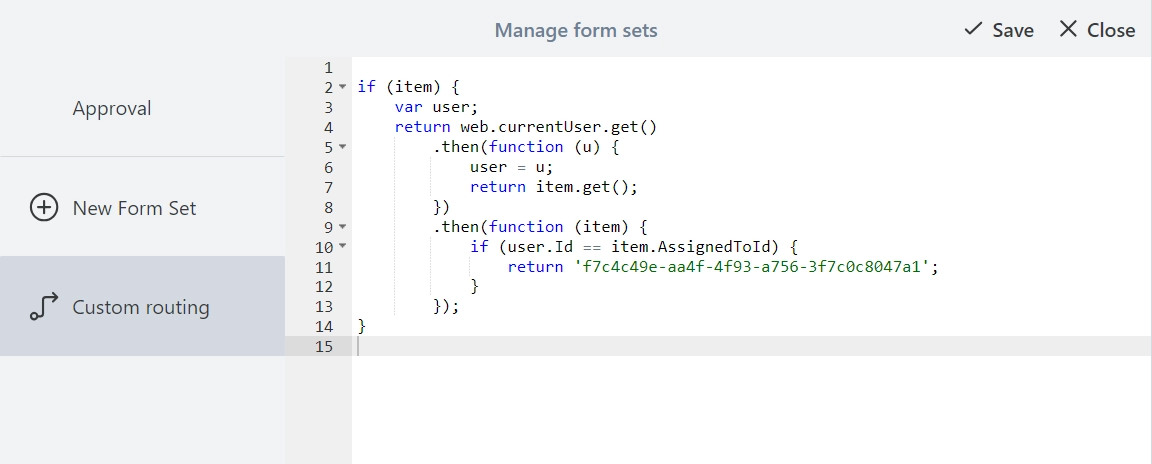
But you are not limited to it. In fact, you can leave it empty and instead use Custom routing to redirect users to the appropriate form based on other conditions, such as field values on the form or user’s properties:
Note
This can also be used to provide different forms for different languages.
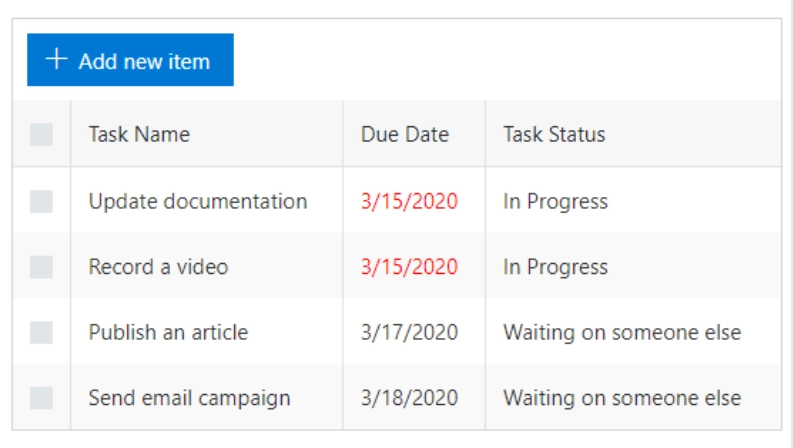
Related lists and libraries
List or Library control allows you to show another SharePoint List or Library within the form. It also allows users to add new items, change or delete existing ones, directly from the current form.
What is even more impressive - it allows to create Parent/Child relationship between items in one list and items in another list very easily, without any code required. This connection can be established even across sites, using our Lookup control.
There are many other ways you can work with this control, for example:
Lookup: filtering, cascading, cross-site connection
You can also do a lot with the Lookup on the form. For example, you can use our custom Lookup control to setup cross-site connection:
Note
You can also use List or Library control to create Parent/Child relationship across sites with the Lookup control.
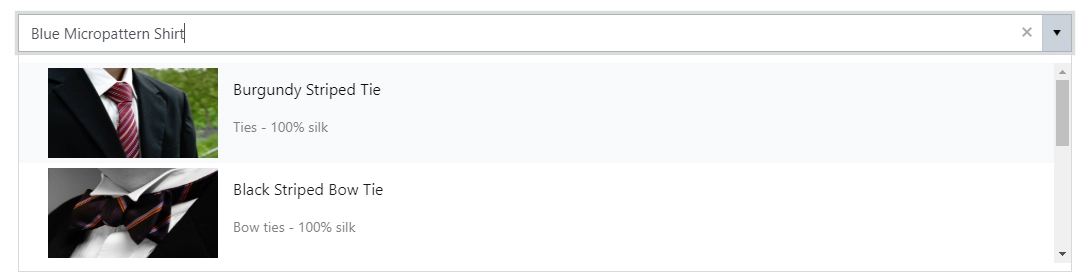
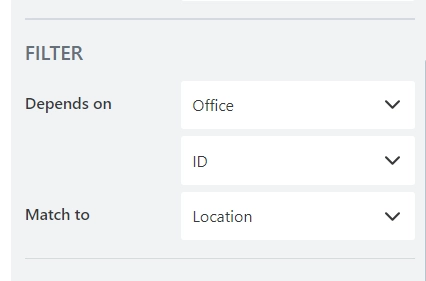
Either Lookup control or a regular SharePoint field can then be further customized. For example, you can add filtering and cascading functionality:
Also, both can be customized, and you can adjust display values in dropdown for your exact needs: