Settings in SharePoint Forms
This article explains the various settings available for Plumsail Forms for SharePoint Online.
If you are using Plumsail Forms for SharePoint 2019, please see the Ribbon actions article.
General Settings
In the general settings tab, you can set how to open a form, manage additional views, import/export forms, and restore default SharePoint forms.
How to open this form from list view
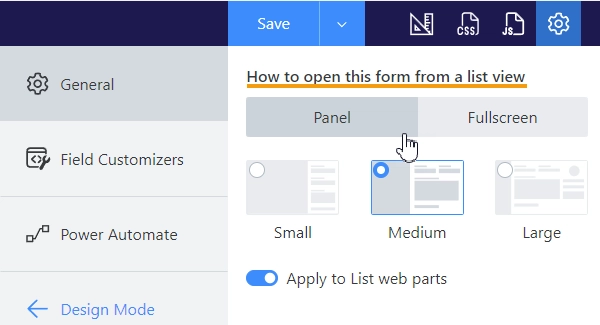
By default, a form opens in a medium-sized panel. However, you can define how each form should open—whether in full screen or in a panel—and also specify the size of the panel.
When you enable the Apply to list web part property, the form will open in a panel from the List and Document library web part.
Learn more in the Form Panel article.
Import or Export
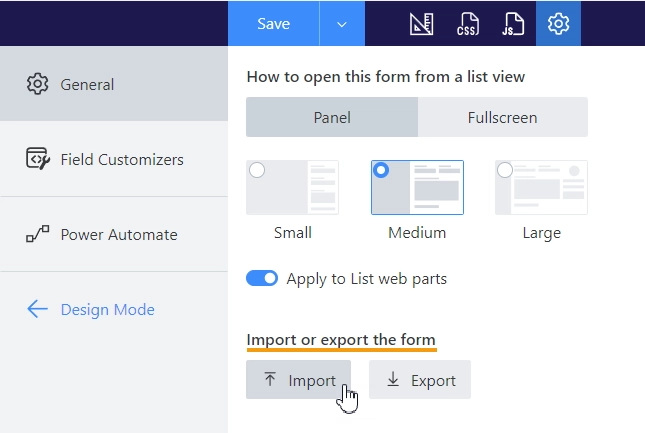
You can export the current form and save it as a file on your computer. This is useful when you need to apply the same form to different lists or make a backup.
To import forms from exported files, press the Import button and select the file to import.
Restore default SharePoint Forms
If you decide you no longer want to utilize certain forms, select them, and then click the Delete button:

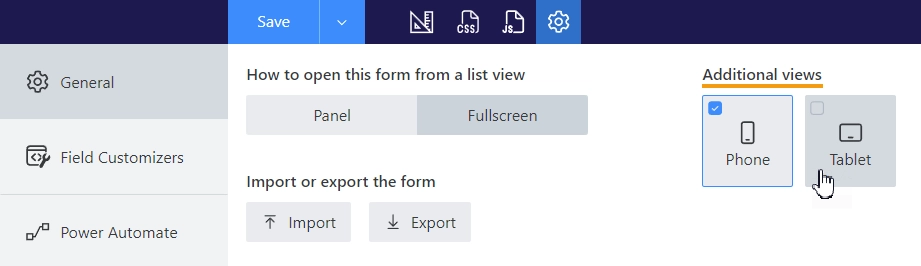
Additional views
Plumsail forms are responsive out-of-the-box. By default, you create a desktop form that is utilized on all devices. But you also have the option to design separate forms for mobile devices.
To develop a form for Phone or Tablet, click on the device for which you want to create the form:
The form for that device will be generated based on the desktop version of the form. Сustomize the form to your liking and click Save.
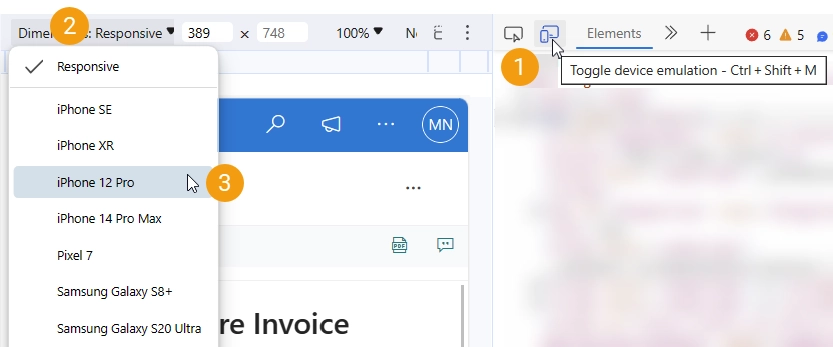
To test mobile forms, use device emulation, a feature available in all modern browsers:
To delete a specific form for a mobile device, click on the device for which you want to delete the form. After confirming the action, the desktop version of the form will be used for that device.
Field Customizers
Field customizers automatically apply custom rendering in the SharePoint list view. Customizers are created for Ink Sketch, DataTable, Likert Scale, and Lookup controls when you save their data to a SharePoint column.
Here, you can find all field customizers added by the designer:
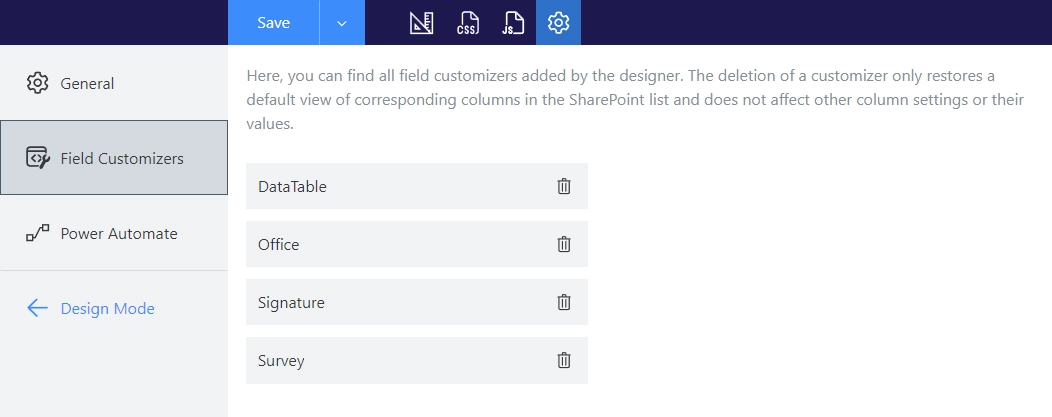
Note
The deletion of a customizer only restores a default view of corresponding columns in the SharePoint list and does not affect other column settings or their values.
Power Automate
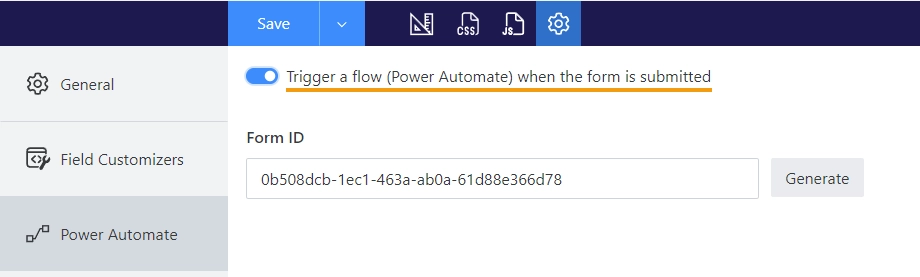
You can enable the property Trigger a flow when the form is submitted to submit the form to Microsoft Power Automate and process not only SharePoint fields but also Common fields and Controls without saving them to a SharePoint item. After submitting a form, a trigger from Plumsail Forms connector is started.
Important
Plumsail Forms connector submissions are licensed under Public Web Forms license, not SharePoint Forms license.
If you are interested in processing data saved to SharePoint, disable the ‘Trigger a flow when the form is submitted’ property and use Microsoft’s SharePoint connector.
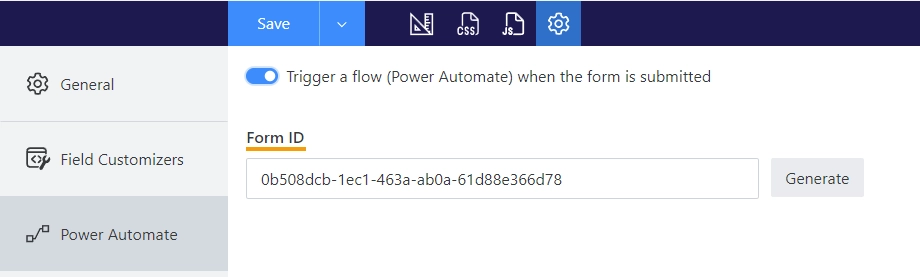
Form ID is the identifier of the form that you must use in the Plumsail Connector:
You can give the same ID to multiple forms, so that Flow handles submission from more than one form. But you must ensure that the fields have the same internal names on different forms.
Using Plumsail Forms connector the form data is submitted as JSON. And the Form Schema is used to parse JSON; the schema is updated after the form is saved:
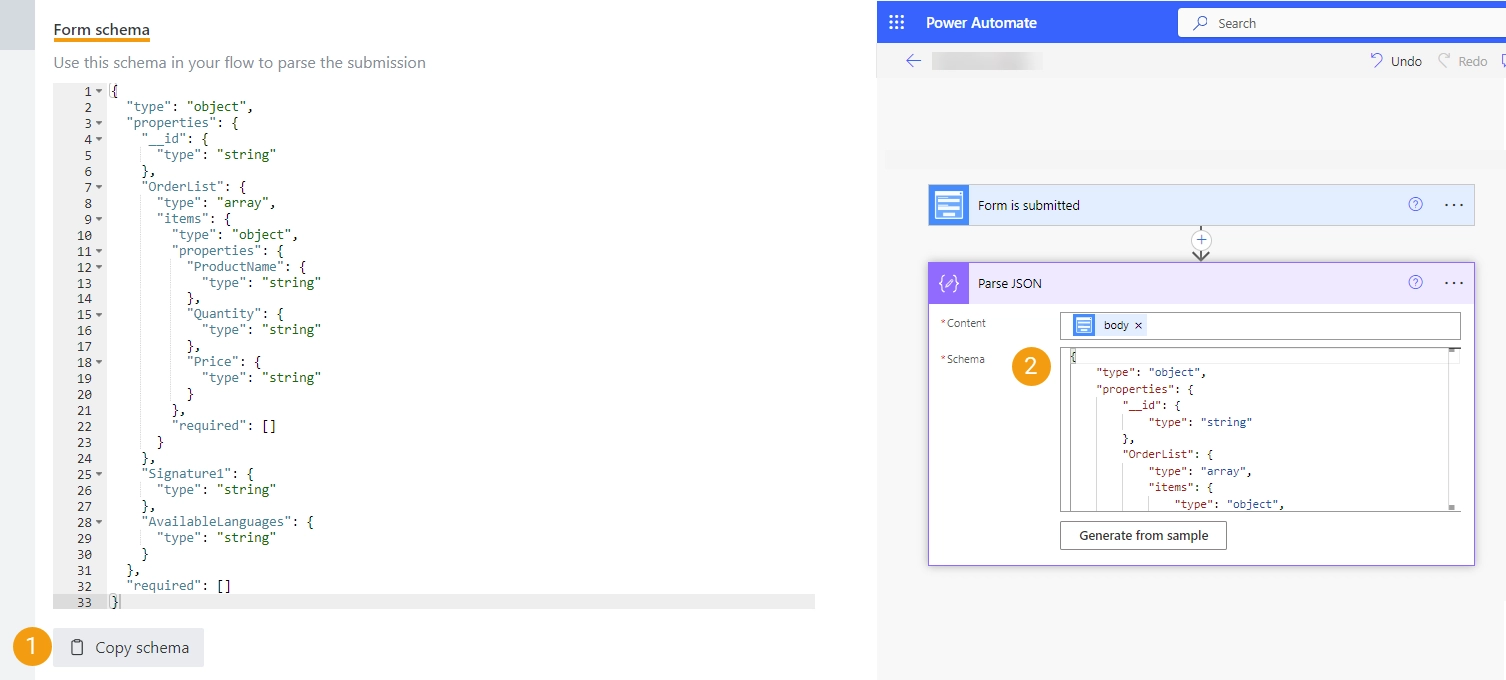
Please find an example of how to set up the flow with the Plumsail Connector in the Send an email after submitting SharePoint form article.