Conditionally add watermarks using Power Automate Flow
This article demonstrates how to conditionally add watermarks to PDF files using Power Automate (Microsoft Flow).
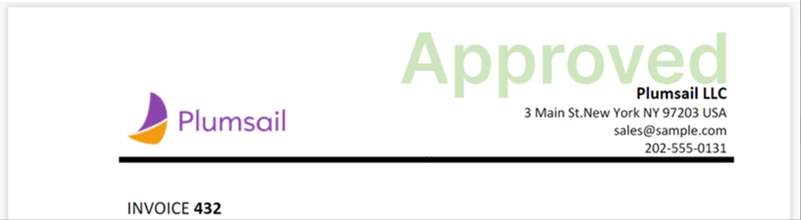
In this example, we will create a Flow that will run whenever a new document is uploaded to a SharePoint library. As the document is approved or rejected, the Flow we created will add the appropriate watermark to the document:
This is what your Flow would look like:

Setting up the Flow
The following steps will guide you through creating the flow step-by-step.
Flow trigger
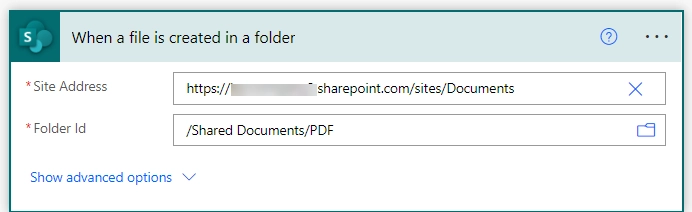
Choosing a trigger is up to you. For our scenario, we will use the When a file is created in a folder trigger:
Start and wait for an approval
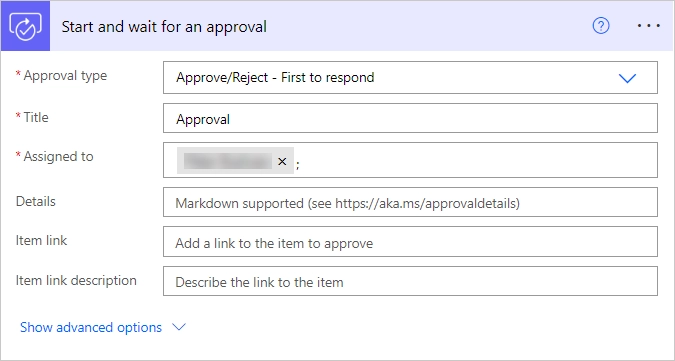
Next, we’ll add the Start and wait for an approval action from the Approvals connector. Select an appropriate approval type for your case and set an assignee.
Condition
We’ll also add a condition that will check the output value of our ‘Start and wait for an approval’ action:

It will then add an ‘Approved’ or ‘Rejected’ text-type watermark to the top right corner of the PDF document based on whether the document was approved or not.
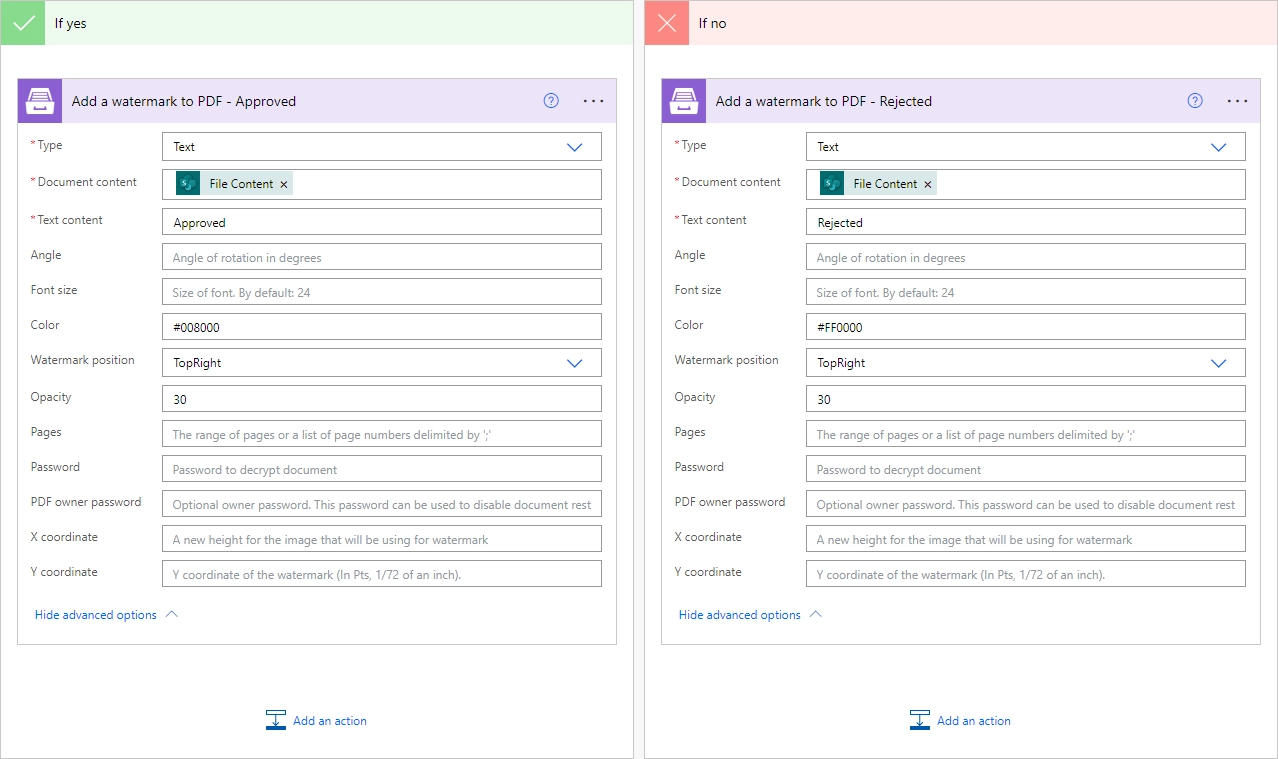
Add a watermark to PDF
Add a watermark to PDF is an action from the Plumsail Documents connector. We will add this action to each of the condition columns (Yes/No).
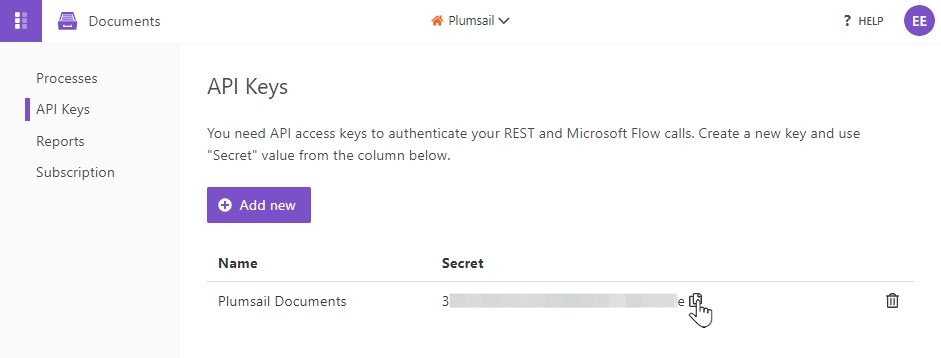
If this is your first time using the Plumsail Documents connector, Power Automate will request the Connection Name and API Key.
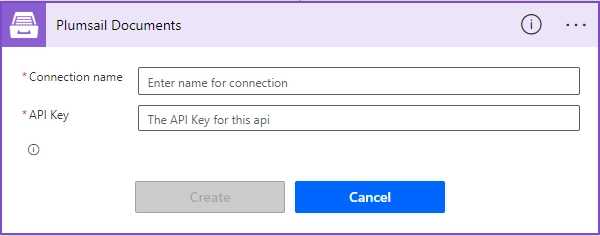
You can type any name for the connection, for example Plumsail Documents.
Once the connection name is filled out, create an API key in your Plumsail Account, copy and paste it into the Access Key field, and then click Create.
There are 3 types of watermarks available: Text, Image, and PDF. A text watermark would be a great fit for our case. We’ll also set the font color to green (#008000) for approved documents, red (#FF0000) for rejected documents, and set the opacity to 30.
There are other advanced options. Click here to find detailed information about this action.
Create file
Once the file is compressed, we will save it to SharePoint using the Create file action. Feel free to choose any other action to export the file.

Note
Make sure to specify the .pdf extension in the File name field.